

I’ve hung enough mosquito netting to know saggy mesh is basically a bug buffet, so here’s how I do it in six moves. First, I pick my mounting method: marine snaps (clean look, 24 inches apart), tension rods (no drill), or PVC frames (portable). Then I size my netting, adding 12 inches for door overlaps if I want a way in. For the top frame, I either sink 4×4 posts two feet deep or use weighted planters with concrete bases. Next, I pull every side drum-tight with zero slack and lock them with grommets, elastic cord, or heavy-duty Velcro. I cut a doorway, reinforce the edges with bias tape, and use Velcro or snaps for closure, then weigh the bottom hem every 2–3 feet with fabric weights. Finally, I seal corner gaps with reinforced selvage, and come fall, I store everything dry and ventilated. Stick around, and I’ll walk you through the tools and timing that make this last.
Pick Your Mounting Method Before You Measure
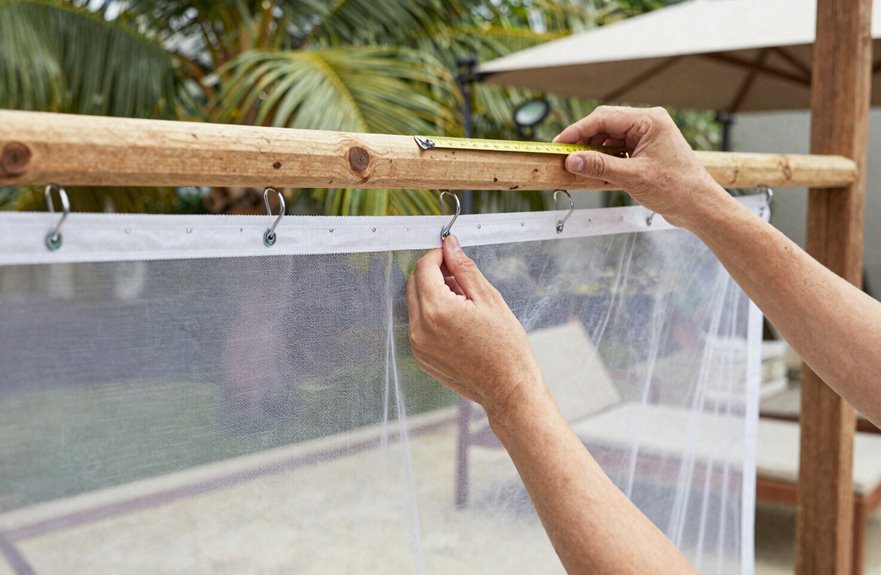
Why start with a tape measure when you haven’t decided how you’re actually hanging this thing? I learned this the hard way, and I’m saving you the headache. Your mounting method determines everything: hardware, fit, and whether you’ll curse your past self come July.
I’ve tried three approaches that actually work. Marine snaps (those brass beauties spaced every 24 inches) give you that clean, semi-permanent look, perfect if you’re proud of your patio setup. Elastic cord or bungee creates tensioned fits that flex with the breeze. Great for renters who can’t drill. PVC pipe frames are lightweight, temporary, and satisfying to assemble.
Ask yourself: do I want screw-based permanence, removable flexibility, or reconfigurable options for shifting planters? Weather matters too. Marine snaps endure. Duct tape hems and zip ties buy you time, not longevity.
Size Your Netting: Ready-Made Panels or Custom Cut
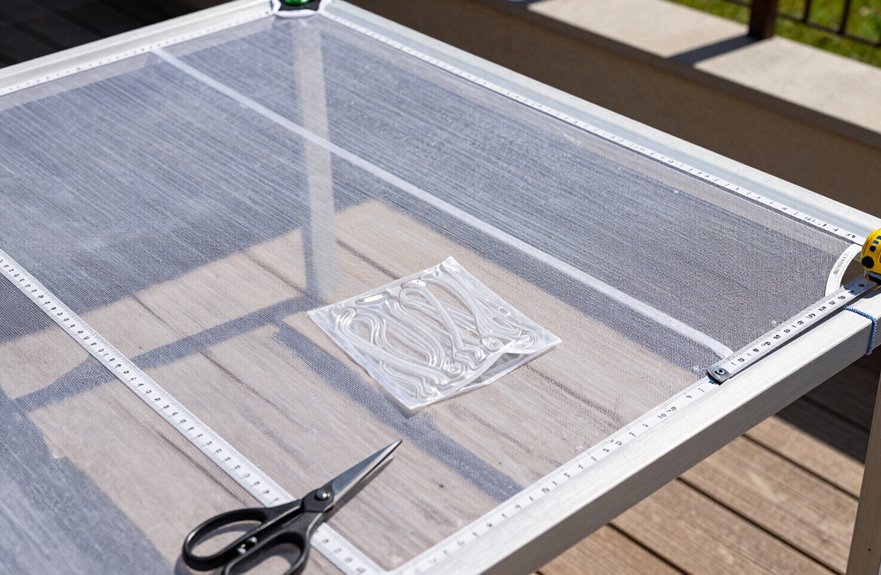
How much netting do you actually need? Let’s figure this out together, because getting the right netting size makes all the difference between a breezy retreat and a bug buffet.
I’ve gone both routes. Ready-made panels (think IKEA Lill) work great when you’re renting or testing the waters. They’re affordable, instant, and surprisingly decent. Patios rarely cooperate with standard dimensions, though.
Custom-cut netting wins when you’ve got weird post spacing or want that tailored look. I measure twice and add 12 inches for door overlaps, since bugs exploit every gap. Account for every entrance. Reinforced edges with bias tape prevent tearing, and I space grommets every 24 inches for even tension.
Quick convenience or perfect fit: choose based on your specific situation and timeline.
Hang the Top: Permanent Posts or No-Drill Options
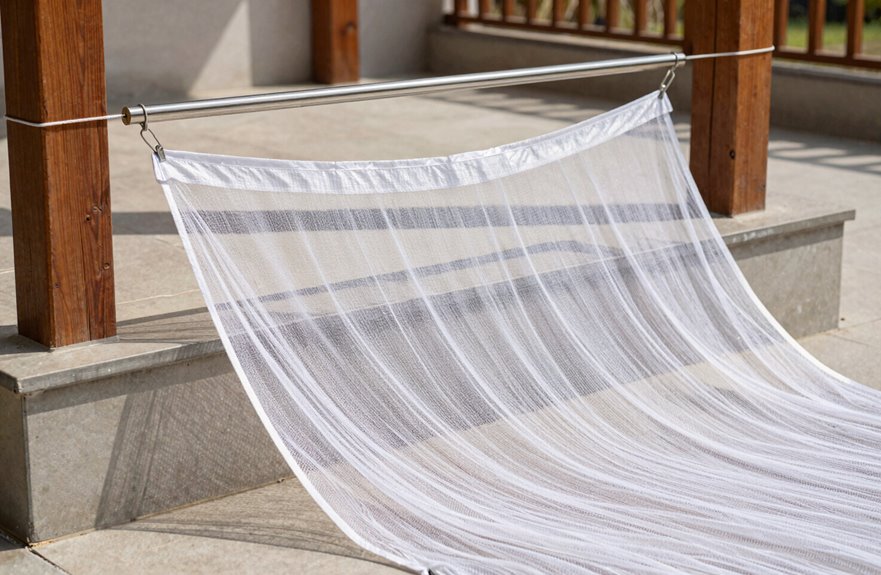
Whether you’re renting a place with a cranky landlord or you just hate the idea of drilling into your siding, you’ve got options for hanging that top frame without making a single hole. Tension rods work well through summers, or you can set PVC posts in weighted planters with 50-pound concrete bases and a crossbar draped in mosquito netting. This approach is portable and keeps your deposit intact.
For permanent installations, use 4×4 posts with concrete footings at least two feet deep and post anchors leveled with a bubble gauge. Mount exterior-rated brackets to existing structures using masonry screws, which minimizes holes while keeping that mosquito netting taut. Slope the top slightly, about a quarter-inch per foot, so rainwater rolls off instead of pooling.
Pull the Sides Tight and Lock Them Down
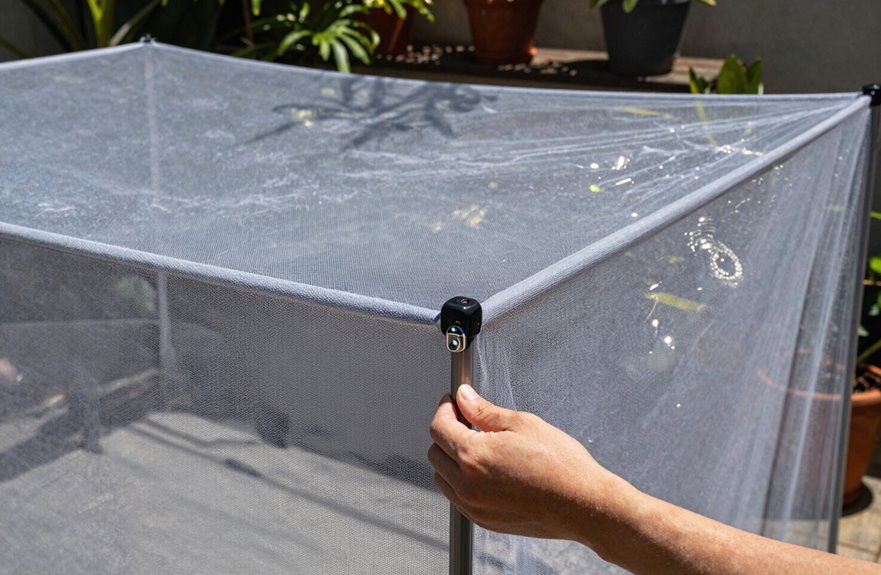
I pull each side of the netting until it’s drum-tight (no slack means no entry points), then lock it down with my chosen anchor: elastic cord through grommets, weatherproof zip ties, or heavy-duty Velcro strips (each has trade-offs for quick removal versus bombproof hold). I double-check the corners, since that’s where gaps love to hide, and if it’s breezy out I’ll add a few extra anchor points along the bottom edge as insurance against midnight mosquito infiltration. Every few weeks, I give everything a tug to retension; fabric relaxes, wind happens, and I’d rather fix it on my schedule than during a barbecue.
Tension Methods Overview
Why settle for droopy netting that flaps in every breeze when you can lock it down tight. Elastic tension is effective here because it pulls everything snug without fighting you during setup.
To keep your sides drum-tight:
- Loop elastic cord (or bungee, if that’s what you’ve got) through PVC frames, stretching about 10% beyond relaxed length so the netting hugs every corner
- Reinforce edges with selvage and bias tape first. This prevents that annoying ripple effect around perimeter corners
- Check tension monthly, because fabric stretches and weather loosens things over time
For semi-permanent setups, marine snaps (removable, but they stay put) are worth the investment. Whatever method you choose, re-tighten seasonally. This ensures your setup performs when bugs arrive.
Anchor Point Options
Once you’ve got your tension method figured out, it’s time to decide where you’re actually attaching this thing. I used marine snaps screwed into my frame for a clean, removable look. For something lighter, elastic cord through grommets works great over PVC pipe, and bungee cords looped through edges keep tension without commitment. Zip ties work well too. They’re the duct tape of anchor points; cheap, available everywhere, and reliable. The trick is spacing: corners plus midpoints, minimum, or you’ll get sagging. Test your tension before locking everything down. PVC frames with elastic cord make the whole setup movable, which matters because optimal placement changes based on seasonal sunlight and wind patterns.
Wind Resistance Tips
How do you keep your mosquito netting from turning into a wind sock when the breeze picks up? Proper netting tension makes all the difference between a peaceful patio and a flapping disaster.
What works:
- Pull every side drum-tight, creating zero slack so gusts can’t grab and tear the fabric (think trampoline, not bedsheet)
- Lock corners and midpoints with zip ties or Velcro straps, maintaining that tension when winds hit 20+ mph
- Slope your frame slightly forward, letting rain run off while stopping wind from pooling underneath
Check your fasteners after every storm. Loose anchors will compromise your setup. With reinforced edges (bias tape or grommets) and sturdy posts, your netting will withstand severe weather conditions.
Add a Doorway and Weight the Bottom Against Wind
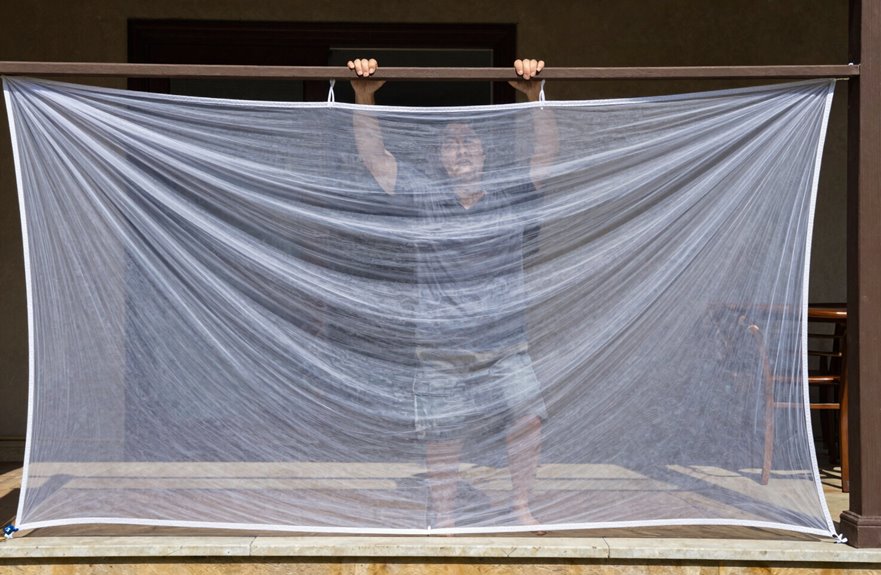
Where exactly do you plan on walking through this mosquito-free paradise you’re building? Stumbling through netting ruins the vibe, so build a proper doorway. Cut a clean opening, either V-shaped or rectangular, and reinforce those raw edges with bias tape on both sides to prevent fraying. Velcro or snaps make a closure that’s secure yet simple to pop open when carrying drinks outside.
| Doorway Element | Bottom Weighting |
|---|---|
| V- or rectangular cut | Fabric/curtain weights |
| Bias tape reinforcement | Every 2–3 feet spacing |
| Velcro or snap closure | Full-length hem coverage |
| Aligned with patio access | Maintains tension, blocks bugs |
Position your doorway where the patio naturally flows, then weight that bottom hem every two to three feet with fabric weights. This keeps your mosquito netting taut and prevents wind from lifting the edges and allowing insects inside.
Seal Corner Gaps and Plan for Seasonal Storage
Even the tiniest gap at the corners is an open invitation for mosquitoes, so sealing these spots tight is essential. I use reinforced selvage edges and bias tape to create a sturdy netting edge that holds up to Velcro (the hook-and-loop kind, not the sticky stuff that fails in humidity).
- Overlap net ends by 12 inches at doorways, creating a functional opening without the gap
- Sew two rows through all three layers where netting meets canopy, then weight the bottom hem to stop flutter
- Build in a slight slope for rain drainage, so water doesn’t pool and stress your frame
Come fall, I remove everything together, storing it dry and ventilated. Proper storage prevents mildew and degradation, keeping the netting ready to hang next spring.





