
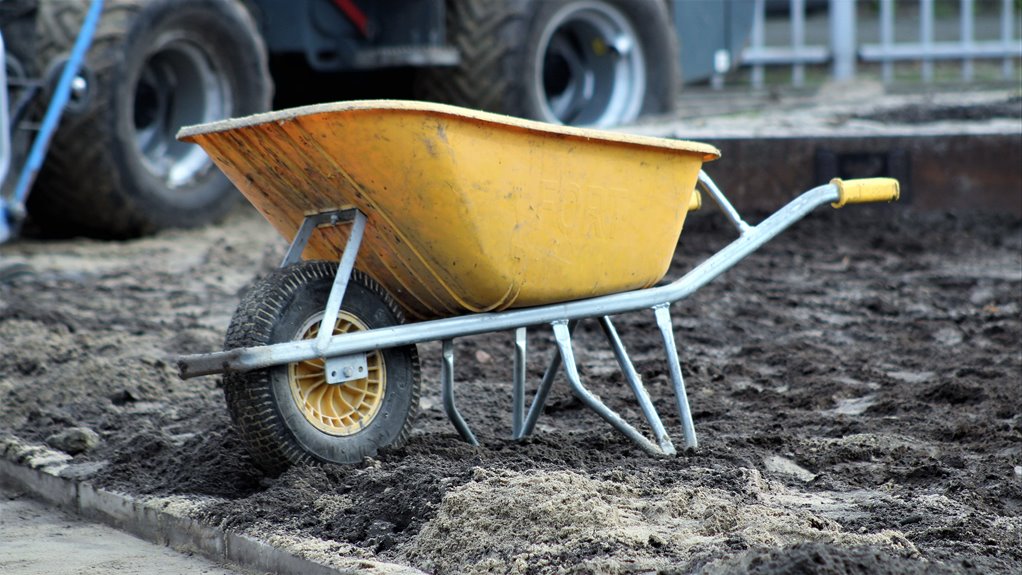
I start by gathering my 10-inch adjustable wrench, tire levers (or flathead screwdrivers in a pinch), and penetrating lubricant for rusty U-bolts. I flip the wheelbarrow onto its side, brace the frame with my knee or a block, and loosen those U-bolts evenly, usually 1/2-inch or 9/16-inch sockets, so nothing shifts.
I slide the axle out, keeping all washers in a container so they don’t vanish, then pop the tire off the rim using my levers about six inches apart. I inspect for cracks, lube the bead if it’s stubborn, and reverse everything to reassemble. Following these steps prevents the common mistakes that add extra time to the job.
Gather Tools to Remove a Wheelbarrow Tire
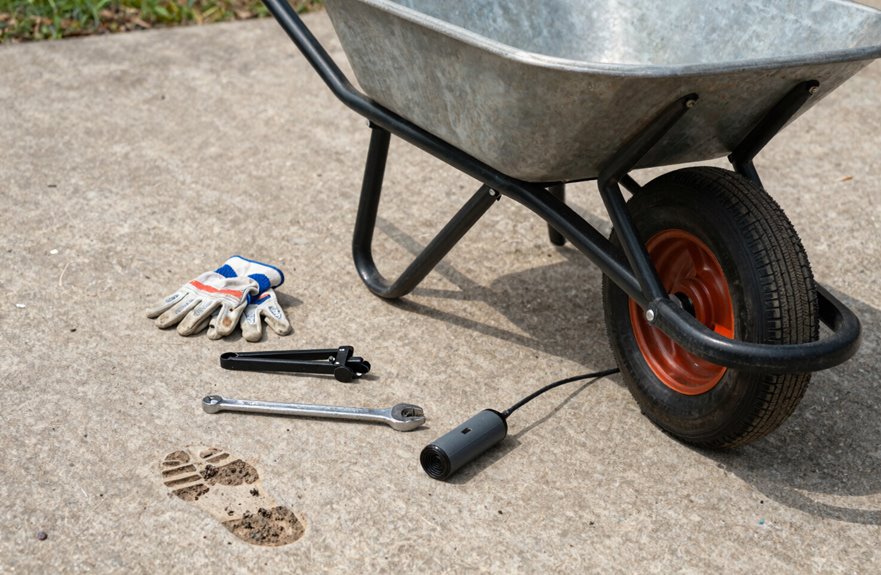
Why jump into a project unprepared when a few minutes of setup saves hours of frustration? I always grab my wrench (preferably adjustable, 10-12 inches), pliers, flathead screwdriver, and a can of penetrating lubricant before touching a wheelbarrow tire. You don’t want to find something halfway through and lose your momentum.
I spread everything on my workbench. Laying out a drop cloth helps keep things organized. Double-check you have the right socket sizes (usually ½-inch or 9/16-inch for U-bolts). If your hardware’s rusty, that lubricant becomes essential.
I pick a flat, stable surface; garage concrete works, driveway asphalt too. Then position the wheelbarrow wheels-up. No wobbling allowed. Once I’m set, I feel genuinely ready. Proper preparation ensures you fix things correctly the first time.
Flip and Stabilize the Wheelbarrow
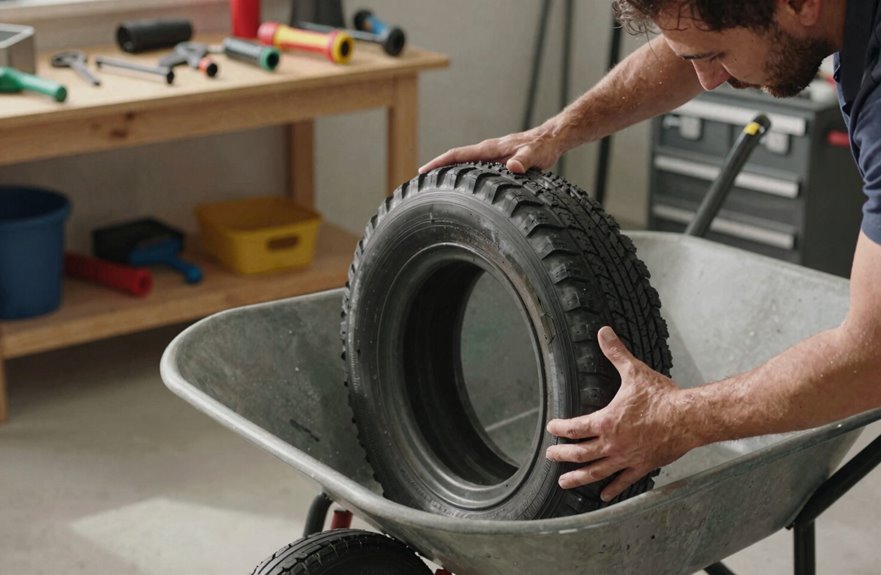
I’ll flip the wheelbarrow onto its side with wheels up and handles down on a flat, hard surface like my driveway. Grass is unsuitable because it shifts. I check that it’s stable, maybe bracing the frame with my knee or a heavy block, since a wobbling wheelbarrow causes skinned knuckles. Once it’s locked in place with no tripping hazards nearby, I’m ready to pop that tire off without fighting the whole rig.
Secure Flat Positioning
Where’s the best place to tackle this? I look for solid ground. Concrete beats gravel, and I flip my wheelbarrow so that wheel stares up at me, ready for work.
Now I’ve got to lock this puppy down. I grab wheel chocks (or a brick) and wedge them snug against the frame. No rolling allowed. I slide a scrap 4×4 under the handles for extra insurance, because nothing kills momentum like chasing a runaway wheelbarrow across the driveway.
I step back, eyeballing my setup: wheel centered, axle exposed, tools within arm’s reach (about 18 inches, max). This stability prevents the wheelbarrow from shifting during repair work. Get this wrong, and you’re wrestling metal instead of fixing rubber. Get it right, and you’ve properly secured your work surface.
Safety First Setup
With the wheelbarrow locked down and stable, I’m ready to flip this thing and get to the real work. I grab both handles, bend my knees, not my back, and rotate the whole rig upside-down until the frame rests flat on my garage floor, wheels pointing skyward like twin targets. A concrete surface works best here. Gravel will cause instability, so I’ll toss a rubber mat underneath if things feel slippery. I take thirty seconds to shove rakes, extension cords, and that half-empty paint can into the corner. Creating a three-foot radius of clear workspace prevents injuries. No clamps available. I wedge a scrap 2×4 against the bucket if it wobbles. Finally, I set out my coffee can labeled “wheelbarrow bits,” since searching for a missing ⅜-inch washer at dusk wastes time and effort.
Loosen the Axle Hardware
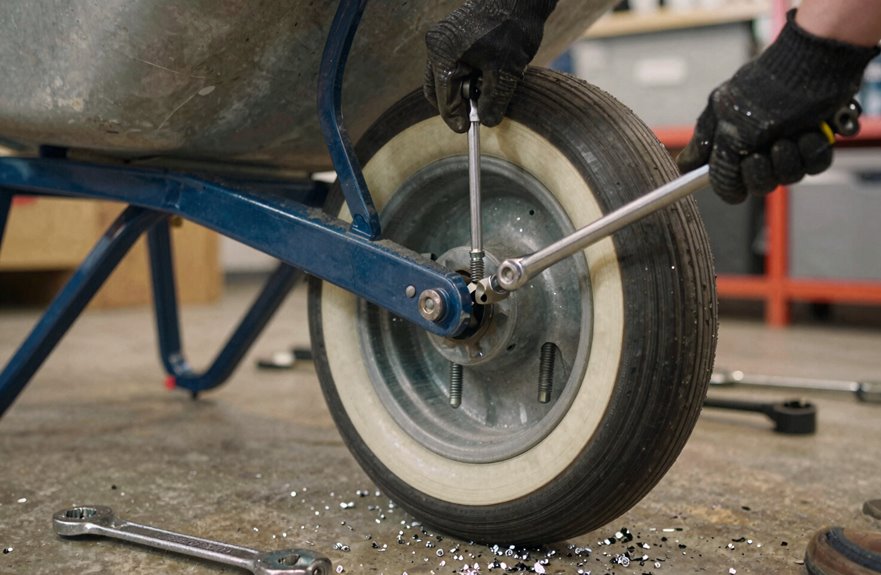
How do we actually get this wheel free? I’ll flip the wheelbarrow upside down so those wheels face upward, giving us clear access to the axle hardware. This approach saves your back. I grab my wrench and start loosening those U-bolts evenly on both sides. Going one side at a time risks misalignment, and nobody wants a crooked axle. If I’m fighting rusted nuts, I’ll spray some lubricant, wait a minute, then give gentle hammer taps to break them free without damaging anything. Once loose, I carefully remove the axle from the frame, keeping all washers and spacers in a small container. You’ll need these parts for reassembly. I inspect everything for debris or damage before we’re ready for the next move.
Slide the Wheel Off the Axle
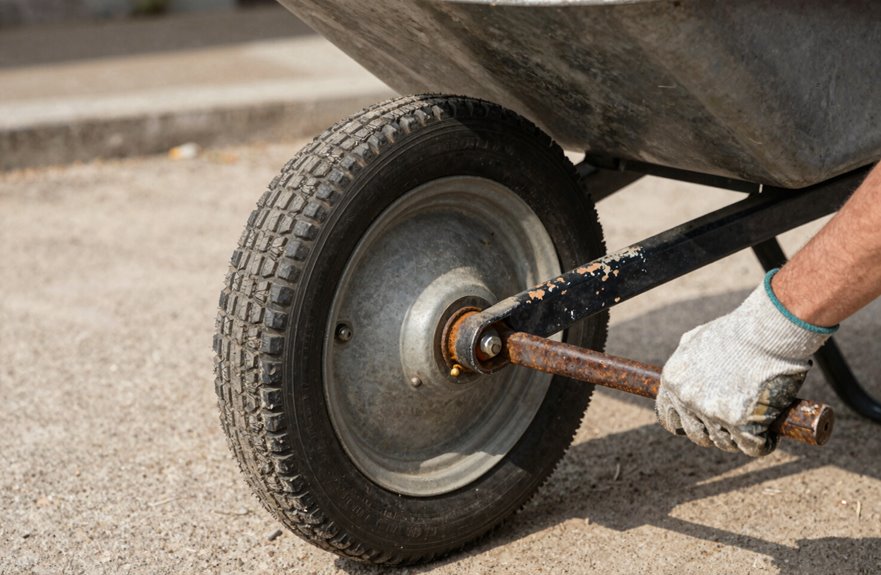
Once those U-bolts are loose enough that I can jiggle them with my fingers, I’ll work the axle free and give the wheel a firm tug. If it’s stuck, after years of yard grime and rust it usually is, I’ll hit it with another blast of PB Blaster or WD-40, wait ten minutes, then rock the wheel side-to-side while pulling steady pressure. Don’t muscle it too hard, or you’ll end up on your backside with a wheel in your face, a mistake I learned about the hard way last spring.
Removing Stuck Wheels
Sometimes the wheel just refuses to cooperate. We’ve all been there, staring at a stubborn axle that won’t budge an inch. First, clamp that wheel and axle assembly in a vice (a solid bench grip, nothing fancy) after pulling off all the hardware. This keeps everything steady while you work. If corrosion’s got its hooks in, give those nuts a few light taps with your hammer, just enough to shake the rust loose without marring the metal. Once things loosen up, slide the axle and wheel free from the frame together, then carefully work the wheel off. Still stuck. Gently rock it back and forth, letting patience do what force cannot.
Lubrication Techniques
With the hardware finally off and the axle exposed, I’m ready to persuade this wheel to actually move. I grab my lubricant—WD-40 works, but I prefer a proper silicone spray—and apply a thin coat right where the axle meets the wheel hub (about a quarter-inch band, nothing excessive). If you’re dealing with rust, light hammer taps on the bolt head while turning the wheel prevent that awful binding that makes us all want to quit. I loosened those U-bolts evenly earlier, so now I can slide. The wheel moves, I add more lube, it sticks, I wiggle and rotate with patience, and suddenly we’re free. The result is effective lubrication and successful wheel movement.
Remove the Tube and Tire From the Rim
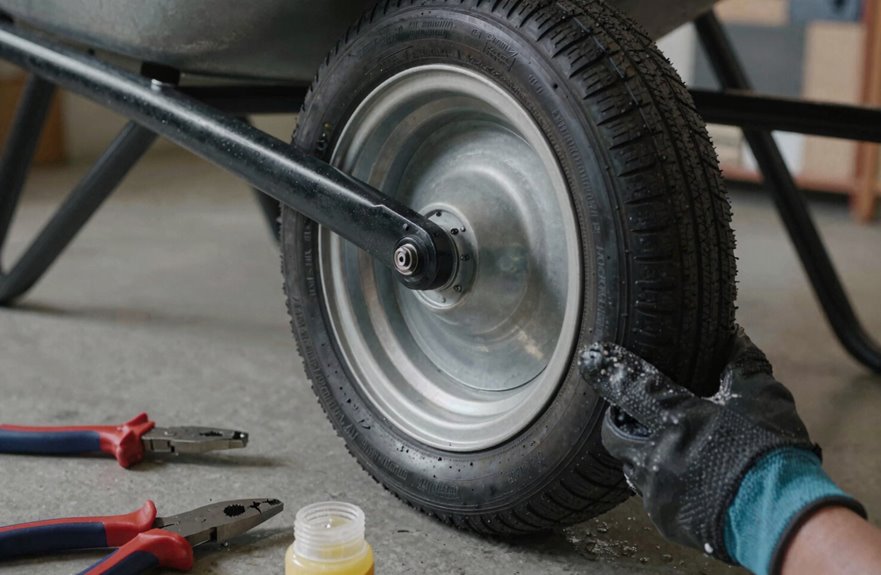
Alright, let’s get that tire and tube off the rim. It’s less frustrating than it looks once you know the tricks.
First, I lay the wheel flat with the tire facing up, making sure it’s stable so nothing rolls away on me. Then I double-check that the tube is completely deflated. Any remaining air will make the job harder.
Here’s my game plan:
- Slide tire levers under the bead, working about 6 inches apart, and pry that first edge over the rim
- If it’s fighting you, spray some penetrating lubricant or tap gently with a rubber mallet. Additional leverage helps when the bead is stuck
- Flip the wheel, repeat on the opposite bead, and lift everything free
Inspect, Replace, or Reassemble the Wheel
Now that the tube and tire are off, inspect what you have in front of you. Check your rim for cracks, rust, or bent spots. Damage requires replacement, not repair. If the wheel is damaged beyond use, get a new one matching your old tire size (4.80/4.00-8, 3.50/3.00-8, or 3.50-6 are the usual suspects). Slide it onto the axle, center it carefully, and reinstall those washers between wheel and bracket. They’re easy to forget. Tighten U-bolts alternately, like lug nuts on a car, so nothing binds. Spin test the wheel. Smooth rotation and zero frame rub indicate the job is complete.





