

I grab my tape measure and check my hose ends first. Most are ¾-inch, though some skinny residential ones run ⅝-inch. I mark my cut line about an inch longer than I actually need to account for fitting insertion depth. I slice straight through with a fresh utility knife blade, deburr the fuzz with 220-grit sandpaper, and attach a barbed fitting with hose clamps cranked tight. A quick pressure test at low flow catches any weepers before increasing the flow rate. Proper storage methods prevent kinking.
Gather Tools and Check Fitting Compatibility First
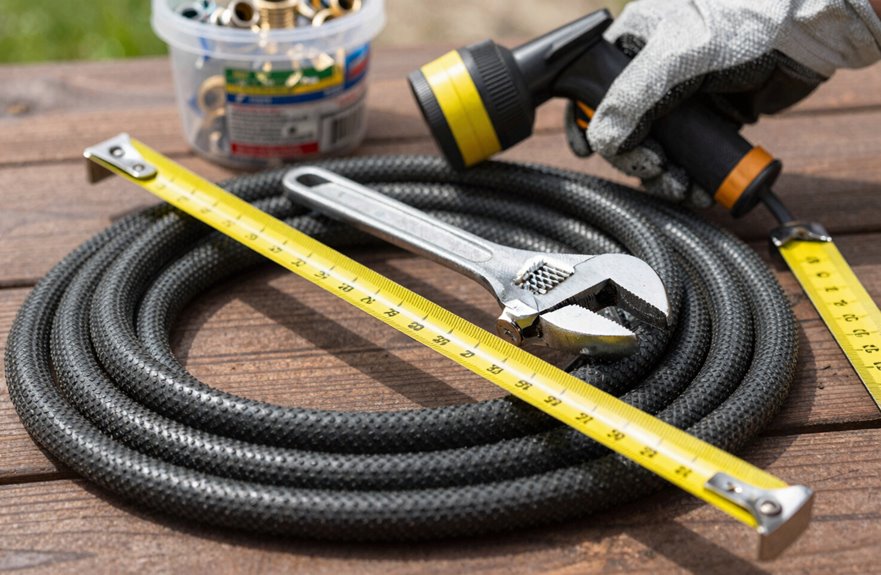
Before I grab any cutters, I always lay out exactly what I’m working with. There’s nothing worse than hacking through a hose only to realize my fittings don’t match.
I check both ends of my garden hose first, noting whether I’ve got standard 3/4″ or 5/8″ inner diameter (grab a tape measure if you’re unsure). This matters because finding replacement fittings that’ll actually seal depends on getting the diameter right. I also eyeball my existing hardware: barbed fittings, compression sleeves, or quick-connects. Mixing types creates leaks.
Next, I verify my water supply setup won’t suffer from the shorter run. If you’re running off a hose reel or feeding a pressure washer, shorter isn’t always better. Flow restriction is a real concern. I grab compatible clamps or ferrules now, not after I’ve got a gushing hose and dripping frustration.
Measure and Mark Your Cut Line Accurately
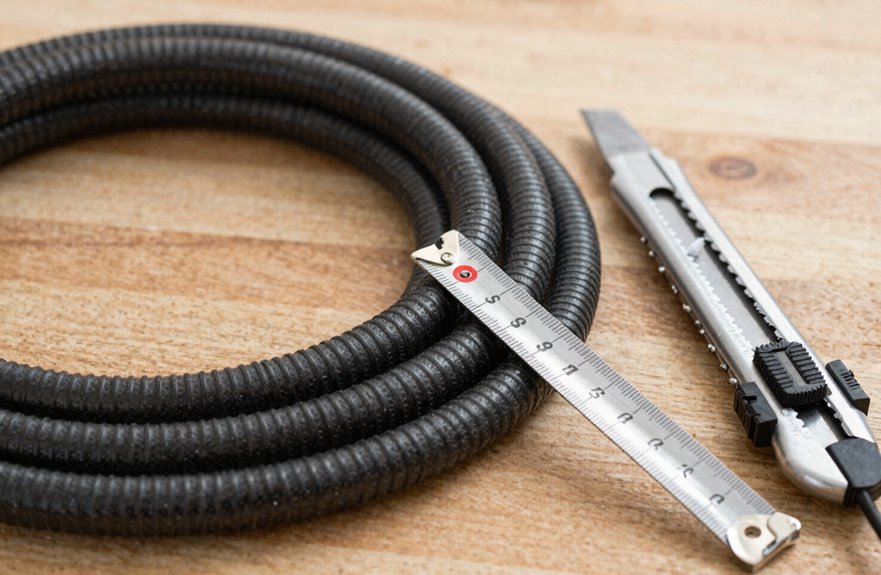
Now that I’ve got my tools sorted and I’m sure my fittings will actually work together, I grab my tape measure and figure out exactly how much hose I’m keeping. I’m measuring from the end I’ll keep, not the trash-bound piece (learned that the hard way once), and I’m adding extra wiggle room for fittings to slide inside.
Here’s how I nail it every time:
- Measure twice, cut once, classic rule that still applies
- Add ½ to 1 inch past my final mark for fitting insertion depth
- Mark both sides of the hose so my cut stays straight
- Double-check by measuring from the opposite end to verify accuracy
- Confirm my new length still reaches the RV shower inlet without pulling tight
That marker line ensures this will fit correctly.
Cut Clean and Deburr for a Tight Seal
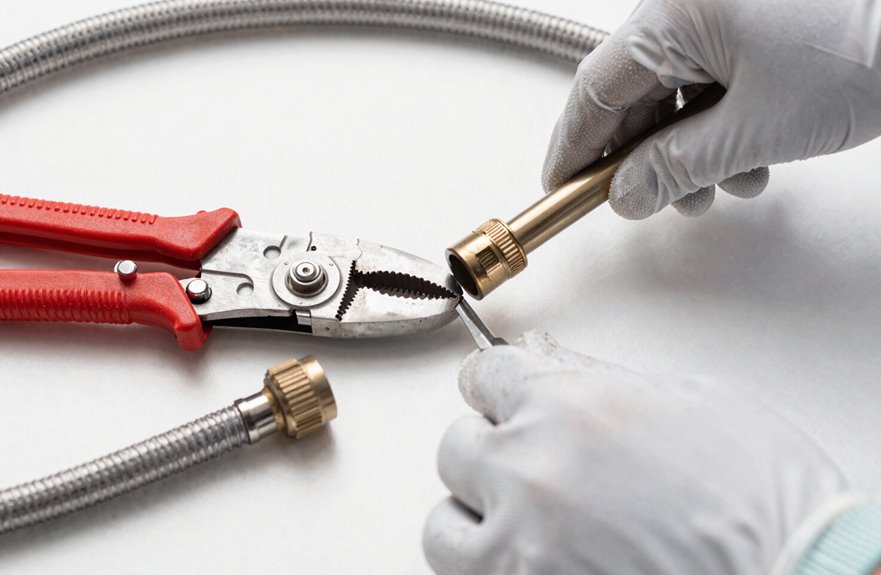
Grab your sharpest blade. Use a fresh utility knife blade or a dedicated hose cutter with ratcheting action, not kitchen scissors. Square up to that mark and cut straight through in one smooth motion, keeping your blade perpendicular to the hose at 90 degrees, not angled like you’re slicing bagels. For reinforced or metal hoses, use a cutter rated for that material, since frayed ends compromise a good seal.
Now deburr. Run a deburring tool or 220-grit sandpaper around that fresh edge to remove every bit of plastic fuzz or rubber whiskers. Feel it with your thumb; it should be smooth, not scratchy. Clean ends seat properly, and properly seated ends don’t leak.
Attach Fittings and Pressure-Test for Leaks
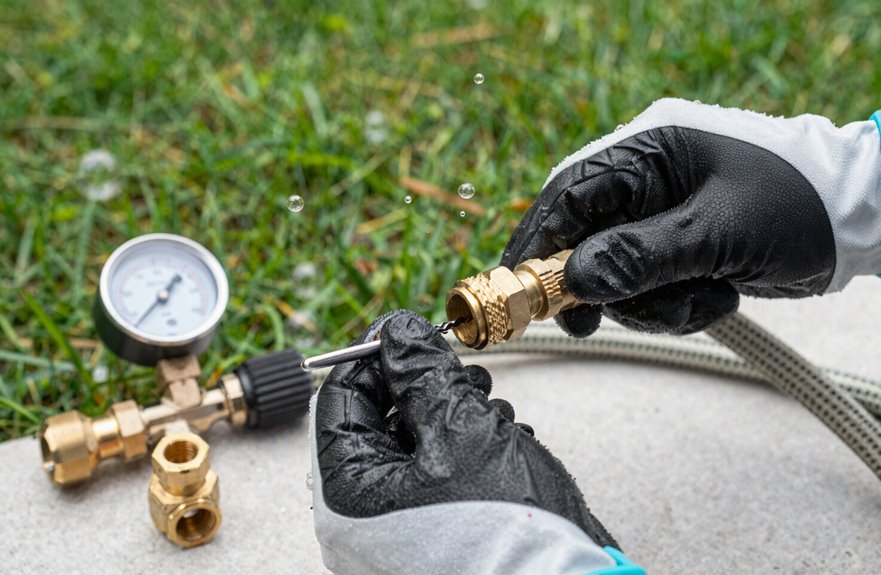
With your hose end clean and smooth, you’re ready to put it back to work. You have your 3/4″ fittings lined up, whether a barbed hose fitting or quick-connect adapter that matches your reel or pressure washer, and you can slide them on with a snug, confident push.
To seal the connection:
- Clamp down with hose clamps or compression fittings rated for 3/4″ hose without any movement
- Double-check that barb teeth bite deep into the rubber, creating your mechanical seal
- Fire up the water at low pressure, then dial up to full pressure gradually
- Run your hands along every joint to feel for spray or drips
- Tighten incrementally if needed, or swap in a better ferrule or O-ring when parts fail to hold
Trim Excess and Store to Prevent Damage
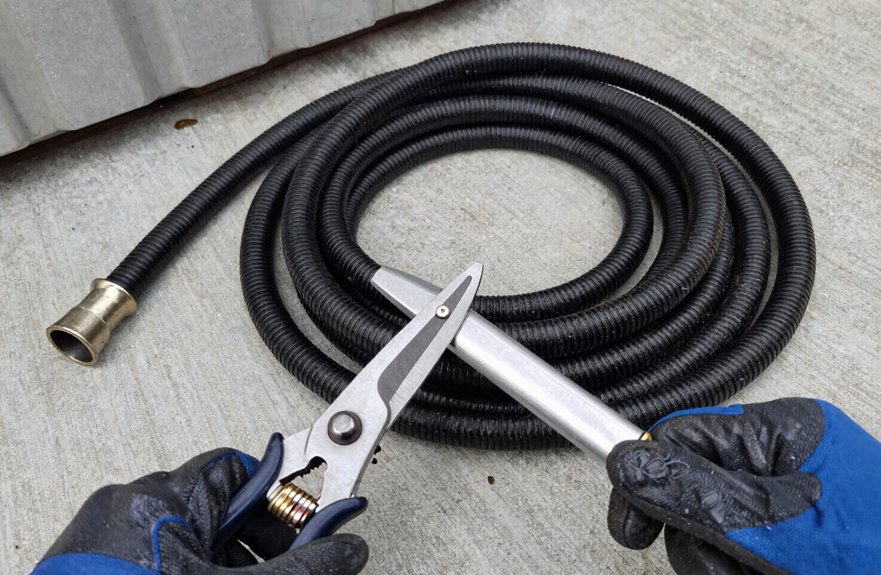
Measure twice, cut once. Use a utility knife or tubing cutter to slice through extra hose length with one clean, decisive motion. Deburr the cut end with your fingers, checking for frayed bits that could damage your fittings later. Install a new brass fitting or cap, hand-tighten it snug, and run low-pressure water through to catch drips before full operation.
| Storage Mistake | Smart Fix |
|---|---|
| Leaving it in the hot sun | Coiled under shade, always |
| Tossing loose in truck bed | Hose reel or fabric sleeve |
| Kinked tight circles | Figure-eight coil pattern |
| Dragging on concrete | Lifted onto hooks or shelf |
Proper storage eliminates excess hose hazards, prevents leaks that interrupt your plans, and extends hose life.





