
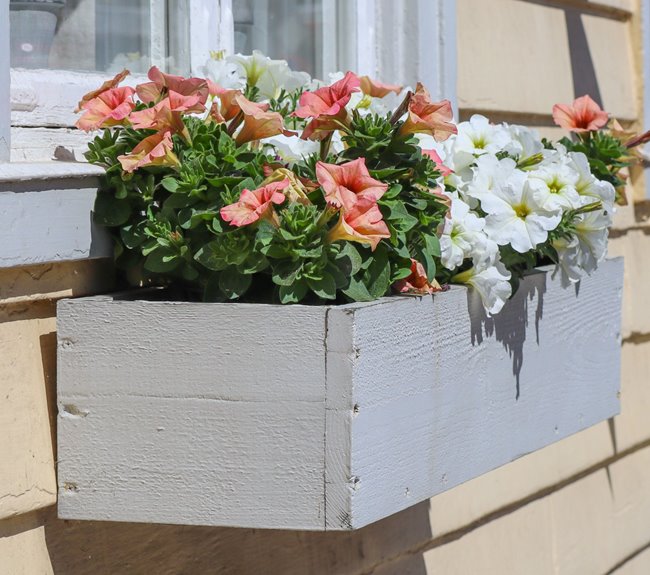
I start by measuring your window width to set the planter span, either matching the frame exactly or extending past for visual balance, then set depth at eight to ten inches minimum so roots have room to breathe.
Next, I cut blocking slightly longer than my bracket gap, which gives me wiggle room for alignment, check everything with a level, and build out support if there’s a projecting ledge so brackets hit a stable plane.
I mark spots one to two inches below the sill (six to eight for out-swing casements), drill pilot holes with a masonry bit, and drive Tapcon screws deep into brick or use anchors for siding.
Use two brackets for standard boxes and three for sixty-plus inches.
Finally, I add drainage holes last, layer gravel and potting mix two inches below the rim, and plant thrillers, fillers, spillers with a self-watering reservoir tucked underneath. Following these steps prevents your box from sagging into a lopsided installation.
Measure Your Window and Plan the Build
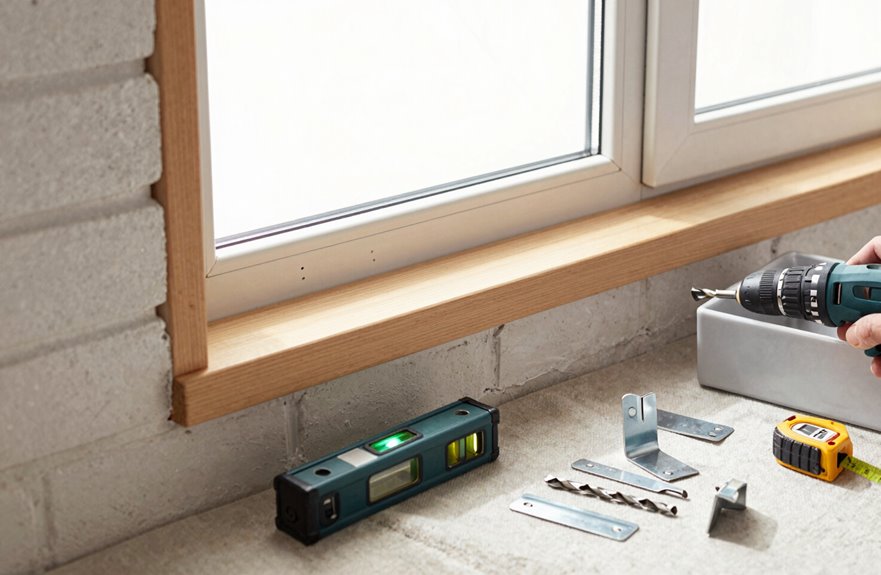
Where do you even start with a window box? I grab my tape measure and check the window width first, that’s your foundation. I decide whether my span width matches the frame exactly or extends a few inches past for visual balance. Then I nail down planter box depth: eight to ten inches minimum, so my plants actually thrive because roots need room.
I pick my mounting location carefully. One to two inches below the window sill works for standard windows, while six to eight inches is necessary for out-swing casements. My brackets depend on length: two for most boxes, three if I’m hitting sixty to seventy-two inches. I always align with wall framing, not just siding. I check ledge clearance, too. Sometimes I need extra support for flush siting against protruding trim. Proper preparation ensures your outdoor space functions well.
Cut and Assemble Your Window Box
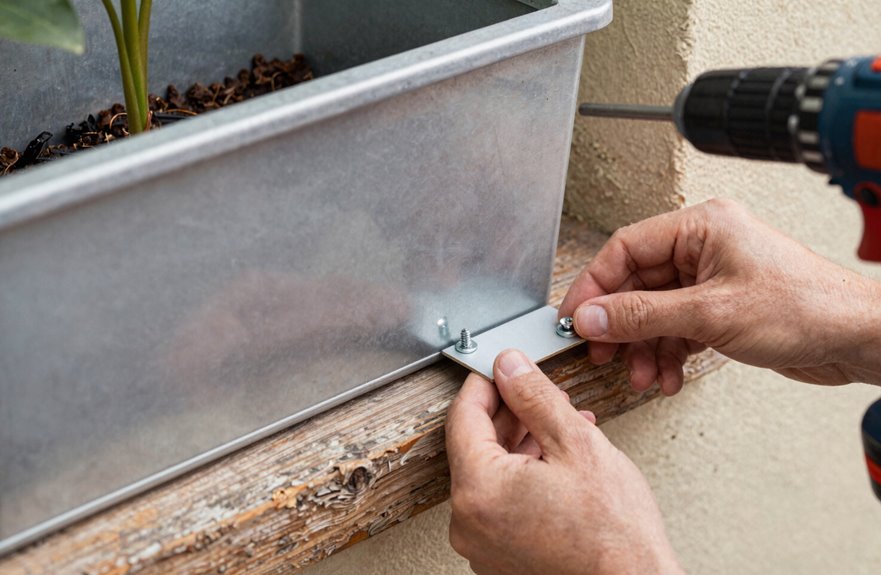
With my measurements locked in and brackets mapped to the studs, I’m ready to turn lumber into something that’ll actually hold dirt. I cut blocking slightly longer than the gap between my end brackets. This gives me wiggle room for perfect alignment during mounting. I check depth and level obsessively, ripping a 2×4 if the edge protrudes past my window ledge because a crooked window planter won’t work. I measure from bracket top to desired planter height for consistency, then drill my first hole to mark the brick behind the support. Masonry bit in hand, I bore deep enough for Tapcon masonry screws, ensuring my brackets sit flush before permanent mounting. Drainage holes come last because standing water kills plants.
Level brackets, deep holes, Tapcons flush—build it right so your dirt stays put and your plants don’t drown.
- Feel the satisfaction of a level bracket; your window box won’t dump soil on the neighbor’s head.
- When that first masonry screw bites, you’re joining people who’ve drilled into brick and succeeded.
- When your support holds weight, you’re building something that lasts.
Build Out Support to Match Your Window Ledge
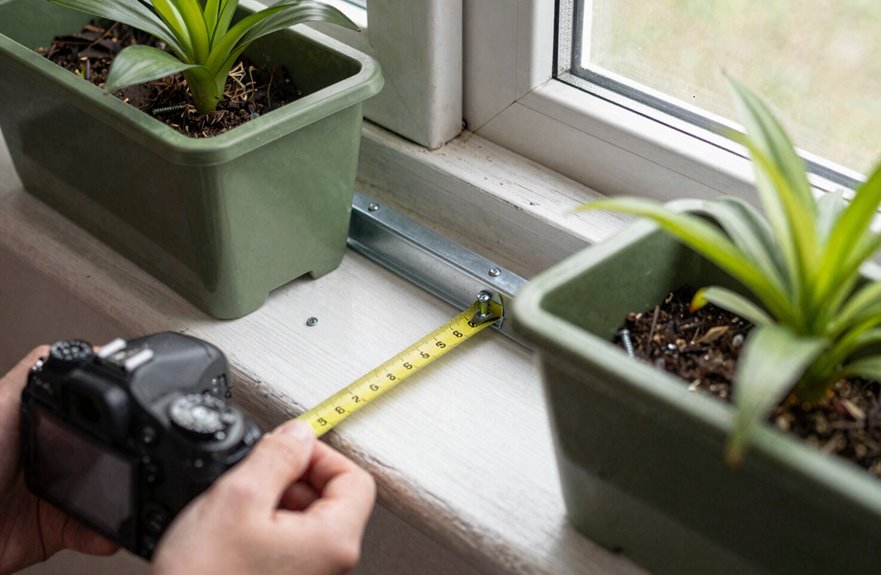
Why does a projecting window ledge matter so much? Without proper sill compatibility, your window planter boxes won’t sit right, and a lopsided garden will be immediately visible to your neighbors.
I always start by positioning the box under the window, centering it carefully. If you’ve got that projecting window ledge, you’ll need to build out support so your mounting brackets can flush sit against a stable plane. I cut blocking slightly longer than the distance between end brackets, which makes support alignment easier.
For stability, I align everything with wall framing, not just siding, since soil and water get heavy fast. No ledge? Skip the build-out and mount directly. Either way, ensure your support is flush before committing to screws. Level mounting now prevents problems later.
Level and Secure Brackets to Brick or Siding
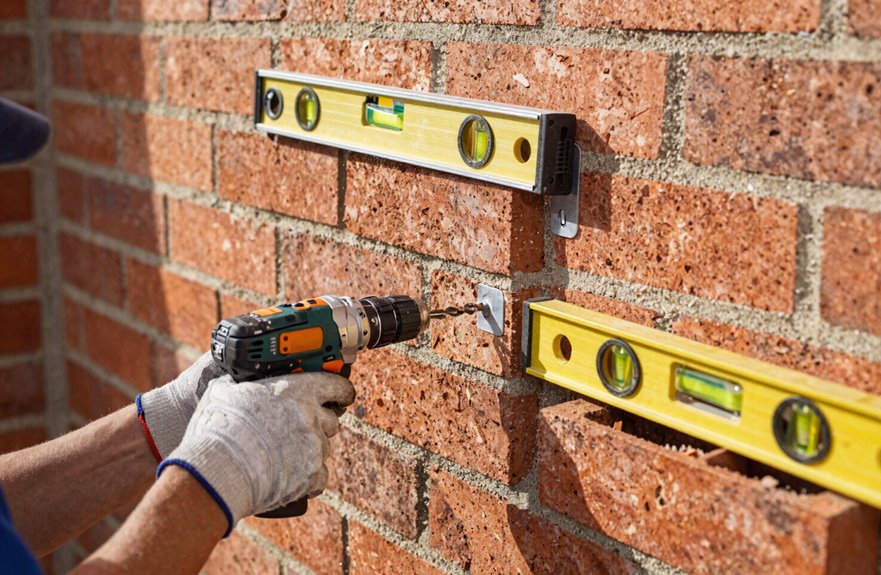
Once you’ve got your support built out, it’s time to get those brackets locked in place. Most DIYers rush this step and regret it later. I grab my level, mark spots under the window (two for standard boxes, three if you’re pushing 60–72 inches), and hunt for stud backing with a finder. Siding alone won’t cut it.
For brick, I drill pilot holes with a masonry bit, then drive masonry screws deep. For siding, I use the same bit but add anchors and caulk those holes tight against water.
Common mistakes that undermine the job:
- Tilted boxes result from skipping alignment checks.
- Soil spillage happens when brackets miss the framing entirely.
- Stable installation occurs when everything’s level and secure, with brackets properly fastened to structural support.
Plant in Layers With Self-Watering Drainage
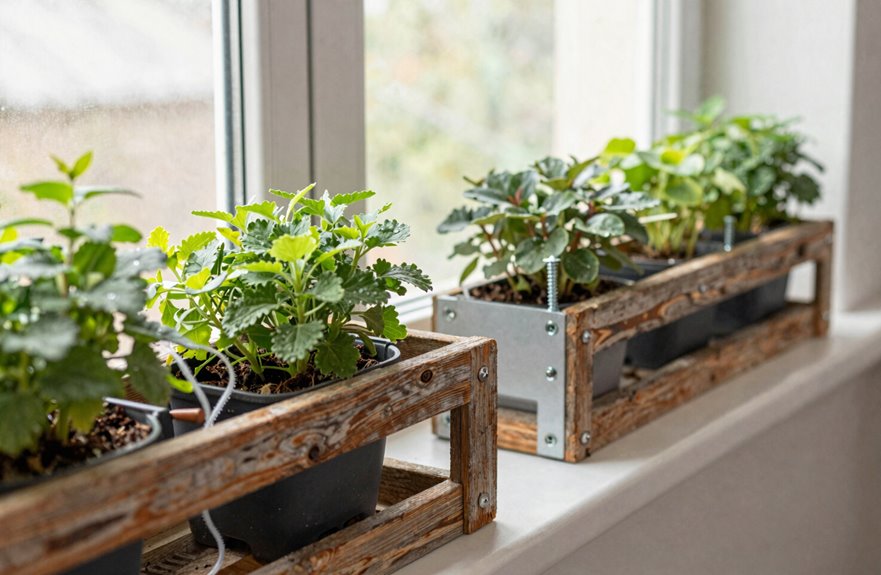
Brackets locked down tight, I get to the fun part of actually filling this thing with life. Window boxes thrive with layered planting, so I build from the ground up with self-watering drainage in mind. First, I check my drainage holes, drilling extras if needed, then drop in drainage discs to keep roots happy. I add gravel, fill with potting mix to two inches below the rim, and nestle my reservoir beneath. Now the artistry: thrillers, fillers, spillers. Upright drama, soft middle texture, trailing plants cascading toward my front porch like green waterfalls.
| Layer | Purpose |
|---|---|
| Drainage discs | Prevent soggy roots |
| Self-watering reservoir | Sustained moisture |
| Thrillers | Vertical eye-catchers |
| Trailing plants | Soft, welcoming spill |
I tuck in evergreen anchors for winter depth, repeating my combo for rhythm. This layered approach creates visual interest throughout the seasons while the self-watering system reduces daily maintenance needs.





