
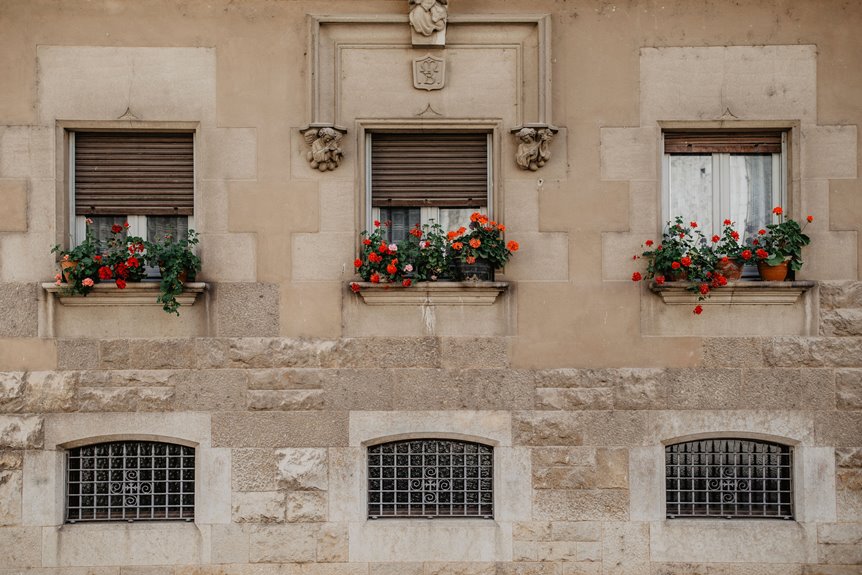
I always start by measuring my window width, then add an inch or two below the sill for clearance (six to eight inches if you’ve got casements that swing inward).
Next, I mount a pressure-treated 2×6 or 2×8 backing board to brick or siding so I’ve got solid anchor points, not just flimsy siding.
For brackets, I space them twelve inches apart with three brackets for anything over five feet, and a center bracket to prevent sagging.
Then I layer lightweight filler in the bottom third, topped with a mix of vermiculite, raised bed soil, and compost, leaving room for roots without overfilling.
Finally, I tuck in a self-watering reservoir, keeping screw holes two inches above the waterline, which reduces daily watering to weekly top-offs.
The exact tools and techniques I’ve refined prevent crooked installations and waterlogging problems.
Measure Your Windows for the Right Window Box Fit
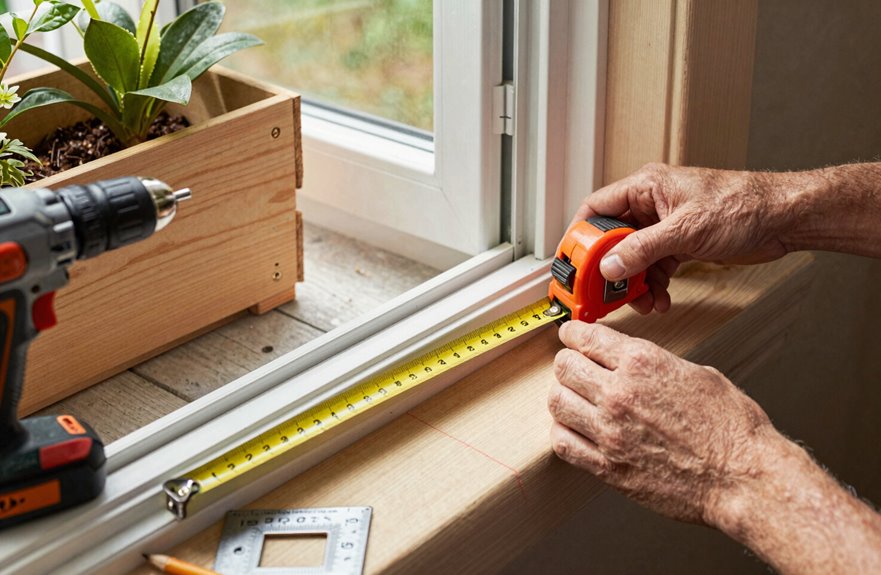
Where do you even start with window boxes? I measure my window width first, because nothing says “I tried” like a dinky box swimming in empty space. I’ve learned to fit boxes so they span the full width or extend a few inches past each side. Underscaling looks like you borrowed them from a dollhouse.
For sizing, I check standard dimensions (24 to 72 inches, with custom options if my house is quirky). On a three-pane window, I’ll use three medium boxes; for end windows, two large ones work beautifully. Sill height matters too. I hang mine one to two inches below, though in-swing casements need six to eight inches of clearance (learned that the hard way). I pre-plan bracket spacing, usually twelve-inch intervals, so installation feels like assembly, not guesswork.
Mount a Backing Board on Brick or Siding
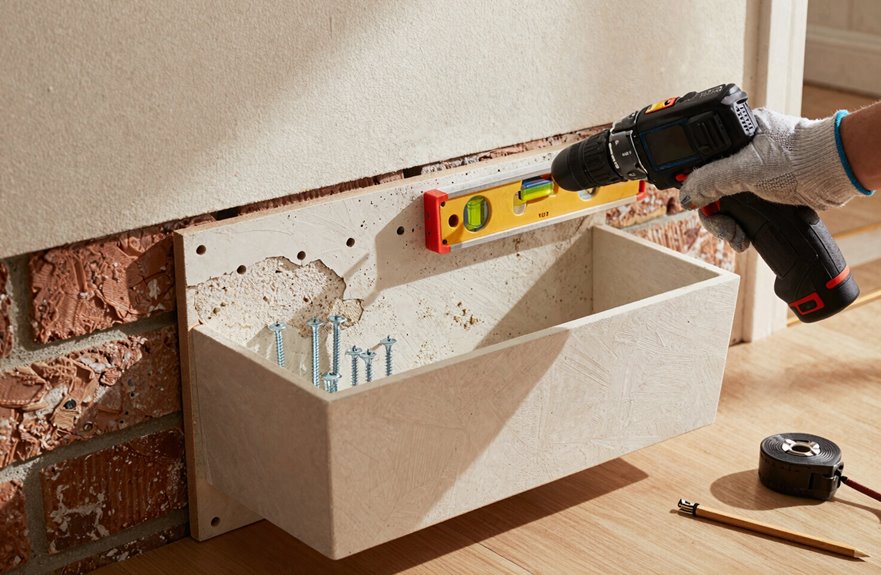
Once I’ve got my measurements locked down, I grab a pressure-treated 2×6 or 2×8 board, whatever matches my bracket height, and cut it to span my full window width plus a couple inches. This backing board gives my window box a solid, straight surface to grab onto, especially when my siding’s wavy or my brick’s uneven.
To keep this backing board secure:
- Pre-drill holes through the backing board into studs, or mark masonry anchor spots for brick
- Use outdoor screws, checking constantly that everything’s level so the flower box won’t shift
- Tighten until the board sits flush against siding or brick with no gaps
- Seal every fastener with exterior caulk to prevent water from sneaking behind the install, which causes rot and structural failure
Done right, this foundation holds my window box secure for years.
Space and Level Window Box Brackets
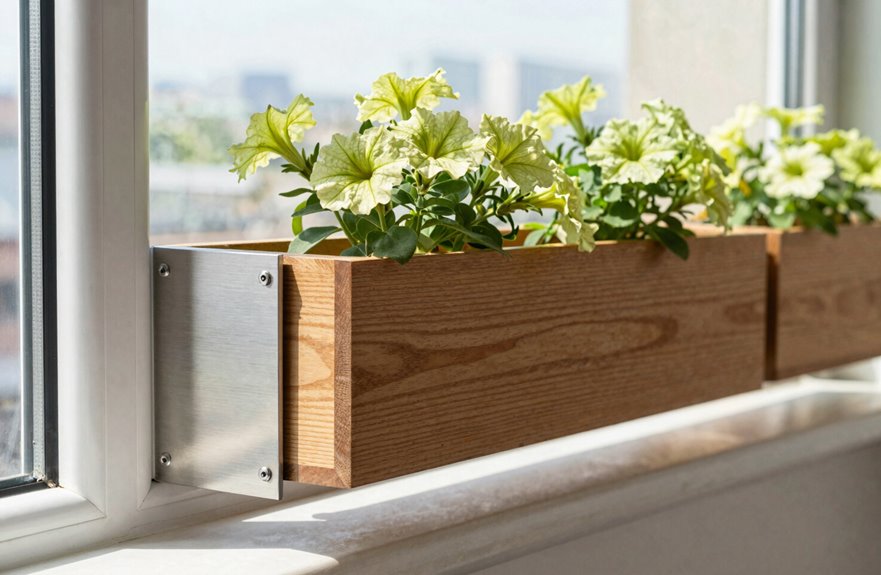
Two brackets usually do the trick for standard boxes, but I’m not gambling with a 4-footer full of wet soil and petunias. Three brackets, spaced every 12 inches, keeps everything from sagging like a tired hammock. For long boxes over 60 inches, I always add a center bracket. I align my box brackets with wall framing behind the siding; never anchor to the siding itself, that’s just asking for trouble. I mark 12-inch pilot holes across the board, grab my masonry bit if I’m hitting brick, and drill slightly undersized holes. Then I check every bracket with a level, both ways, because crooked window boxes need adjustment. Finally, I lift the window box lip under each bracket, tilt to seat it, and double-check it’s level before finishing.
Layer Soil and Plants for Full, Trailing Displays
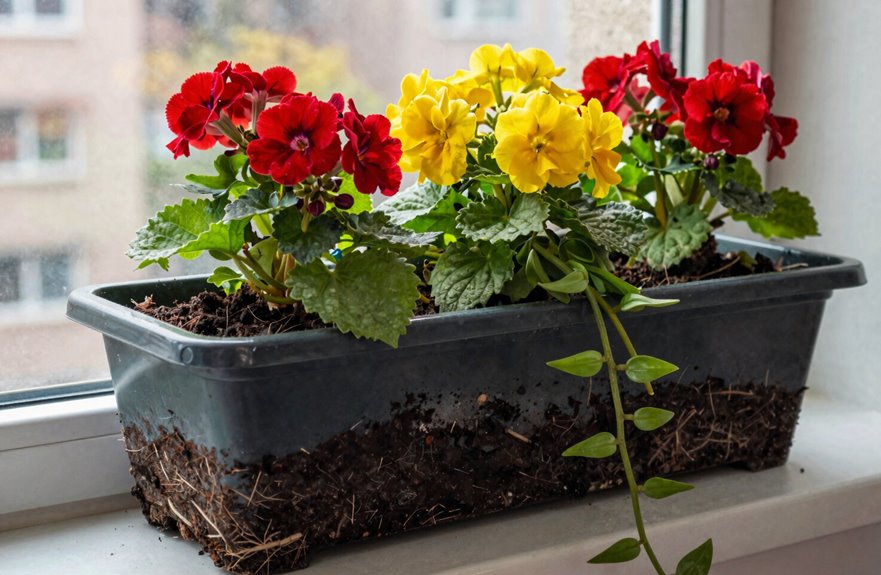
With the brackets locked in and level, I’m loading the planter to create a full, cascading display.
First, I check my drainage holes, as root rot will compromise the entire planting. Then I build my soil layering strategy: lightweight filler goes in the bottom third, followed by my planting mix, equal parts vermiculite, raised bed soil, and compost mix for moisture control without excessive weight.
Soil depth requires careful consideration. I need enough room for roots to spread, but not so much that my window boxes become disproportionately deep. Here’s my formula for a cohesive, intentional look:
- Start with upright thriller plants for height and structure
- Add flowering fillers for seasonal color and texture
- Tuck in trailing plants to cascade over the front edge
- Repeat the same combination across all boxes for visual rhythm
I nestle everything in, firm but not packed, and step back. The planter brackets hold steady, and the display is complete.
Add Self-Watering Reservoirs to Skip Daily Watering
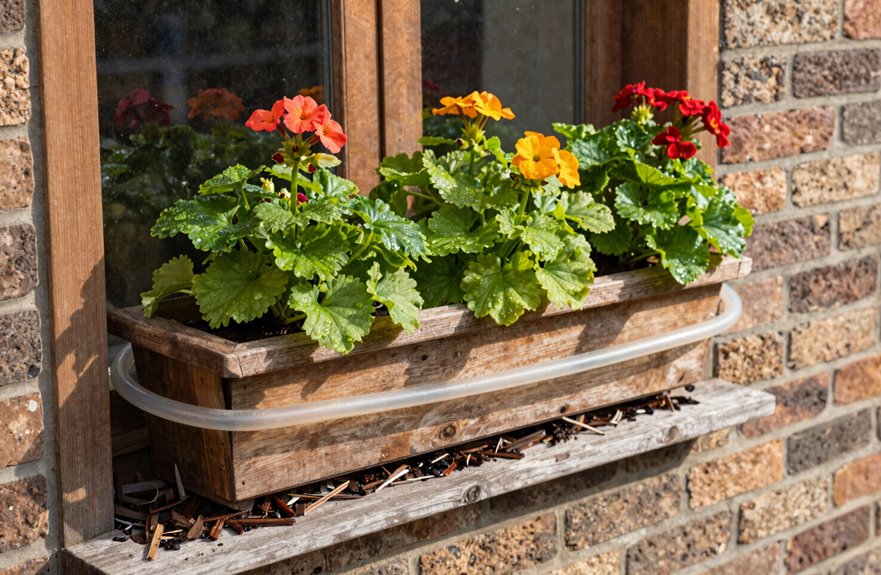
Why wrestle with a watering can every single morning when I can build myself a reservoir that does the heavy lifting. I’ve learned that adding a self-watering reservoir to my window box transforms daily maintenance into weekly check-ins.
First, I check my brackets and installation. Those screw holes need to stay above any waterline (about 2 inches clearance). I place the reservoir at the bottom, ensuring drainage holes remain unobstructed. Root rot becomes avoidable.
I fill it manually, though some folks connect soaker hoses during temporary setups. Rainfall helps, but I don’t rely on it. The reservoir wicks moisture upward, keeping soil watering consistent without saturation. My plants tolerate heat better, and my window sill stays cleaner. The system reduces plant loss from inconsistent watering schedules.





