

I start by planning for deer (6–8 feet high, no gaps) and rabbits (2-by-4 inch mesh or smaller), sketching my layout and marking post spots every 8–10 feet with mason’s string. I dig holes two feet deep, add gravel for drainage, and set 4×4 pressure-treated or metal T-posts plumb with quick-set concrete and temporary bracing. I stretch welded wire or chicken wire taut from a corner, stapling every 8 inches, then trench the bottom 6–12 inches to stop diggers. For the gate, I cut a 24–28 inch opening, build a braced 2×4 frame with two 4.25-inch hinges and a self-closing latch (I like the cord-weight trick for inside access), keeping everything at 5’6″ to match the fence. Finally, I bury the bottom edge, wrap it with L-shaped chicken wire if I’m concerned about burrowers, and step back to verify the fence is straight and level.
Plan Your Garden Fence for Size and Local Wildlife
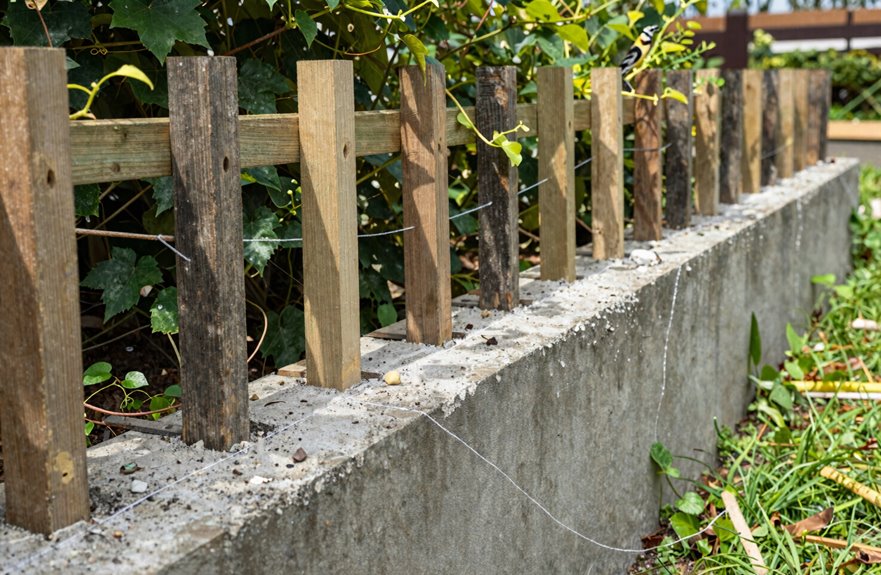
Why start with a plan? Because winging it leaves you with gaps, sagging wire, and deer treating your lettuce like a buffet.
For deer deterrence, aim for a fence height between 6 and 8 feet. Anything less, and they’ll hop over it. Mesh size matters too; use 2-by-4 inches or smaller to stop rabbits from squeezing through. Materials depend on budget and aesthetics: wood with welded mesh looks classic, but wire fencing works when keeping costs down. Sketch your garden’s shape first, marking where you’ll need gate posts for easy access. In windy spots, use heavier posts. In rocky soil, use shorter spans. Planning now prevents problems later.
Gather Posts, Fencing, and Essential Tools
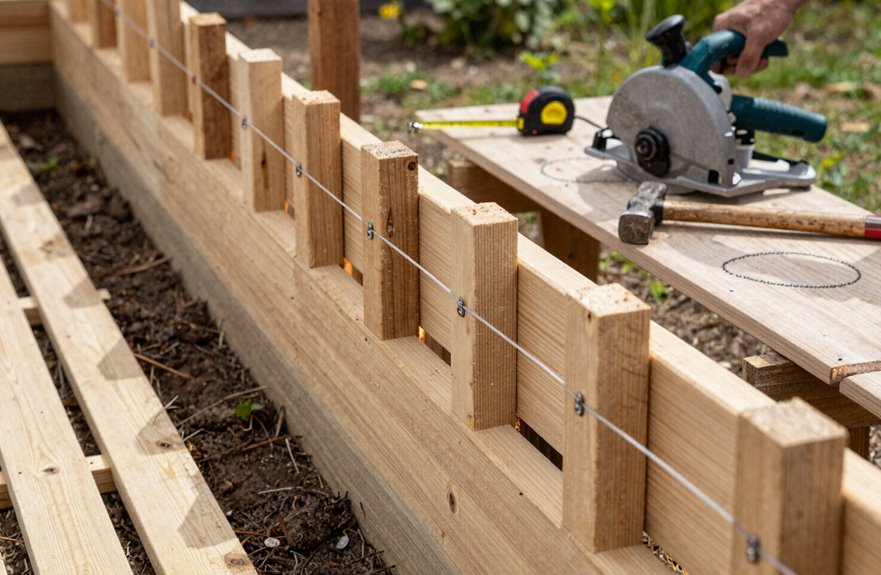
With your plan sketched out and deer-proof heights settled, round up everything you’ll actually need to build this thing. Posts come first. Space them every 8–10 feet along the perimeter, choosing pressure-treated 4x4s or metal T-posts if you prefer a more durable option. For fencing, weigh welded wire against chicken wire, balancing your budget against local deer pressure on your garden.
Fasteners matter significantly: fence staples for wood posts, zip ties for metal or PVC. Grab both options in case you change your approach mid-project. For postholes, rent a manual auger and grab a bag of quick-set concrete. The concrete prevents needing to rebuild the fence next spring.
Gather these tools: hammer, level, wire cutters, gloves.
Mark, Dig, and Set Your Posts Level and Plumb
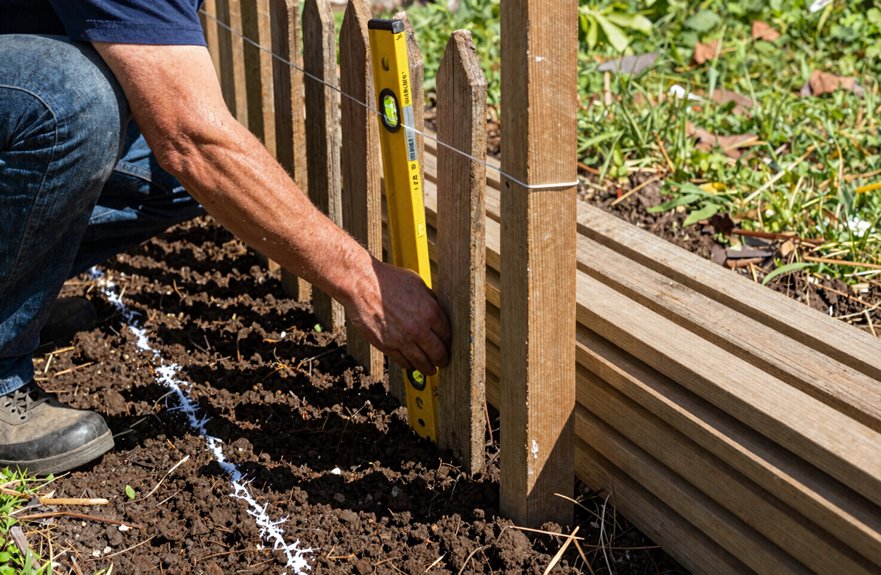
I’ll mark my fence line first, driving stakes every 8–10 feet and running mason’s string taut between them to map my perimeter exactly how I want it. Then I’ll grab my post-hole digger, or a rented auger if the soil’s stubborn, and bore down about 24 inches. This depth provides stability, especially if frost heave is a concern in your area. Once my holes are ready, I’ll stand each post plumb using a 4-foot level, bracing it temporarily with scrap 2x4s while I pour quick-setting concrete or tamp soil tight around the base.
Mark Post Locations
Where exactly do you want your fence to run? I grab my property markers first, because nothing kills neighborly vibes like accidentally claiming their petunia patch. Once I’ve got my boundaries locked down, I drive stake markers at each corner to map my fence line.
Next, find your exact post locations. I stretch a string line tight between end stakes, then mark every 8 to 10 feet with spray paint or more stakes. My tape measure becomes essential here; precise measurements now mean no wobbly fence later.
- Your string line is your truth-teller. Use it more than your eye.
- Consistent spacing (8–10 feet) keeps materials predictable and your wallet happy.
- Double-check everything before moving forward; backtracking stings.
With my post locations marked, I’m ready to make things permanent.
Dig Post Holes
Post locations are locked in, so now comes the part that separates weekend warriors from fence builders who sleep soundly through storms.
I grab my post hole digger (an auger works too, if you’ve got one), and start at the corners. Each hole goes two feet deep, spaced eight to ten feet apart along my fence line. That’s the sweet spot. Before my post goes in, I’ll drop three or four inches of gravel at the bottom. Standing water rots wood from below, so drainage prevents wood decay. I check for plumb with my level, add bracing if things get wobbly, then mix my concrete. Quick-setting’s my preference, though sand and gravel work in a pinch. This isn’t pretty work, but it’s the foundation everything else builds on.
Set Posts Level
How do you keep a fence from looking like it was built during an earthquake? Nail the alignment.
First, I stretch my string line between corner posts. Those anchors set 8–10 feet apart guide everything. I check each post with my post level (the tool that shows plumb on two sides at once), adjusting until it’s perfectly upright. No shortcuts.
- Gravel base = drainage that prevents rot
- Plumb check = vertical truth that holds the line
- Patience with backfilling = the difference between a fence that stands for decades and one that needs repair within five years
I set with quick-setting concrete, brace temporarily, and wait. When every post hugs that string line, the fence stays straight and true.
Stretch and Secure the Fencing Tight to Posts
Why does sagging fencing look so sad? It signals neglect, like a handshake that’s too limp. We’re better than that, you and I.
A limp handshake in wire and wood—sagging fences whisper neglect where pride should stand.
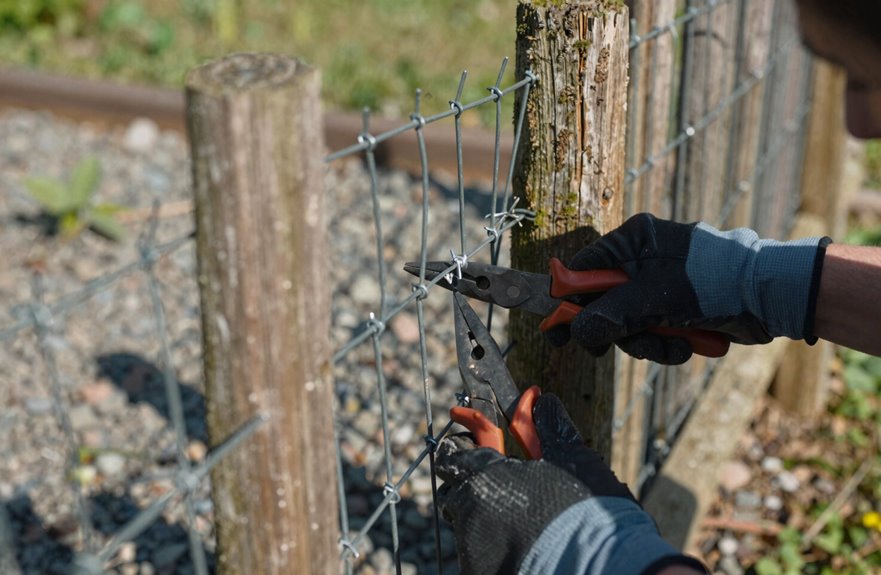
I start at a corner post, unrolling my fencing along the line we’ve set. Securing fencing requires attention to detail: I drive post staples every eight inches into wooden posts. Zip ties work for metal or PVC without compromise. The fencing must stay taut against each post because loose mesh invites rabbits, damage, and neighborhood complaints.
Don’t skip bottom burial; I trench six inches minimum, twelve if groundhogs are local celebrities. This anchors tension and blocks diggers simultaneously.
I pull sequentially, checking each run stays straight. Final tension adjustment comes after a day of settling. Your fence stands proud now. We did that.
Cut the Opening and Build a Gate That Swings Smoothly
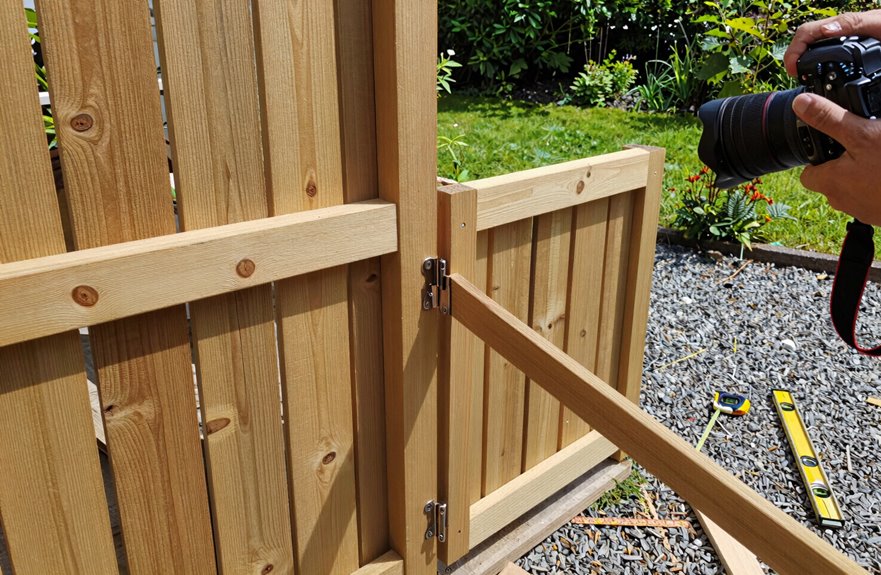
Start by cutting your opening and building a gate that actually swings without dragging or sticking. A gate that fights you every time you’re hauling a wheelbarrow of compost wastes time and effort. Size your opening first, usually 24 inches interior, though adding another board to hit 28 inches allows easier passage. Brace the frame corners with diagonal supports so the structure won’t sag within six months. Finish with self-closing hinges plus a latch that won’t pop open when deer bump it at 2 a.m.
Gate Opening Dimensions
Where exactly should you cut that gate opening so your wheelbarrow glides through without a scrape? Spacing your gate posts 44 inches apart provides adequate clearance, with a 24-inch interior board to mark where you’ll slice through the fence line.
Gate opening dimensions:
- Gate width: Aim for about 42 inches finished, slightly under your post spacing so it swings free without binding
- Gate height: 5 feet 6 inches overall, though the door itself runs shorter to nestle cleanly inside the frame
- Hardware clearance: Those 4.25-inch hinges need solid purchase, and your hinge and latch combo demands precise alignment for proper operation
Need wider access? Simply sister another 24-inch board beside your gate posts. This construction method accommodates larger equipment passage while maintaining structural integrity.
Gate Frame Assembly
How exactly do you turn that gap in your fence into something that actually works? I start by cutting my opening to match my planned width and height, then I set sturdy gate posts at each side (concrete prevents settling). Next, I build my gate frame using 2x4s, creating a rigid carcass that won’t twist. I install hinges on the gate frame, securing them to my gate posts with careful leveling so everything swings freely. For my latch, I pick something rated for outdoor weatherproofing. Self-clatching hardware allows you to keep both hands free when carrying items. I add diagonal bracing in an X-pattern for strength, then seal the wood thoroughly.
| What I Check | Why It Matters |
|---|---|
| Gate post depth | Prevents sagging, keeps us secure |
| Frame squareness | Door won’t bind, you’ll smile |
| Hinge placement | Weight distributes evenly |
| Latch height | Comfortable for everyone |
| Seal coverage | Our gate lasts, we belong |
Smooth Swing Hardware
Once that frame is built and standing proud, I’ve got to make sure this thing actually moves like it should. I mark a flat, straight hinge line (no bumps allowed), then hang two 4.25-inch hinges per side, keeping swing alignment spot-on so nothing binds.
- Check your posts: Plumb openings prevent headaches later.
- Brace diagonally: Wood fights gravity; help it win.
- Pre-screw everything: Weather-resistant hardware deserves respect.
I match gate height to fence height (about 5’6″ openings work well), install a reliable latch (add a cord-weight trick for inside access), and use galvanized or stainless steel. This gate will swing smooth for years, and the mechanism clicks shut reliably.
Bury the Bottom Edge and Maintain Your Fence Year-Round
Why stop at keeping rabbits out when you can outsmart the whole underground crew. Bury the bottom edge of your fence 6–12 inches deep to create a barrier that stops burrowers cold. For extra insurance, wrap the fence bottom with chicken wire, extending it 12 inches down and 6 inches outward in an L-shape underground, then secure it with galvanized staples. When digging post holes, plan for ground settling by either letting posts settle naturally or using quick-setting concrete to keep everything aligned. Year-round maintenance requires checking that buried netting stays taut, especially after freezes and thaws. Walk your fence line seasonally, tightening loose spots and filling any gaps that critters might exploit. This protection safeguards your garden and eliminates the stress of monitoring for animal damage.





