
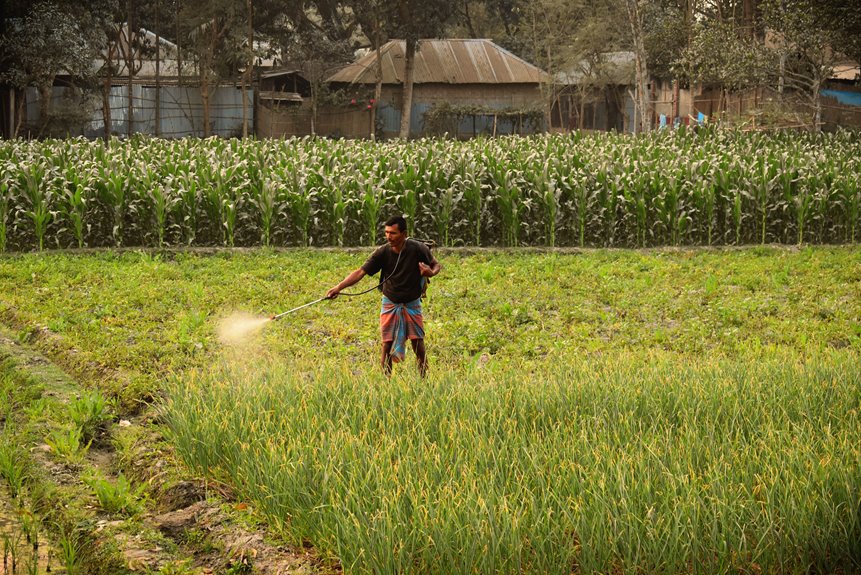
I install floating row covers by first prepping the bed: weed it, water it, then space hoops every five feet (9-gauge wire works great, or grab pre-made ones).
I drape lightweight fabric over the hoops, keeping it floating above the plants so nothing gets squashed, then seal every edge with bricks or sandbags every five feet to block pests.
For quick access, I hinge one side with clothespins and keep three sides buried or weighted.
I remove covers when flowers open for pollination, then seal back up.
Keeping everything tight without tearing requires practice, and specific techniques like proper weighting and edge management prevent most damage and pest infiltration.
What Is Floating Row Cover? (And Why Gardeners Use It)
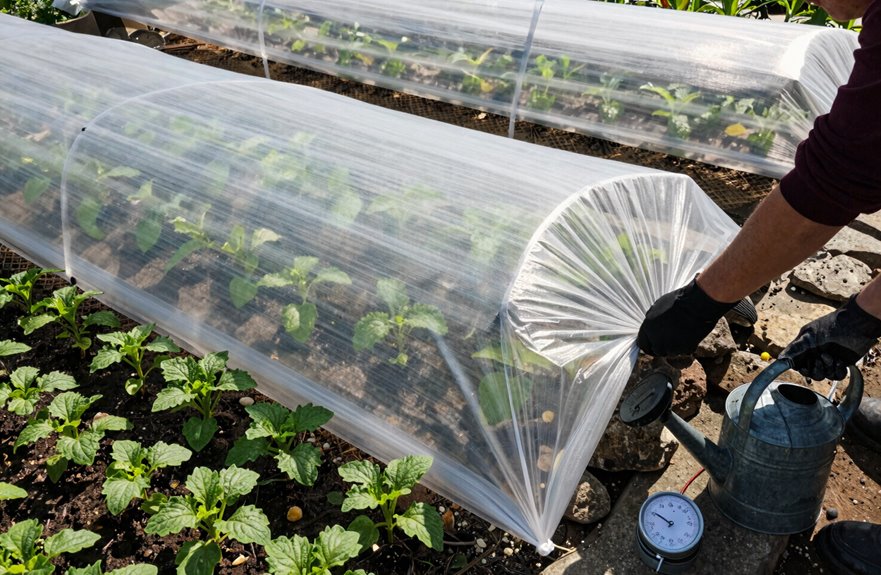
When I first started gardening, I thought floating row cover was just fancy plastic wrap for plants. It’s actually a lightweight, breathable fabric, usually white woven polyester or polypropylene (you’ll hear folks call it Reemay, like Kleenex for tissues), that lets air, light, and moisture through while keeping cold air out.
I use floating row cover for frost protection mostly, and it’s a transformative tool. Lightweight versions give you about 2°F of protection, while heavyweight ones can bump that to 10°F. This matters when a surprise April freeze threatens your tomatoes. You’ve got three weights to choose from: lightweight (summer pest blocking), medium (shoulder season), and heavyweight (real winter work). I secure mine over hoops with weighted edges, or just lay it directly on plants for quick coverage.
Which Pests Does Row Cover Block?
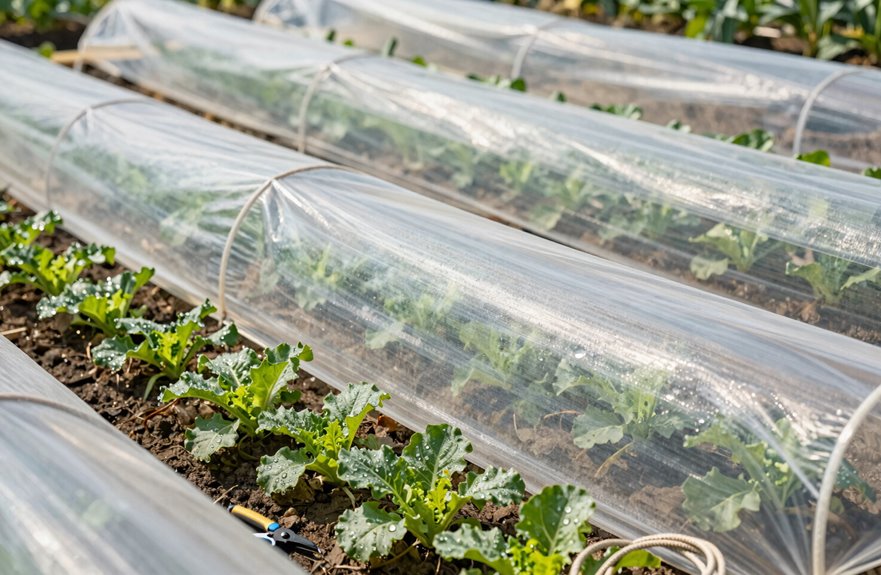
A physical barrier beats a spray bottle any day of the week, and that’s exactly what row cover delivers against some of gardening’s most annoying troublemakers.
When protecting plants, row covers block pests by creating an impenetrable shield. Cabbage moths flutter helplessly against the fabric while broccoli stays pristine underneath. The same applies to flea beetles, those tiny jumping destroyers that ruin leafy greens in hours.
Row covers successfully keep out:
Row covers successfully keep out cabbage butterflies, flea beetles, carrot flies, thrips, and more—seal every edge to stop pests from sneaking underneath.
- Cabbage butterflies and moths (no more caterpillar holes in brassicas)
- Flea beetles and cucumber beetles (cucurbits finally get a fair start)
- Carrot flies and onion maggots (root crops stay tunnel-free)
- Thrips and leafminer flies (beet family leaves stay unmarked)
Seal every edge by burying or weighing down the fabric so nothing sneaks underneath.
Best Crops to Protect With Row Cover
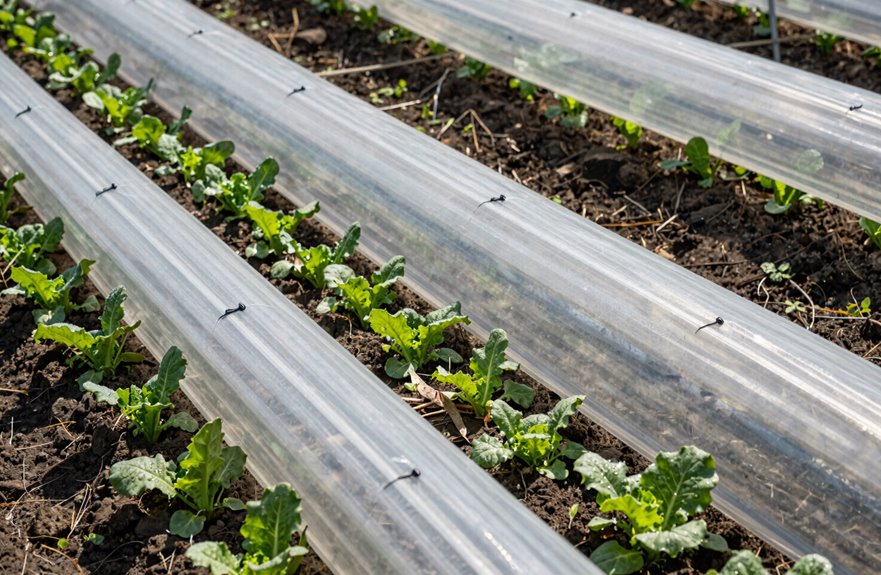
I’ve found that brassicas and leafy greens, including broccoli, cabbage, kale, and spinach, are excellent choices under row cover since they don’t need pollination and you can leave them protected throughout the entire season. Root vegetables and beets, the whole Beta vulgaris crew, also perform well, especially when you’re dealing with flea beetles or leafminers that would otherwise damage your greens. You’ll want to remove the cover for anything that fruits, but these crops thrive from transplant to harvest with protection in place.
Brassicas and Leafy Greens
Why are brassicas and leafy greens practically begging for row cover protection? Because they’re pest magnets, and cabbage moths don’t mess around. When I use row covers on my brassicas, I’m giving those plants a security blanket they need.
Here’s what makes this combo so satisfying:
- I drape fabric over hoops (or stakes, or whatever’s handy), then weigh edges with bricks or sandbags so wind doesn’t send my work flying
- The barrier blocks cabbage moths, caterpillars, and flea beetles while letting light, air, and moisture through. My greens stay healthy
- For non-pollinating crops, I leave covers on all season; set it and forget it
- I only remove covers when flowers need pollinators, though most brassicas and greens don’t require that step
Root Vegetables and Beets
How exactly do beets and carrots earn their spot under row covers? Flea beetles and onion maggots love these roots as much as we do, and pest control starts with blocking them completely.
I use floating row cover (lightweight fabric, usually 0.5–0.9 oz/sq yd) to create a warmer microclimate that extends my harvest window while letting light, air, and moisture through. For beets and their relatives, think spinach and chard. I install hoops (PVC pipe bent to 12–18 inches high works great) so the fabric floats above foliage, preventing abrasion damage.
I secure edges with rocks, bricks, or sandbags, burying them 2–3 inches to seal against soil-dwelling pests. I keep the row cover on all season, lifting it only for inspections or if flowering needs pollinators. The result is roots that stay pristine and protected from pest damage.
Lightweight or Heavyweight? Pick Your Fabric
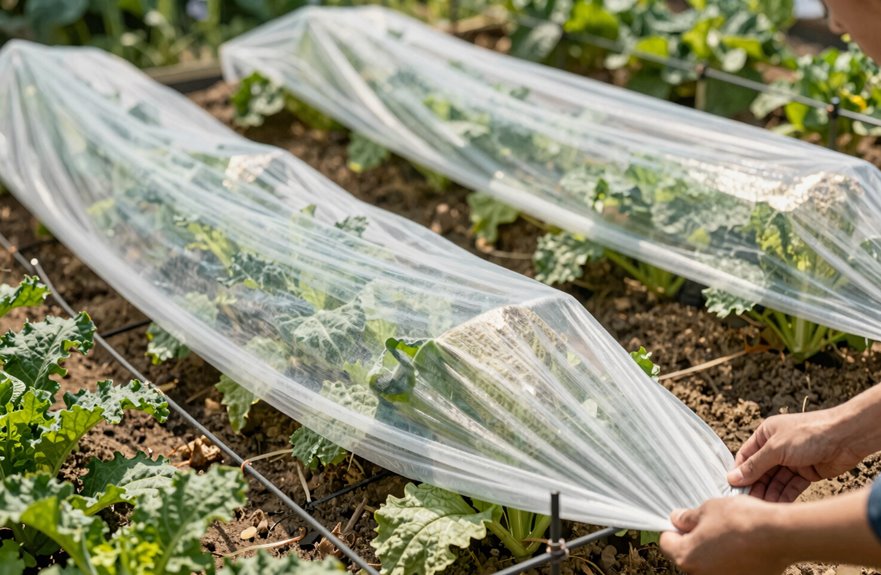
So you’re standing in the garden center, staring at a wall of white fabric rolls, and wondering which weight won’t leave you regretting your choice by mid-season.
- Lightweight row covers are your budget-friendly workhorses, perfect for keeping bugs out and creating that cozy mini-greenhouse vibe
- Medium-weight hits the sweet spot, speeding up growth while extending your spring and fall harvest windows
- Heavyweight delivers serious frost protection (4–8°F) and lasts season after season, though it’ll cost you more upfront
- Heavier fabrics trade sunlight and water penetration for warmth, so choose wisely based on your climate
I grab lightweight for most jobs, but keep heavyweight on hand for those surprise cold snaps.
When to Cover Crops for Maximum Protection
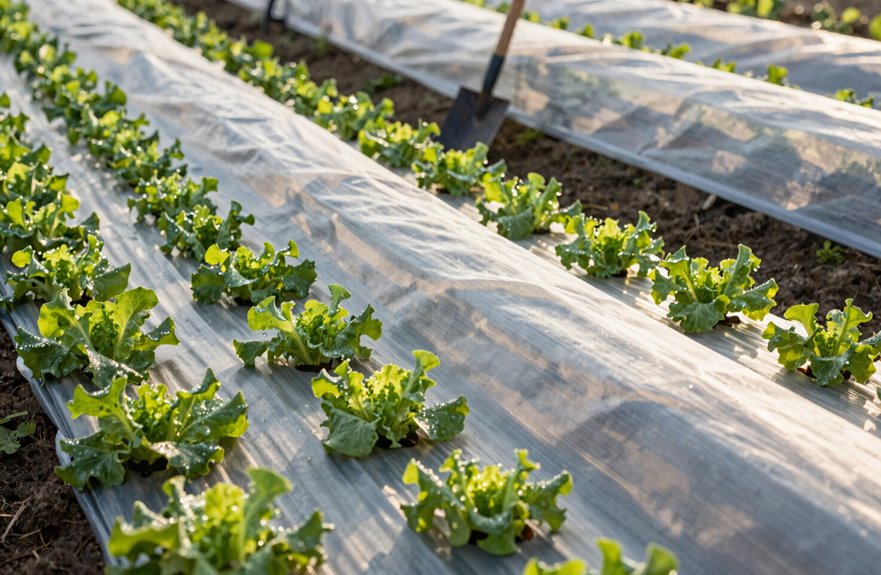
I get the timing right by watching the calendar and the weather, not just intuition. You’ll want to place covers over your crops at three key moments: early season (right after transplanting, when seedlings are still tender and frost might damage them), peak pest windows (when cabbage butterflies and flea beetles are most active, usually mid-spring through summer), and before weather events hit (sudden cold snaps, hail, and similar threats). Miss these windows, and you’re inviting every pest in the area to feed on your plants.
Early Season Timing
When exactly should you throw those covers on? I start draping my row cover as soon as seedlings break soil, or even before, if frost threatens. Early timing isn’t just about frost protection; it’s your first line of defense against pests that wake up hungry.
What I’ve learned works:
- Get covers on before pests arrive (once they’re in, you’re chasing trouble)
- Choose lightweight fabric for bug barriers, or medium/heavyweight when frost protection plus faster growth matters
- Secure every edge with bricks, sandbags, or soil. Wind loves stealing unsecured covers.
- Leave covers on for greens, but pull them during flowering for pollinator-dependent crops
I keep non-pollinating crops tucked in all season, which extends harvest well past the calendar’s predictions.
Peak Pest Windows
Timing your cover installation to match pest life cycles beats leaving fabric on 24/7 (which is like wearing a raincoat in the shower: unnecessary and counterproductive). Peak pest windows vary by crop and climate, so I track local pest emergence charts (your extension office has these free) to deploy floating row covers exactly when vulnerable insects hatch. For early-season crops, I use lightweight 0.5 oz covers against flea beetles and aphids. When temperatures drop or I need extended warmth, I switch to heavier 1.5 oz weights. I keep covers slightly above plant tops, about 6-8 inches, to maintain that floating barrier without causing frostbite. Remove them during bloom for pollinator-dependent crops like beans, then seal them back up. Timing optimization outperforms constant coverage.
Weather Event Protection
Why gamble with a late frost when a few yards of fabric can buy you precious degrees of warmth? I learned this the hard way after losing an entire bed of tomatoes one April, and now I never plant without my row cover strategy locked in.
- Install covers over hoops (PVC pipes work great) with edges weighed down using bricks or boards so wind doesn’t send your frost protection flying.
- Choose lightweight covers for early-season warmth and pest blocking, switching to heavier weights when temperatures really drop.
- Remove covers when blooms appear so pollinators can do their job, though I keep them on leafy greens all season.
- Secure both edges completely, adding stakes or pins when storms threaten, because gaps allow cold air to seep in.
That 2°F to 10°F buffer underneath means the difference between a successful harvest and crop failure.
How to Install Row Cover in 3 Steps
Wondering where to start with row covers? I can help you get started. Here’s my three-step method that’ll get you growing quickly.
First, I prep the bed by weeding and watering thoroughly. You don’t want to lift that fabric later just to pull a dandelion. Next, I install hoops every five feet (I use 9-gauge wire or buy pre-made hoops at the garden center) to create that essential raised space. Finally, I drape the row cover over and secure edges with rocks, bricks, or sandbags, burying them a few inches deep.
| Step | What I Do | Why It Matters |
|---|---|---|
| 1 | Prep, weed, water | Less lifting later |
| 2 | Hoops every 5 feet | Insulated growing space |
| 3 | Drape and weigh down | Wind protection |
Keep that fabric floating above your plants for effective pest control.
Seal Edges So Pests Can’t Sneak In
I seal my row cover edges every five feet with rocks, bricks, or sandbags (cinderblocks work too if you’ve got them), and I always bury the ground-contact edges or weight them heavily to stop crawling insects from sneaking underneath. You’ll want hoops or PVC frames to keep the fabric lifted off your plants, creating that snug, gap-free fit that prevents pest entry. Weighting both sides is essential; a shovel-full of dirt pressed along the edge effectively prevents wind from lifting the cover. I also pick one side as my “hinge” for easy access, keeping the opposite edge sealed tight so you don’t compromise your pest barrier each time you check on the tomatoes.
Edge Sealing Methods
- Bury edges two to three inches into soil or weed barrier for a tight seal against caterpillars and beetles
- Weigh down edges every five feet with rocks, bricks, or sandbags
- Use a shovel-assisted method with rebar or lumber to secure fixed edges that won’t budge
- Designate one hinged side for easy lifting while keeping three sides continuously sealed
Stretch fabric tight over hoops to create an effective pest barrier.
Weight Selection Tips
The right weights turn a flapping sheet into a fortress against hungry insects. I space my edge weights every five feet using rocks, bricks, cinderblocks, or sandbags to stop the wind from lifting corners and to maintain that secure seal. One hungry cabbage moth slipping through undoes all our hard work. When I’m using hoops or PVC frames, I keep weights along both sides without squashing plant tops. On windy days, I stake the cover and double up with outer and inner edge weights for a continuous barrier. For quick access, I hinge one side and use shovel-assisted weights, so I can lift and reseal fast.
| Setup Type | Weight Strategy |
|---|---|
| Permanent beds | Bricks every 5 feet, both sides |
| Windy conditions | Stakes plus inner/outer edge weights |
| Quick-access rows | Hinge side with shovel-assisted weights |
Ground Barrier Techniques
Because a single gap is all it takes for a cabbage moth to ruin your week, treat edge sealing like you’re building a fortress for tiny, helpless plants. Your ground barrier is only as strong as its weakest point, so lock it down tight:
- Bury edges 2–3 inches deep, or pin with rebar every 5 feet (think tent stakes, but sturdier)
- Weight the perimeter with rocks, bricks, or sandbags, whatever you’ve got lying around
- Build a hinge on one side using lumber so you can lift and tend plants without unsealing the whole row cover
- Drape over PVC hoops first, then seal the skirt completely with no gaps at the ends
One missed inch means insects will find entry points.
Hoops or Flat? Choose Your Setup
So, how do you actually get this fabric up and over your plants without creating a mess? I’ve tried both ways, and hoops win every time. A row cover draped over hoops creates this cozy bubble of insulation, floating above your plants instead of smothering them against the soil. That gap matters; no more leaves rubbing raw or tearing in gusts. For taller crops like tomatoes or broccoli, PVC hoops keep everything lifted with room to breathe.
You’ll want to weigh edges down every five feet with bricks, rocks, or whatever’s handy to stop midnight wind escapes. Check weekly for gaps, since pests love sneaking through slack fabric. Re-cover and adjust as plants grow. Flat works in dead calm, but hoops provide reliable protection against weather and wear.
When to Remove Covers for Pollination
Once you’ve got your hoops secured and your cover floating nice and high, you’re running a pest-proof fortress. This protection becomes counterproductive once your plants start flowering, since bees cannot pollinate through the barrier.
A pest-proof fortress becomes counterproductive once flowering begins, since bees cannot pollinate through the barrier.
Remove covers for pollination using this approach:
- Time your uncovering for when blooms first open, usually mid-morning when pollinators are active
- Install a hinge-side edge with clothespins on one side and a free flap on the other to avoid wrestling the entire setup
- Lift the cover completely without draping it on flowers, which will crush petals and cause plants to overheat
- Re-cover after pollination windows to restore pest protection
Partial lifting traps heat and blocks pollinating insects from reaching flowers. Full removal and full replacement ensures your plants receive adequate pollination and your harvest reaches its potential.
Clean, Store, and Fix Common Problems
The season’s winding down, or maybe you’re just rotating crops, and that row cover’s done its job. Now it’s time to give it some TLC so it’s ready for round two. I shake off loose soil and debris, then rinse with a garden hose (no soap needed, residue attracts pests). I check for tears, patching with UV-stable tape.
| Problem | Fix |
|---|---|
| Holes from wind whip | Patch with row cover repair tape, double-layer at stress points |
| Frayed edges | Trim clean, fold twice, sew or clip new hem |
| UV brittleness | Replace section; store future covers away from sunlight |
I fold loosely, never creasing sharply, and stash in a cool, dark shed. Proper storage extends the lifespan of my row cover across multiple seasons.





