
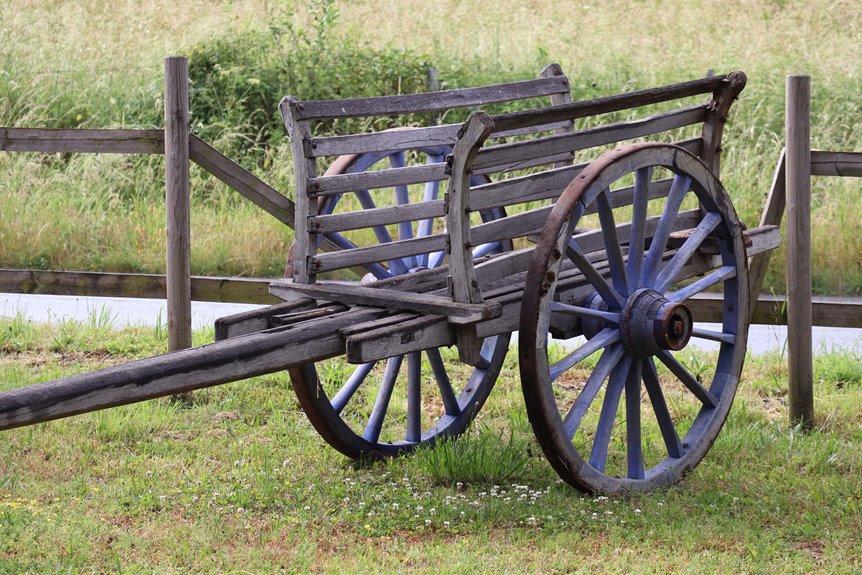
I built my first wagon wheel after watching an antique collapse under load, and I’ll walk you through what actually works.
Start with a 40-inch plywood work surface, scribe an 18-inch radius circle, and divide it into eighths for your spoke layout. Cut eight rim segments from straight-grained white oak or hickory at exactly 22.5 degrees, dry-fit them twice around your scribed circle, then glue and screw the joints. Cut your hub from 2-inch thick stock, center it precisely, and mark matching spoke holes by rotating rim and hub back-to-back. Drill through both, thread your dowels (rim to hub plus 1½ inches for glue grab), trim flush, sand from 120 to 220 grit, and finish thin. Circular symmetry is essential when you’re carrying weight across uneven ground; the specifics in this process will keep yours rolling for generations.
Build a Work Surface and Mark Your Wagon Wheel Pattern
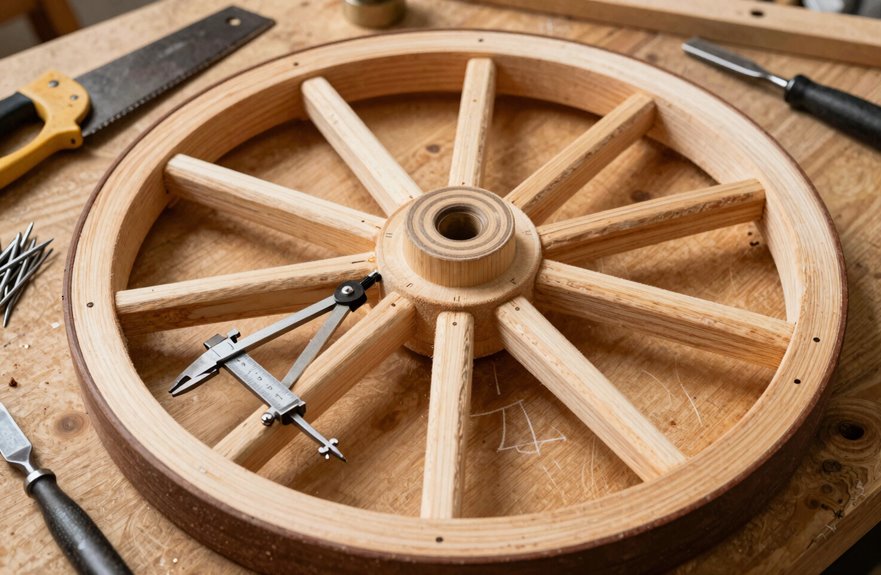
Before I start cutting any wood, I need a solid place to work. I grab a sheet of 3/4-inch plywood or MDF and lay it out on sawhorses, making sure I’ve got at least 40 by 40 inches of flat, stable surface. This gives me enough room for my 36-inch wheel plus a little wiggle room on all sides. This work surface becomes my blueprint for building wagon wheels with proper proportions.
I find the center, drive a small nail, and tie a string to my pencil at 18 inches for the radius to scribe a perfect circle. Then I divide it into quarters, split each into eighths, and I’ve got my spoke layout. I measure 2 3/4 inches inward for my rim width (standard 2×4 stuff) and mark those 13-inch chord lengths across each arc.
Choose Timber and Miter Your Wagon Wheel Rim Segments
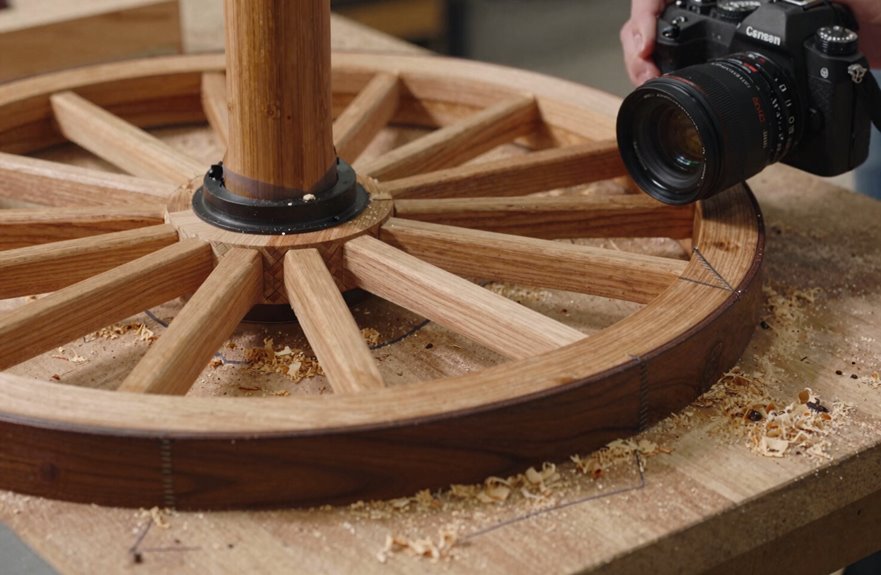
I start by picking straight-grained hardwood, like white oak or hickory, since it will take the beating a working wheel dishes out. Soft pine works fine for decoration, but it cannot handle real loads. Then I set my miter saw to exactly 22.5 degrees. Nothing kills a circle faster than an angle that’s “close enough.” I cut eight segments with the long points all facing the same way so they will wrap into a true ring. I lay them around a scribed circle on my work surface, tweaking until the gaps disappear. Getting this alignment right now prevents problems when I’m wrestling bent spokes into place later.
Timber Selection Criteria
Why does timber choice make or break your wheel? Because we’re building something that’ll carry weight, take weather, and maybe outlast us. I always start with straight grain and minimal knots (those sneaky weak points), then decide: pine for easy cutting, or oak if I’m feeling ambitious about durability. For my 36-inch wheels, I grab 1-inch thick boards, wide enough to slice eight 13-inch arc segments. Moisture content below 12% is essential (kiln-dried is your friend), or you’ll watch your rim twist like a pretzel later. I lay each board out, checking straightness and consistent width, because tight joints mean no gaps when we scribe that circle. Solid timber selection determines your wheel’s structural integrity.
Miter Angle Precision
Once you’ve got your boards picked and laid out, it’s time to start making sawdust. I set my miter saw to 22.5 degrees, your magic number for eight segments, and I always double-check with a digital gauge for accuracy. Follow these steps:
- Scribe a 36-inch circle on your work surface as a dry-fit template
- Keep all long points on the same edge, no exceptions
- Test every segment around that circle before glue touches wood
Straight-grained lumber matters here. Any warp fights your joints, and you’ll feel it in the final rim. I cut one end, flip the board, cut the other; consistency beats speed. Dry-fit twice. When those miters kiss tight around your circle, your joints will perform correctly.
Segment Alignment Technique
After you’ve got your eight pieces cut with that sweet 22.5-degree angle locked in, it’s time to coax them into a proper circle. I lay them on my scribed circle (that’s your circumference guide, drawn with a compass or string-and-pencil) with long points facing the same direction, feeling for that satisfying tight fit where ends kiss. I’ll mark matching witness marks on adjoining pieces, little ticks that keep my gaps honest when things shift.
Once I’m happy with the roundness, I’ll tweak segments until spacing feels even, rotating as needed. Then comes the glue-up: biscuits (or just glue, your call) with countersunk screws right at those joint lines. I snug everything down and check my circle one last time. The result is a rim worth showing off.
Cut the Hub to Diameter and Align Rim and Hub
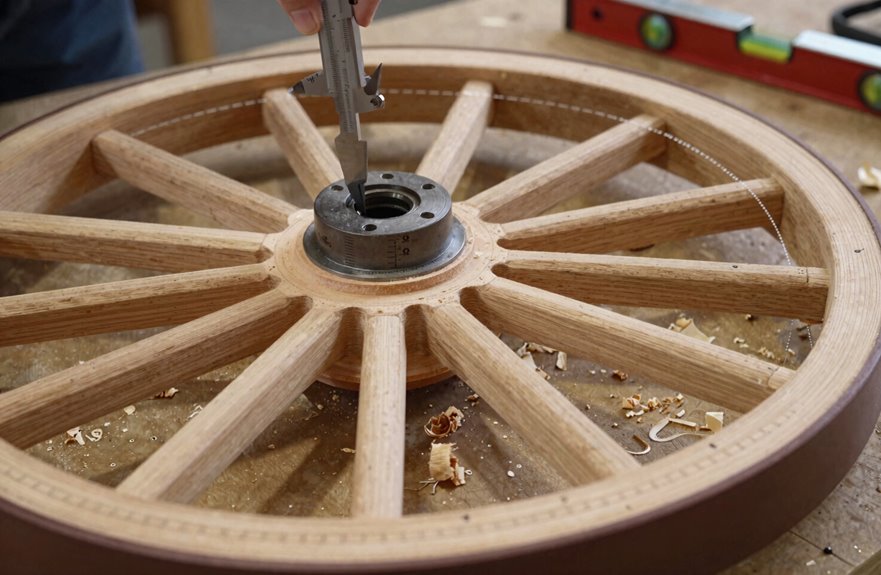
Cut the hub to its final diameter from wide boards, such as 8/4 stock about 2 inches thick, glued up for width. Clamp the blank temporarily over your center point on the bench to keep everything true while you scribe inner and outer circles. The outer circle marks your rim, and the inner circle marks your hub edge. Snap an octagon between them to serve as a visual guide for spacing those rim segments you mitered earlier. Rough-cut with a jigsaw or bandsaw, then fine-tune the roundness.
Hub Sizing Basics
Precision matters here, and it’s where I’ve seen more homemade wheels fail than anywhere else. Get your hub sized right, because we’re building something that’ll last generations.
- Scribe your exact diameter first, then rough-cut the hub slightly oversize before sneaking up to that final scribed line with a drawknife or spokeshave.
- Use an octagonal guide (basically eight tick marks around your circle) to keep the hub’s boundary true as you shape; it provides visual reference for consistency.
- Always re-center the hub on your original wheel center point, checking concentricity with the rim circle before committing to spoke hole placement. Measure twice, drill once.
Rim Alignment Technique
Once the hub is positioned at its final diameter, lock it down to your work surface directly over the center point you scribed earlier. This positioning is critical because every measurement radiates from this point like spokes on a wheel. Shape the hub to fit your wheel size, keeping its outer edge perfectly concentric with your center point, like a bullseye rather than a wobble. Next, drop your octagonal guide, whether plywood template or steel, onto that outer circle, centering it relative to the hub so everything stays symmetrical. Scribe both circles now: the outside rim line and inner hub line. These are your roadmaps. Finally, mount the rim around the hub, eyeballing for even spacing all around before committing to fasteners.
Center Point Verification
With the hub locked down and your octagonal guide in place, verify that everything is positioned correctly before making permanent cuts. Mark your original center point on the work surface, then center the hub directly over it as your reference for all subsequent steps.
- Scribe outside and inside circles to establish your final rim and hub dimensions
- Cut the hub to diameter using that center point as your reference, keeping it perfectly concentric
- Temporarily secure the octagonal shape to guide rim alignment while you work
Use a jigsaw or bandsaw to make your final cuts, constantly checking back against that center point. If you lose that reference, you’ll end up building an oval, which compromises the entire wheel.
Assemble the Wagon Wheel Rim With Joints and Fasteners
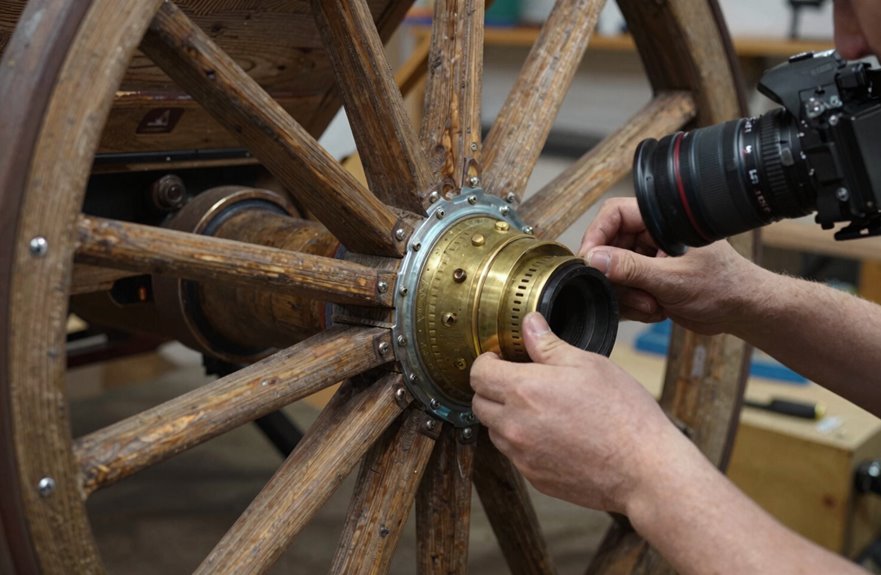
Finally, I drive #10×2″ screws through countersunk holes (the indent lets the screw head hide below the surface) at every joint, two screws per meeting, angled slightly for better bite.
| What I’m Doing | What It Looks Like |
|---|---|
| Cutting boards with 22.5° angles | Eight pieces, long points matching like puzzle pieces |
| Laying them around my scribed circle | A wooden octagon hugging the line |
| Gluing and biscuited joints | Thick yellow glue squeezing out slightly |
| Driving those angled screws | Silver heads disappearing into the wood |
| Checking roundness with my tape | Numbers matching across |
I measure across my circle at multiple points: north-south, northeast-southwest, and all cardinal directions. I nudge joints until everything’s true. The rim achieves perfect roundness when measurements match consistently across every axis.
Drill Wagon Wheel Spoke Holes With Perfect Alignment
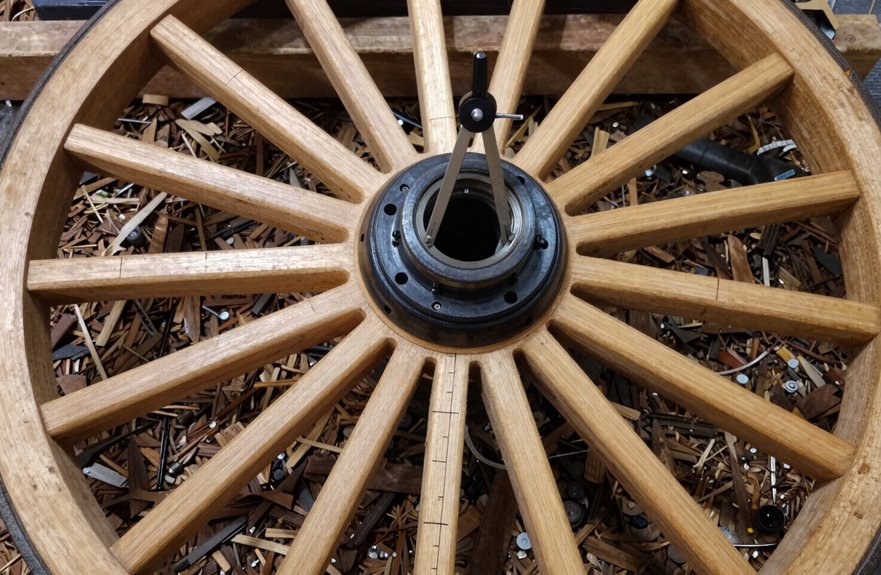
My rim’s sitting pretty, round as a dinner plate, and now I’m staring at the hub I turned last week. Two wooden discs are waiting to become something that actually rolls. Eyeballing doesn’t cut it here.
- Center both pieces on your bench, then rotate half a spoke segment to mark positions. This old-timer trick prevents lopsided wheels.
- Start with rim holes sized for spokes, then bore hub holes 1 to 1.5 inches deep using a small guide bit first, stepping up gradually.
- Double-check that your marks line up across rim and hub before committing. Circular symmetry depends on this alignment.
Verify everything centers up; adjustments now beat disasters later. Wheels built with precision will carry generations.
Fit Dowels and Install Spokes for the Wagon Wheel
Grab your dowel stock and turn these wooden discs into wagon wheels. Cut your dowels to length first, measuring from rim to hub plus a little extra, about 1 to 1½ inches into the hub, with enough sticking out for glue to grab hold. They need to pass clean through.
The rim holes should already be drilled using the scribed circles and segment divisions marked earlier (eight spokes per quadrant on a 36-inch wheel). Position rim and hub back-to-back, rotate half a segment, and mark matching spots on both pieces. This keeps everything centered.
Thread each dowel through the rim into the hub, add glue, and check your spacing. Monitor that the hub stays put while everything sets.
Sand, Trim, and Apply Your Chosen Finish
With the spokes seated and the glue setting up firm, trim any dowels poking proud of the rim flush using a sharp chisel or Japanese flush-cut saw (the kind with no set teeth, so you won’t scar the wood). Then sand, working from 120-grit through 180 to 220, feeling the surface until it’s glass-smooth under your palm.
- Check for true run by spinning the wheel; mark wobbles with pencil, then re-sand those spots
- Apply your finish (oil, varnish, or milk paint) in whisper-thin coats, waiting overnight between each
- Do a final inspection after the last coat cures, touching up any missed spots before calling it done
Your wheel is finished and ready to roll.





