
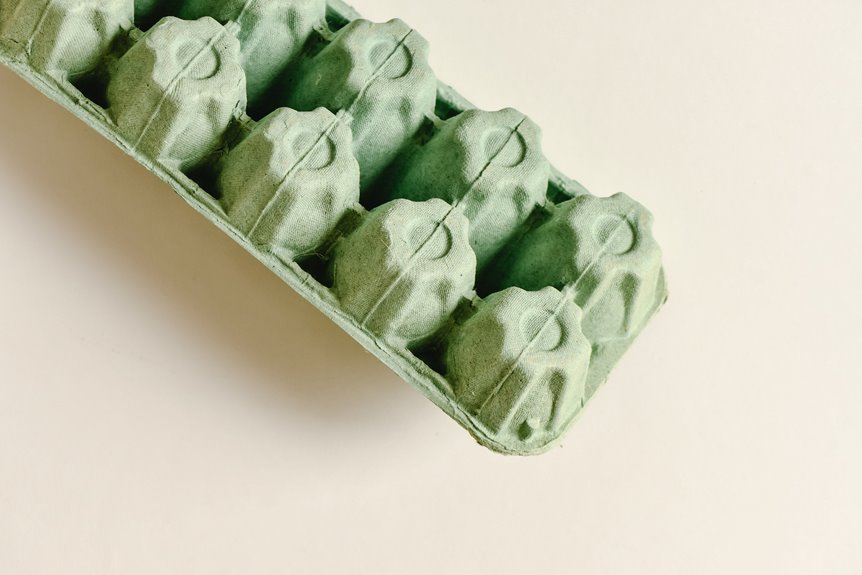
I hang egg cartons in my yard because they’re basically free garden multi-tools. I punch drainage holes in the cups (three or four per cell, using a Phillips screwdriver), then start seeds, chit potatoes eyes-up, or nestle onion sets inside.
Flipped lids become slug traps I check every few mornings, and spent cartons go straight to my compost pile. Shredded into one-inch strips, they break down in weeks, not months. It’s zero-waste problem-solving with stuff I’d otherwise toss, and there’s a trick for nearly every crop you can imagine.
Turn Egg Cartons Into Your Garden’s Secret Weapon
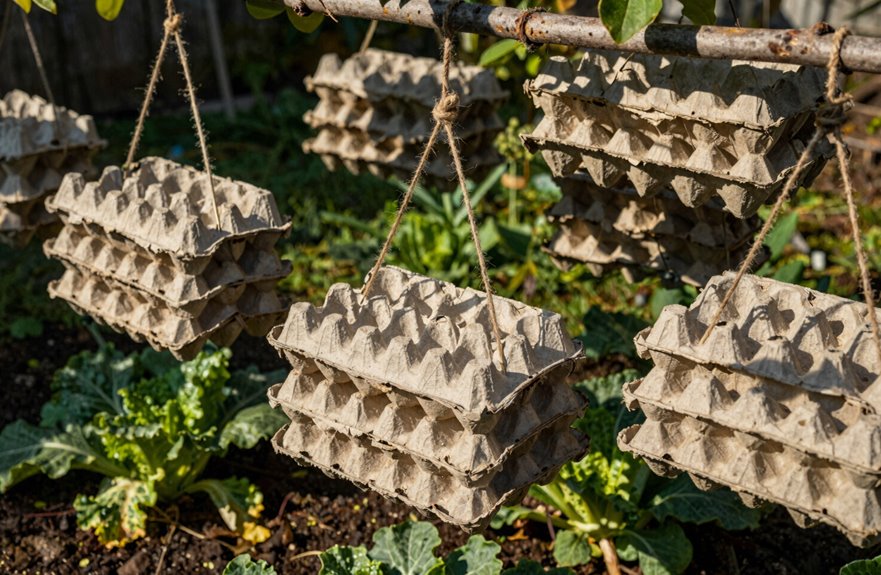
If you’re anything like me, you’ve probably stared at an empty egg carton and thought, “Well, that’s headed for the recycling bin,” but hang on. That humble cardboard box is about to become your garden’s MVP.
I’ve discovered egg cartons transform into the ultimate yard tool through simple repurposing. For slug deterrence, I place unturned carton lids around vulnerable seedlings. Those sharp cardboard edges deter slugs without chemicals. When seed starting season hits, I punch drainage holes in each cup, fill with potting mix, and sow one seed per cell. The result is compact, organized, and ready for transplanting.
The mulch-like quality kicks in when I tear spent cartons around sprouts, suppressing weeds while holding moisture. They’re compostable plant labels, bug shelters, and tomato storage. One free container provides multiple garden solutions.
Chit Potatoes Faster in Egg Carton Cups
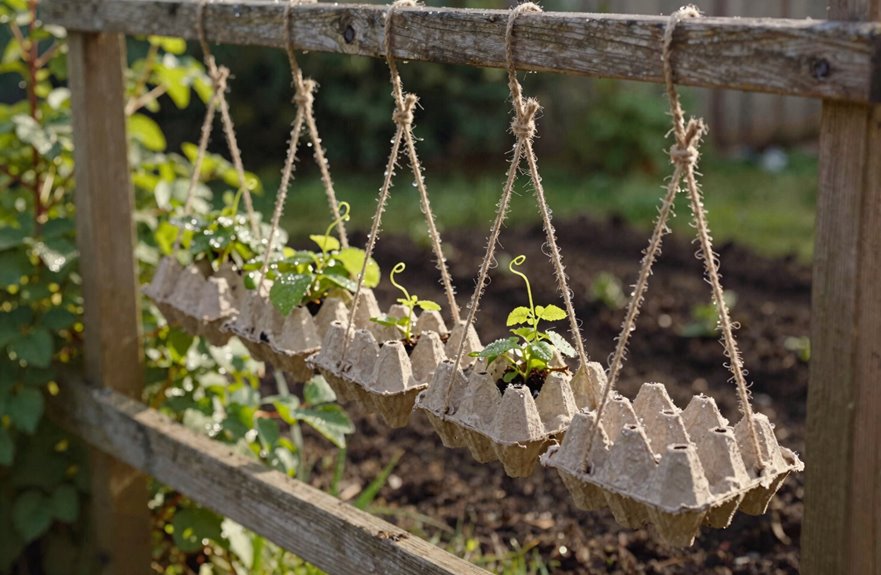
I chit my potatoes in egg carton cups every spring, and it’s the simplest trick I’ve found for getting sturdy sprouts before they hit the soil. You’ll want to place your seed potatoes (the small, certified disease-free ones from the garden center) with their eyes facing up in each cup, then set the whole carton on a south-facing windowsill where it’ll catch 6 to 8 hours of direct sunlight daily. The carton keeps them from rolling around, and in about 4 to 6 weeks you’ll have sprouts ready for transplanting. No greenhouse required, though a sunny porch works as an alternative.
Potato Chitting Basics
The humble egg carton isn’t just for protecting fragile breakfast ingredients. It’s also your practical tool for getting potatoes off to a strong start. I use egg cartons for potato chitting because they transform kitchen chaos into organized sprouting without requiring fancy gear.
Here’s how to prep seed potatoes:
- Grab early varieties (like ‘Rocket’ or ‘Swift’) and nestle each tuber into its own cup, spaced for airflow.
- Place them eyes facing up so the sprouts grow skyward without tangling.
- Park the carton on a windowsill or greenhouse bench to create a contained sprouting space that keeps things tidy.
- Wait out the 4–6 week chitting period until shoots hit 1 inch (2.5 cm), then plant deep.
Sunlight Placement Tips
Bright, steady warmth turns egg carton chitting from a waiting game into a sprint. I place my egg cartons on a sunny windowsill where sunlight streams for six-plus hours daily, positioning each cup so eyes face upward. This placement harnesses warmth that accelerates sprout growth, cutting weeks off my timeline.
South-facing windows work best, though east or west will do in a pinch. The contained cups keep potatoes secure while chitting, preventing them from tumbling. After four to six weeks, sturdy sprouts emerge in green, knobby form and are ready for transplanting. I then carry the whole carton to my garden yard, popping each potato directly into prepared soil. This method eliminates root disturbance and transplant shock, creating a seamless transition from windowsill to earth.
Start Seeds in Free Carton Cups (No Plastic Trays Needed)
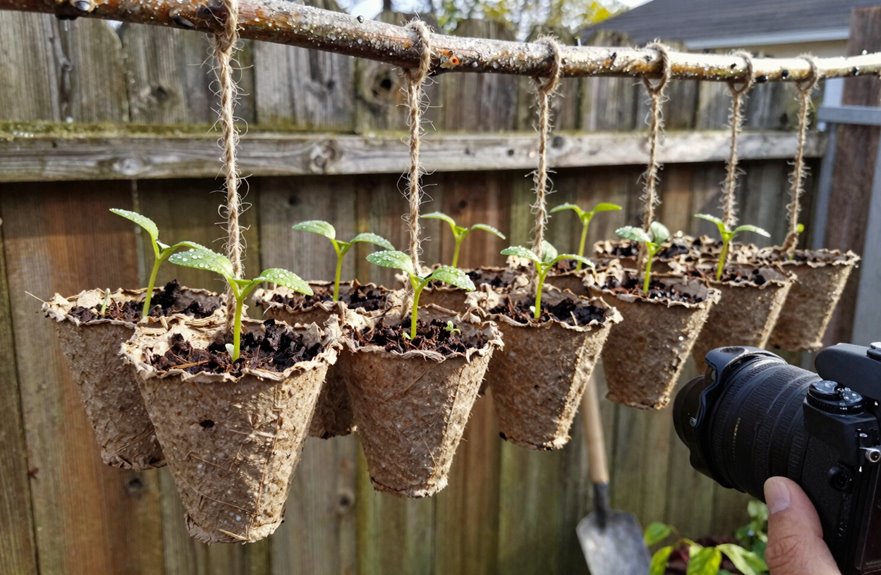
Why spend money on those flimsy plastic seed trays when you’ve already got the perfect starter cups sitting in your recycling bin. I’ve been using egg cartons for seed starting for years and find them superior to plastic alternatives. Those free carton cups provide built-in spacing that mimics expensive plug cells.
Here’s how to make it work:
- Poke drainage holes — I use a skewer or pencil tip to spike each cup bottom (about 3–4 holes, ⅛ inch wide), so roots don’t rot in standing water.
- Fill with pre-wet potting mix — I dampen my mix first, like a wrung-out sponge, then pack cups lightly.
- Sow seeds — Two or three per cup, barely covered with soil.
- Lock in moisture — Cardboard cartons dry fast, so I slip mine into a produce bag (or humidity dome) for germination humidity, checking daily.
Plant Carrots Straight Through Egg Carton Cups
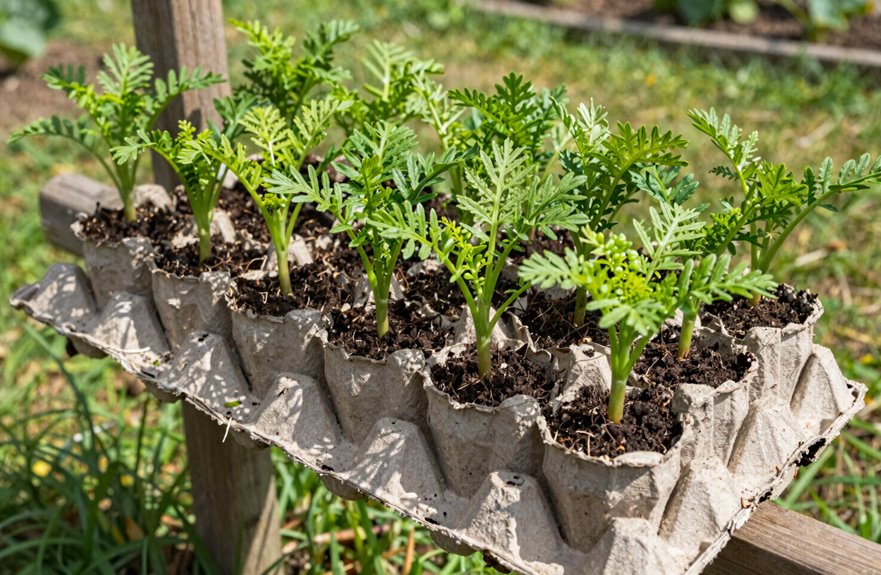
I plant carrots straight through egg carton cups by sowing two or three seeds per cup, thinning to the strongest seedling, then dropping the whole thing into the garden (cardboard and all) when it’s time. The cup acts as built-in mulch, suppressing weeds while the carrot root pushes through the bottom holes without transplant shock. This method works well for those finicky taproots that hate having their roots disturbed. Slugs show less interest in cardboard-wrapped seedlings.
Direct Planting Method
Several gardeners have discovered that egg carton cups make effective carrot starters. This direct planting method transforms cardboard into a functional garden tool.
Here’s how to do it:
- Sow two to three seeds per cup, then thin to one strong seedling (scissors work best, avoiding root disturbance).
- Plant the entire transplant unit cup-and-all into your yard, maintaining perfect carrot spacing from day one.
- Watch roots push through bottom holes while the cardboard becomes mulch, suppressing weeds naturally.
- The cup shields tender roots during vulnerable early weeks, providing built-in slug protection.
This method is sustainable gardening. No plastic, no waste, and the design is practical.
Carton As Mulch
How exactly does a flimsy egg carton become your garden’s tool? I plant carrots straight through egg carton cups, two to three seeds per cell, thinning to one seedling. The roots push through bottom holes while surrounding cardboard becomes carton mulch, a biodegradable material that suppresses weeds and retains moisture.
Egg carton trays transform into transplanting units, letting me move carrots without root disturbance and without transplant shock. The cardboard mulch also functions as slug defense, creating protected microclimates that those pests avoid. This waste reuse strategy embodies sustainability by turning kitchen discards into garden resources.
For container growing, I space cartons apart, plant as units, then let cardboard decompose or compost it once established. Cardboard mulch is simple and effective, and you’re already buying eggs anyway.
Shield Onion Sets From Birds Using Carton Cups
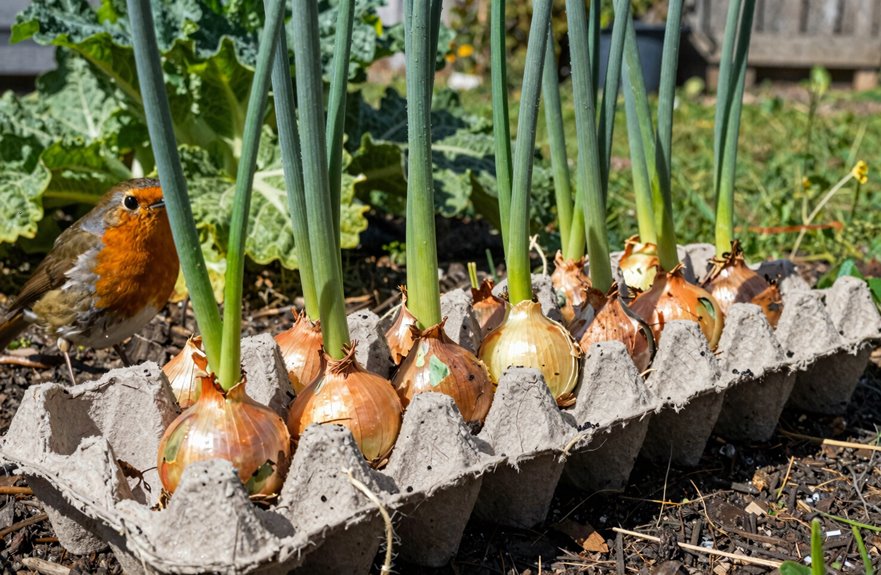
Where’s a hungry sparrow when you’ve just tucked delicate onion sets into soft spring soil. Right there, pecking at your hopes. That’s why I use egg cartons as shields against birds during carton planting.
To protect your onion greens with egg carton cups:
- Nestle sets upright in individual cups for root protection and organization
- Drill ¼-inch drainage holes (three per cup) to prevent soggy rot
- Position in sunny, sheltered spots where birds can’t easily spot seeds
- Transplant with carton intact around the root ball to minimize disturbance
This yard gardening trick keeps onion sets stable while roots form. The cardboard eventually breaks down, but until then, you’ve got portable armor. Your onion greens will push through safely, undisturbed by birds.
Catch Slugs Hiding Under Carton Traps
Once your onion greens are pushing up safely, it’s time to turn attention to the slimy foes that work the night shift. Egg cartons make effective slug traps when flipped upside down in shady damp areas where these pests hide from daylight. The cardboard creates a cool, dark haven they’re drawn to, making pest monitoring straightforward.
| Egg Carton Strategy | What You’ll Discover |
|---|---|
| Place cartons near lettuce beds | 5-15 slugs per check (your mileage may vary) |
| Lift every 2-3 mornings | Easy pest removal with tweezers or gloved hands |
| Rotate positions weekly | Stronger deterrent effect, better yard protection |
This egg carton barrier functions as both a garden barrier and slug trap. The method works by exploiting their natural habits. No chemicals, no fuss. Flip the cartons, check them every few mornings, and dump slugs into soapy water to eliminate them. This approach provides effective yard protection without relying on pesticides.
Compost Spent Cartons to Feed Your Soil
When I’ve finally caught my last slug and that cardboard’s seen better days, I don’t just toss it. I’m sending it straight to the compost pile, where it breaks down into valuable material. Egg cartons transform into useful additions for my compost heap, balancing those nitrogen-rich greens (like grass clippings, which can get slimy fast) with steady carbon power.
Here’s how I maximize their potential:
- Shred first — I tear cardboard into one-inch strips, boosting breakdown rate from months to weeks.
- Peel labels — adhesive gums up the works, so I remove product stickers completely.
- Layer strategically — I nestle shredded bits between food scraps for moisture absorption control.
- Mix with crushed shells — this combo creates a soil amendment my tomatoes actually benefit from.
This approach eliminates waste while cycling materials back into the garden system.





