
I’ll shut off the power (electric breaker or gas valve to pilot) and cold water supply, attach my 25-foot garden hose to the drain valve, then open a hot tap upstairs to vent air while the tank empties over 20–40 minutes.
Once drained, I’ll flush sediment by cycling the cold water on and off three times, close the drain valve finger-tight, refill through the cold inlet while keeping that tap open until water runs clear, then restore power.
If your shower’s still lukewarm after two hours, additional fixes may be needed.
Signs Your Water Heater Needs Flushing Now
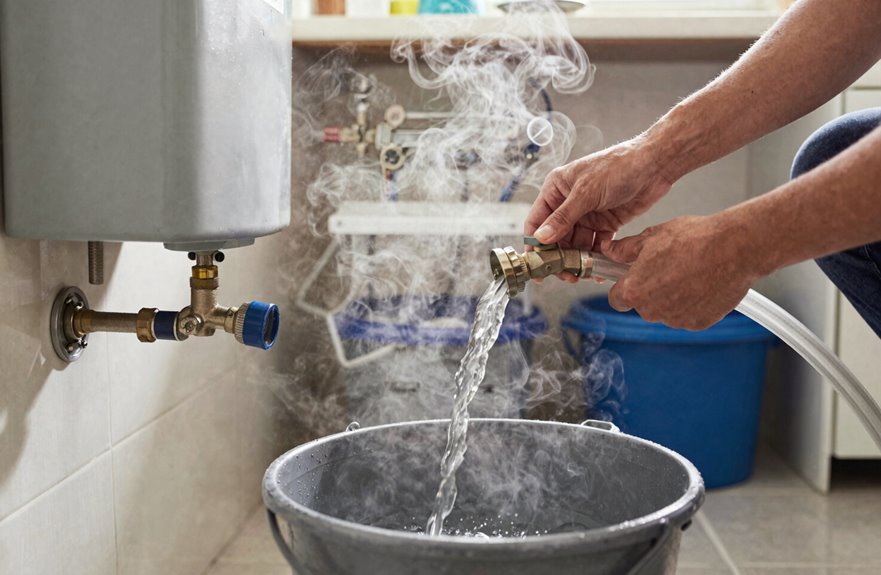
How do you know when your water heater needs attention? Listen for rumbling and banging sounds that indicate sediment buildup in the tank. When hot water supply decreases, shorter showers and longer waits become noticeable. Check for rusty or discolored water coming from the tap. Monitor your energy bills; sediment forces your water heater to work harder, increasing consumption like wearing a winter coat in summer. Frequent draining sessions at the tank’s drain valve suggest sediment accumulation. If you can see actual sediment when looking inside the tank, flushing is overdue. The hose connection at the base provides access for the flushing process. These signs indicate your water heater requires maintenance before complete failure occurs.
Gather Your Gear: Hose, Bucket, and 30 Minutes
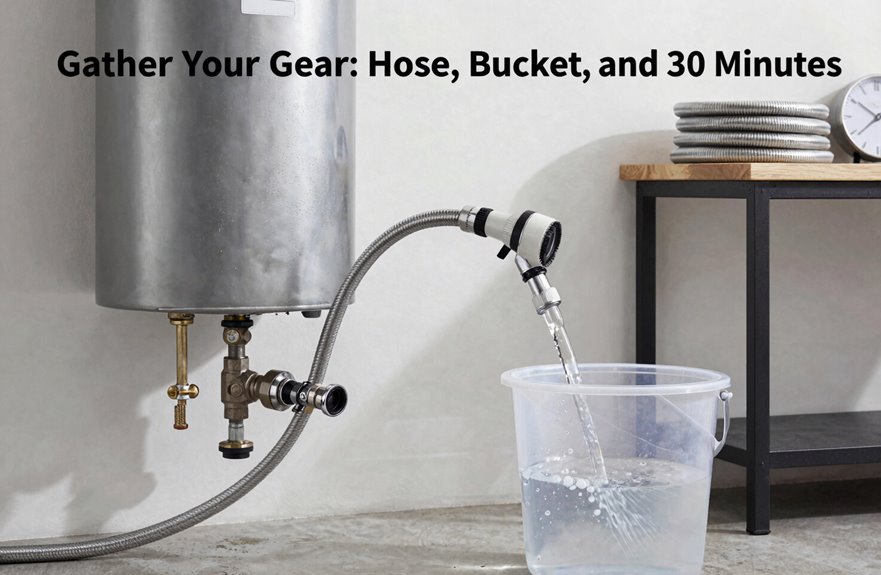
I’ll grab a standard garden hose (any length works, though 25 feet usually covers most setups), a sturdy bucket for those inevitable drips, and block out roughly 30 minutes on my calendar before we start. Safety comes first, so I’m shutting off power at the breaker (or turning the gas to “pilot”) and closing the cold-water supply valve, because nobody wants a scalding surprise or a flooding mess. With towels handy for splashes and the hose routed to a floor drain or out a window, I’m ready to attach to that drain valve and get this sediment cleared out.
Required Tools Overview
What do you need to flush a water heater without turning your afternoon into a plumbing disaster? You’ll find the essentials below, basic gear that keeps sediment from ruining your tank’s efficiency.
You’ll need a standard garden hose, about six feet long, though longer works fine. It screws right onto the drain valve at your water heater’s base. That valve lets you flush out sediment that accumulates over months. Grab a sturdy bucket, five-gallon size if you have one, in case your discharge location isn’t conveniently situated. A nearby floor drain eliminates the need for a bucket. Towels help, since spills happen during this process.
Block out thirty minutes for the job, though large tanks or significant buildup may take longer.
Safety Precautions First
Safety first, because nobody wants a surprise scalding or a flooded basement. I once forgot the cold-water shutoff, which resulted in extensive carpet damage. Follow these steps correctly to avoid similar problems.
| Step | Action |
|---|---|
| Power Down | Turn Off Electric at the breaker, or close the Gas Valve to pilot |
| Stop the Flow | Shut the Cold-Water Supply (usually a blue handle above the tank) |
| Gear Up | Grab Protective Eyewear, thread your Garden Hose onto the Drain Valve, and aim it toward a Floor Drain or outside |
| Clear the Zone | Keep kids, pets, and your favorite houseplants away; hot water poses serious burn risks |
Allocate thirty minutes and have a bucket available for backup. Complete all steps without skipping any of them to prevent water damage and injury.
Step 1: Safely Shut Off Power and Cold Water
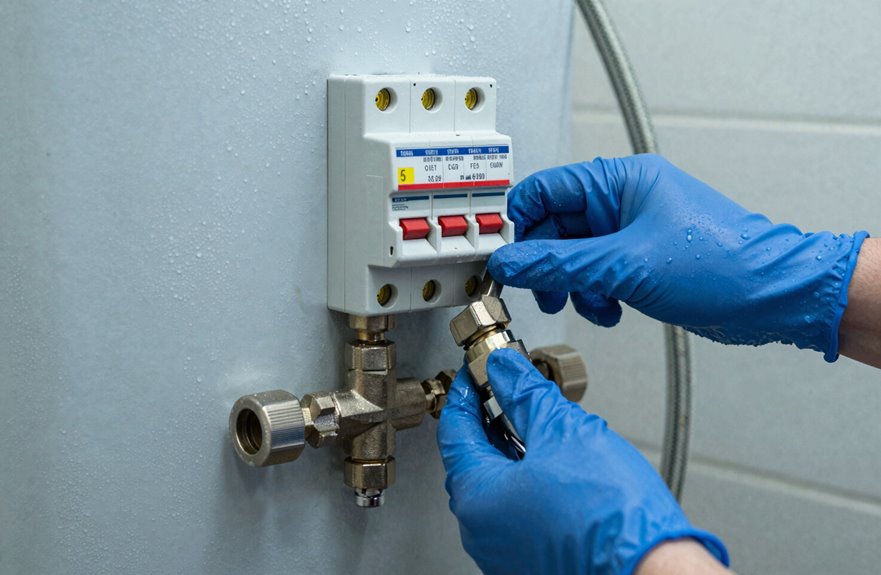
Why shut off power and water before working on your water heater? Surprise scalding or a potential gas leak can be avoided with a couple quick shut-offs that keep things controlled.
Start by locating your water heater’s power source. Electric users should flip the circuit breaker, usually a double-pole, 30-amp breaker labeled “Water Heater.” Gas users should turn the gas valve perpendicular to the pipe for complete valve isolation. This safety measure is essential.
Next, shut off power completely using a non-contact tester to verify zero electrical current. Then twist the cold-water inlet valve clockwise until snug to stop any refill mid-drain. Double-check everything feels right: no hissing gas, no warm pipes, just a quiet, safe tank waiting for your garden hose and drain valve connection.
Step 2: Connect the Hose and Drain the Tank Completely
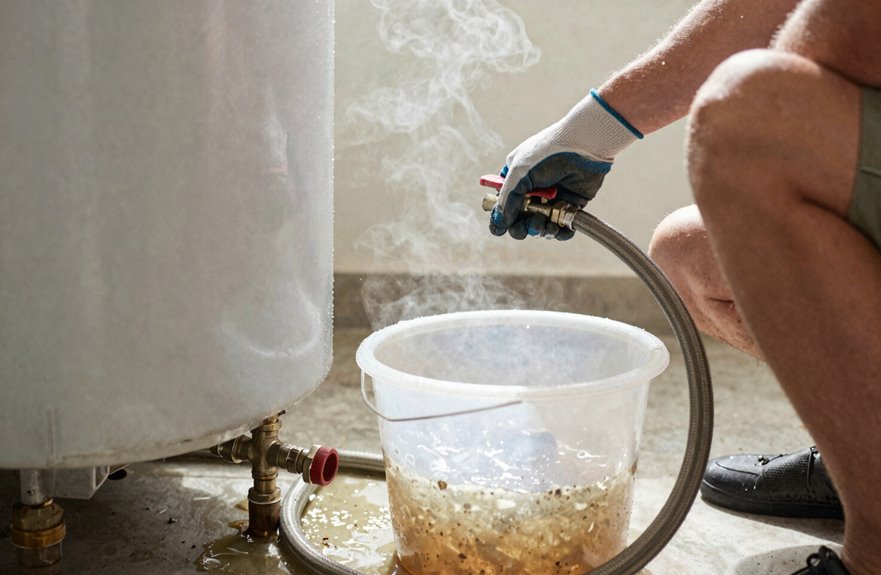
Once the tank’s powered down and the cold water’s off, thread your hose onto the drain valve (that spigot near the bottom), hand-tightening first, then giving it a quarter-turn with pliers. Keep it snug, not over-tightened. Run the hose to your floor drain or outside if that’s closer, keeping it away from anything you care about because this water’s hot.
Open a hot water tap upstairs. This lets air in, so your tank drains faster without that annoying glug-glug. Then open the drain valve slowly (counterclockwise, usually), and wait. Completely empty takes twenty to forty minutes. If it’s trickling, don’t force it. Sediment’s likely blocking things, so grab compressed air or call your plumber rather than risk breaking something expensive.
Step 3: Flush Sediment and Refill With Cold Water
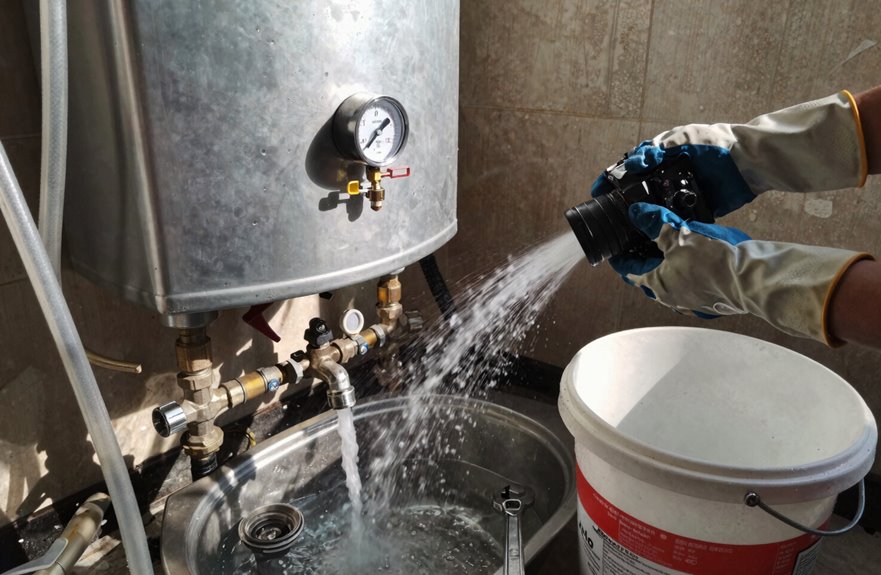
I’ll turn the cold water valve on and off three times to stir up the sediment at the bottom, then open and close the drain valve three more times to clear things out. Keep that hot water tap running so air doesn’t get trapped and mess with the flow. If the valve clogs, grab a compressor set to about 40-50 PSI to blast the sediment through, watching until the hose runs clear instead of rusty or sandy. Once you see clean water, gently snug the drain valve closed with hand pressure only to avoid stripping the threads, then refill the tank with cold water.
Flushing Sediment Out
Now that the tank’s mostly empty, I’m ready to tackle the stubborn sediment at the bottom. I attach my hose to the drain valve (finger-tight plus a quarter turn with pliers; don’t overtighten it), then I open and close the Cold water valve three times: on, off, on, off, on, off. Each burst of water knocks sediment loose like a power washer for your tank.
Next, I cycle the drain valve open and closed three times too, flushing that gunk out the hose to the drain. If it plugs, I’ve got compressed air standing by. A quick blast clears stubborn chunks. I keep a hot water faucet open upstairs to prevent pressure buildup and clear any blocked lines. I repeat until the water runs clear.
Refilling Tank Properly
So how do we understand when it’s time to switch gears? Once that drain valve runs clear, we’re done flushing and ready for refilling. I close the drain valve first (finger-tight, then snug with pliers; no excessive force), then twist the cold water supply inlet wide open. I keep a hot water tap open upstairs while the water heater tank fills. This lets air escape and prevents an air lock that could trap bubbles and cause sputtering in your shower later. I watch that tap. When water runs steady and clear with no hissing, the tank is full. Only then do I close the hot water tap and restore power or gas. Skipping this step risks dry firing, which damages your heating element.
Step 4: Restore Power and Test Your Hot Water
Once the tank’s full and you’ve shut off those taps, it’s time to restore power. I flip the circuit breaker to ON for my electric heater, or twist that gas valve open if I’m running gas, and I wait. Cold water takes hours to hit proper temperature, usually 120°F, so patience is required. I always check for leaks around connections while I’m waiting, tightening anything that looks suspicious.
- Steam rising from your faucet like morning coffee
- The satisfying click of the breaker snapping into place as power flows again
- Warm water finally hitting your hands
If hot water doesn’t show within two hours, I troubleshoot. Normal pressure and temperature readings indicate the system is working properly.





