
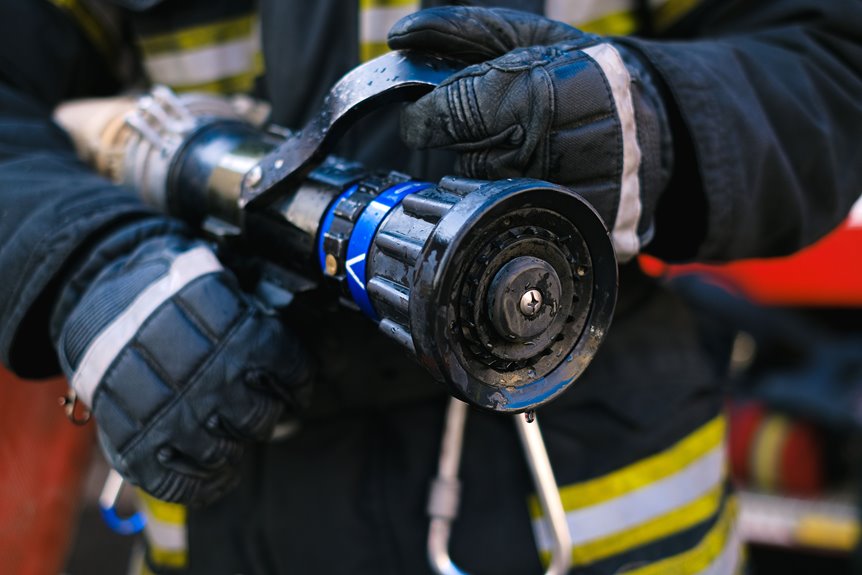
I start by gripping the hose fitting with a socket wrench (never the hose itself) and the nozzle body with channel-lock pliers, then twist counterclockwise with steady pressure without jerking.
If that fails, I aim a heat gun six inches away for two minutes to expand the metal threads, or I spray penetrating oil into the gap and wait several hours before trying again.
For stubborn cases, I pour boiling water over the connection for five minutes, then follow with cold water shock.
When threads are stripped beyond saving, I cut behind the damage with a sharp utility knife and install a $25 repair kit rather than replace the whole $50+ hose.
Once free, I wrap three to four clockwise turns of white PTFE tape (Teflon tape) around clean, dry threads before hand-tightening, adding just a quarter-turn with a wrench if needed.
I then store the hose coiled loosely with fittings removed, dry, and lightly coated with silicone spray to prevent corrosion and stuck fittings in future seasons.
Loosen a Stuck Nozzle With Wrench and Pliers
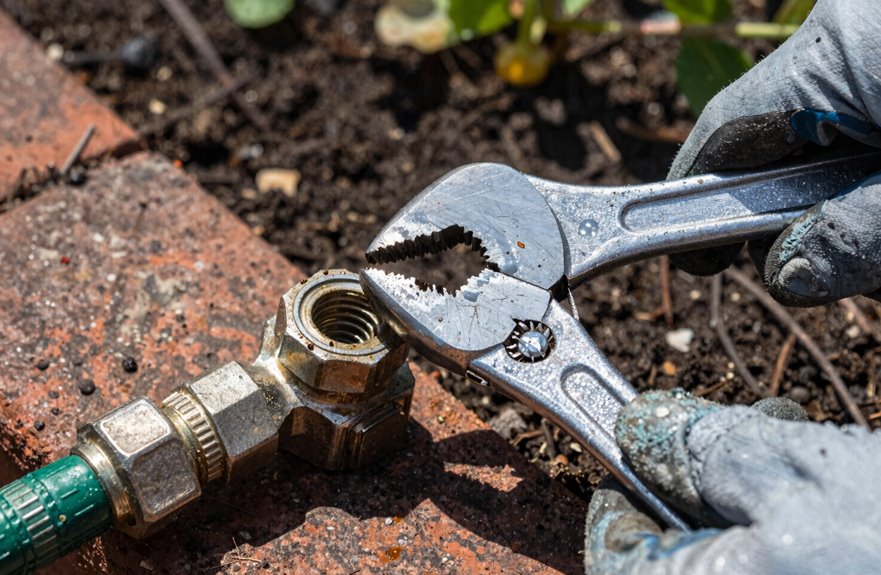
Grab your socket wrench or vise grip (I keep mine in the garage, right next to that half-empty bag of potting soil I swear I’ll use someday), and pair it with a solid set of pliers. Channel locks work great, but adjustable jaw pliers do the trick too. Clamp the wrench onto your garden hose fitting, not the hose itself, since that rubber deforms easily. Then grip the nozzle body with your pliers. Start gentle with just a test twist counterclockwise to feel what’s stuck. No luck? Apply steady, even pressure, turning slow and strong. Jerking strips threads. If something feels wrong, stop immediately. We’ve all been there, fighting metal that won’t budge. Patience saves your hardware.
Apply Heat to Expand Metal Threads
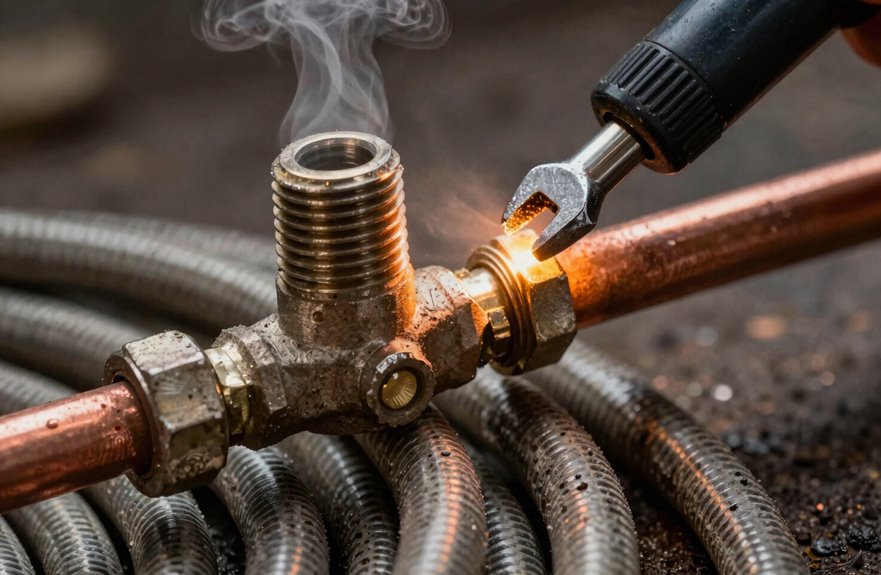
I grab my heat gun (or a hair dryer on high, if that’s what’s handy), aim it right at the metal threads where the nozzle meets the hose, and let it run for about two to three minutes. This duration is enough to make the metal expand without turning the rubber hose into goo. If I don’t have a heat gun, I’ll set the stuck end in a pot of boiling water for five minutes instead, which works almost as well, though it requires more setup. Either way, I watch the rubber carefully. If it starts feeling soft or looks even slightly warped, I pull back immediately, because a melted hose is better than a permanently stuck nozzle, but only marginally.
Heat Gun Technique
Why fight brute force with more brute force when a little thermal persuasion might do the trick. I’ve found the heat gun method works wonders on stubborn metal connections. Grab your heat gun, a hair dryer won’t work, and aim it right where the hose meets the nozzle. Hold it close for about two minutes, letting that metal expand and those threads loosen their grip. The science is simple: metal grows when hot, breaking that rust bond. Once it’s warm, re-grip with pliers or a wrench with steady pressure and no jerking. Watch your rubber hose, though; too much heat cracks it fast. If the nozzle still won’t budge, don’t force it. Try a gentler method next.
Boiling Water Method
What if your heat gun’s buried in the garage, or you’re just not in the mood for power tools? A kitchen-based fix works surprisingly well. Grab your largest pot and fill it with hot water (just shy of boiling, around 200°F), then submerge that stubborn nozzle completely. The expanding metal loosens its grip in about three to five minutes. Have a bowl of ice water ready. Transfer the fitting straight over for contraction cooling; this rapid temperature drop breaks the corrosion’s hold. Twist immediately while it’s warm, or repeat the cycle once more if needed. No fancy equipment required, just physics and patience.
Thermal Expansion Safety
The boiling water trick works well for kitchen improvisers, but sometimes you need targeted firepower. A heat gun (a hair dryer works in a pinch, though it’s slower) applied six inches from the stuck junction for about two minutes lets heat work on those threads. The metal expands, creating clearance, while the rubber hose stays relatively cool if you’re careful. Watch for smoke or melting, since a damaged gasket requires replacement. Once the threads feel loose, grip with channel-lock pliers and twist counterclockwise with steady, patient pressure. Avoid jerking motions. If it doesn’t budge, add a drop of lubrication and try again, or switch to cold-water shock before causing damage.
Spray Penetrating Oil on Stubborn Fittings
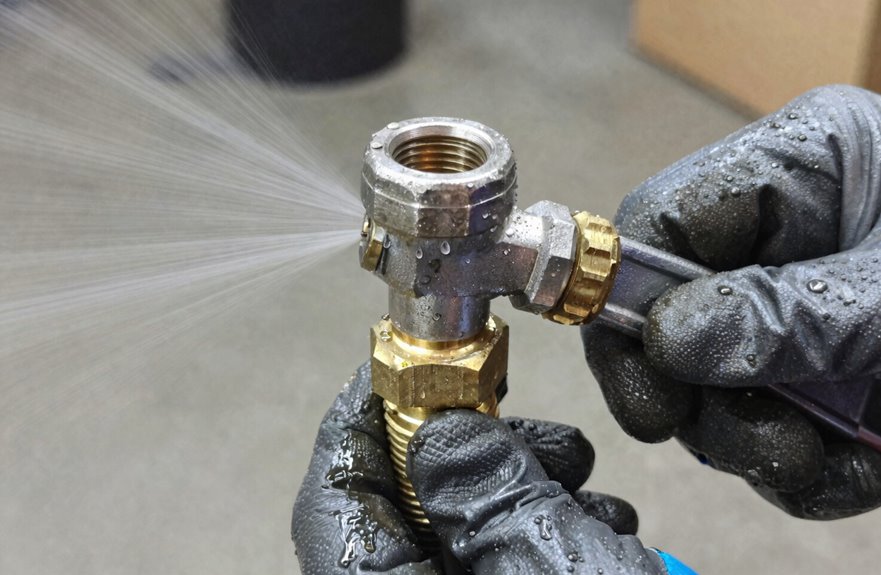
When a nozzle’s grip won’t budge, penetrating oil becomes essential. PB Blaster, Liquid Wrench, or generic brands work equally well; spray directly into the thread gap where the hose nozzle meets the fitting so the oil seeps into every microscopic gap and dissolves stubborn corrosion.
Hold the can upside down, aiming precisely at the connection point. Let it sit for several hours. When you return, grab your adjustable wrench or locking pliers, brace the hose, and apply steady counterclockwise pressure. If the fittings still resist, reapply the oil, wait again, and try once more. Forcing stripped threads damages your equipment, so patience prevents costly repairs.
Shock Threads With Hot and Cold Water
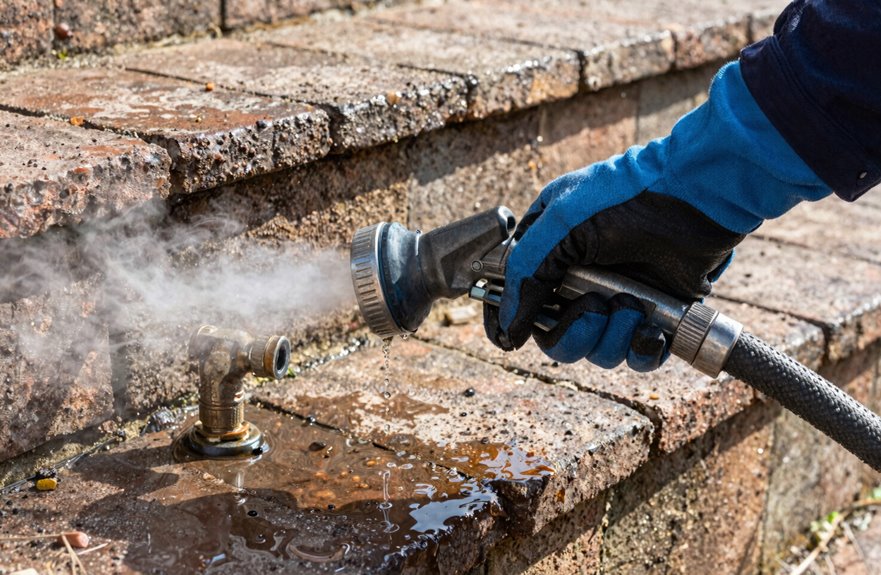
Why let physics do the strenuous work when your wrists are screaming for mercy? Thermal shock works wonders for stubborn metal fittings.
Here’s my battle-tested temperature cycle:
| Step | Hot Water Action | Cold Water Action |
|---|---|---|
| 1 | Submerge metal fitting 2-3 minutes (near-boiling, ~200°F) | Dunk immediately into ice bath |
| 2 | Watch threads expand from heat | Feel the contraction kick in |
| 3 | Grab pliers, twist counterclockwise | Marvel at newfound threads looseness |
| 4 | Repeat if needed (max 3 cycles) | Inspect for wear between attempts |
| 5 | Stop if rubber hose shows stress | Pat yourself on the back |
That temperature differential literally cracks the corrosion’s grip. Alternate between hot water and cold water carefully though; overheating cracks rubber casings. Once you’ve got threads looseness, twist steadily. Check for damage before reattaching anything.
Cut Off and Replace a Damaged Hose End
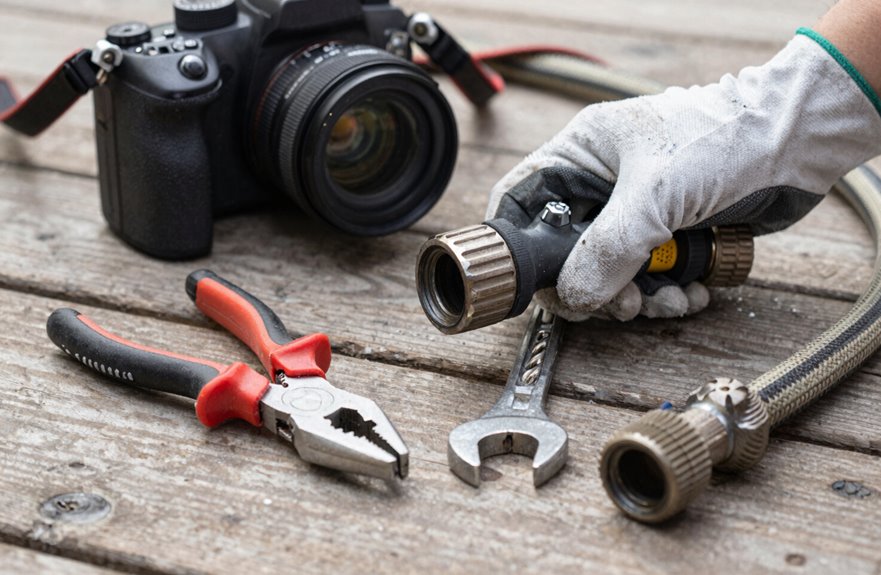
Sometimes you’ve got to know when to fold ’em. If that nozzle’s fused tighter than rust on a tin roof, grab your hacksaw or a sharp utility knife if that’s what’s handy. I’ll show you exactly when to make the cut, which tools won’t slip or shred the rubber, and how the math shakes out: roughly $25 for a repair kit versus dropping fifty bucks or more on a whole new hose. It’s not defeat; it’s just smart mechanics, and you’ll find the process straightforward enough to complete yourself.
When To Cut
Though I’d rather not take a knife to my garden hose, I’ve learned that cutting off a damaged end is often the smartest move when threads get stripped beyond recognition or corrosion locks the nozzle in a death grip I’d never win without cracking the hose itself (and nobody wants a fountain where their connection should be). I make that cut when the hose end is too far gone to save, or when freeing a damaged nozzle would shred the rubber beyond repair. These signs indicate it’s time:
- Threads so chewed they look like a beaver’s snack
- Green corrosion crusting like old battery terminals
- The hose bulging, ready to burst at the slightest twist
- My knuckles bleeding from a battle I won’t win
A clean slice behind the damage, then a repair connector (about $12), costs less than a $50 replacement hose.
Tools You’ll Need
Once I’ve decided the nozzle’s staying put and the hose end has to go, I gather my gear before making any cuts because nothing’s worse than realizing I’m missing the right connector halfway through.
Here’s what I grab: sharp utility shears or a hose cutter (clean cuts matter; ragged edges leak), plus a male or female hose repair connector sized for my hose diameter (usually 5/8-inch, but check yours). I also keep a screwdriver handy for the connector’s clamp screws and a rag for grip. Some folks prefer brass repair connectors for durability; plastic works fine for lighter use. With these tools ready, I can salvage my hose without making mid-project hardware store runs.
Repair Cost Comparison
So why am I reaching for my shears instead of my wallet? A water hose repair connector costs about $25 (plus a new nozzle if the old one’s damaged), while a full 75-foot replacement starts at $50 and climbs fast. That’s lunch money I’m keeping.
What I’m picturing:
- My utility knife slicing through stubborn rubber
- Brass threads gleaming under the porch light
- Water pressure testing my handiwork with that first satisfying spray
- My old nozzle clicking back home, rescued and ready
If the threads match, I’m reusing everything I can. We’re fixers, not quitters, and this water hose deserves another season.
Wrap Threads With Teflon Tape to Prevent Seizing
Before reattaching the nozzle, grab a roll of white Teflon tape (also called plumber’s tape, though it’s not actually Teflon brand; just PTFE tape from any hardware store, usually about $2). Skipping this step means fighting another stuck nozzle next season.
Wrap three to four turns clockwise around the clean, dry threads at the end of the hose. Clockwise matters; counter-clockwise unwraps when you screw the nozzle on. The tape creates a thin PTFE barrier, preventing metal-to-metal contact, corrosion, and binding without gooping up the threads like pipe dope.
Hand-tighten first, feeling for proper engagement, then add maybe a quarter-turn with a wrench if the water supply leaks. This $2 fix eliminates twenty minutes of troubleshooting later.
Store Hoses Properly to Stop Future Sticking
Why fight another stuck nozzle next spring when a few minutes of proper storage saves you the headache entirely? How you put things away determines how smoothly they work later. Here’s what actually works.
- Picture your hose coiled loosely on a reel (never kinked like a garden snake in a knot), the nozzle removed or at least loosened so threads can breathe
- Imagine metal fittings completely dry, no water droplets hiding to rust and seize while you wait for warmer days
- See that light silicone spray glistening on clean threads, a thin protective shield against corrosion
- Visualize everything lifted off damp ground, hanging proud on a dedicated hanger, pressure points eliminated
Proper storage now means easy connections later.





