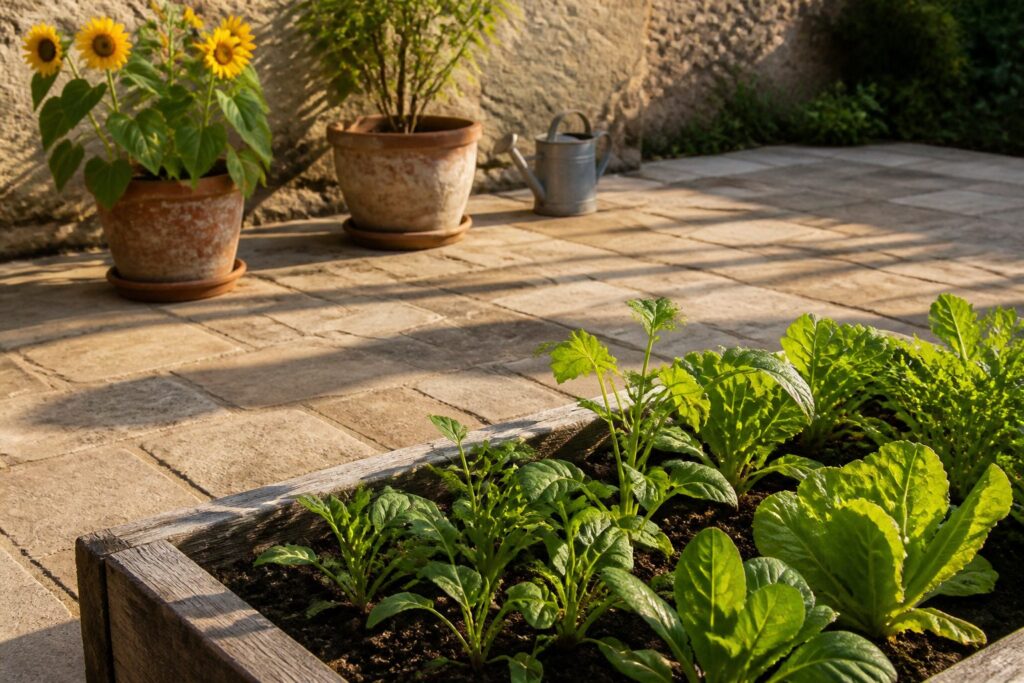
A first garden gives you vegetables from your own yard for the cost of a few hours each weekend and roughly one raised bed’s worth of supplies.
Most beginners fail at the location stage, choosing a spot that looks bright at midmorning but sits in shadow by afternoon.
Six to eight hours of direct sun is the hard requirement tomatoes and peppers will not budge on, and a hose within reach is what keeps the habit alive past July.
1. Choose the Perfect Location
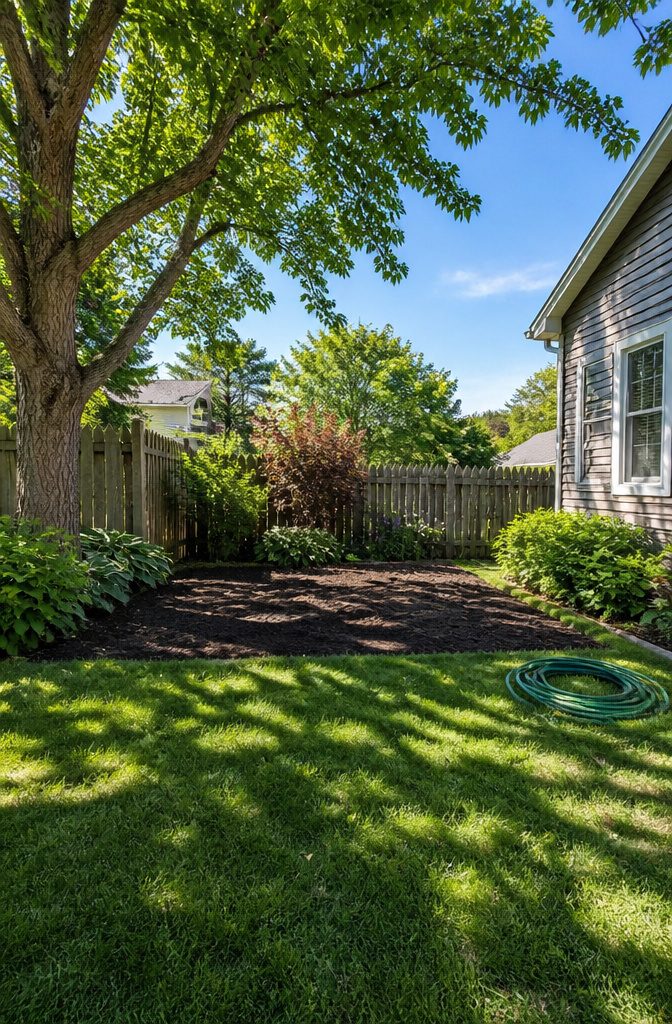
Most vegetables and fruiting plants need 6 to 8 hours of direct sunlight daily to produce well. Leafy greens can get by with 4 to 6, but tomatoes, peppers, squash, and cucumbers will not fruit without that full sun window.
Spend an actual day watching your yard before you decide. Walk out in the morning, note where the light lands, check again at midday, and once in late afternoon.
A spot that looks bright at 10 a.m. may sit in shadow by 2 p.m. if a tree or your house shifts the angle.
Flat ground matters more than I expected starting out. Slopes drain too fast and make watering a chore; low spots that hold puddles days after rain will rot your roots.
Tree roots are another hidden problem. They steal water and nutrients, and digging around them is frustrating work for a first bed.
Water access is the detail that separates a garden you tend from one you abandon.
A hose connection within reach means you will actually water during dry spells. Carry water in a can more than twice and the novelty wears off fast.
I would skip any spot that fails the sunlight test, even if it is the only open ground you have. Containers or a raised box in a brighter spot beat an in-ground bed in the wrong place.
2. Check Available Space

Space decides the format before a single seed gets ordered. A balcony or a rental patio leaves you with containers; a strip of lawn opens the choice to raised beds or digging in-ground.
I would start with whatever fits now and add more next year, because a bed that overwhelms you in July was too big in April.
Raised beds need a width you can work across without stepping in.
The University of California Agriculture and Natural Resources puts the practical limit at 3 to 4 feet, narrow enough to reach the center from either side and keep the soil loose.
Go shorter on length if your space is tight; twelve inches across still counts as a bed if that is what you have.
In-ground beds demand removing sod or tilling, then mixing in compost.
Containers skip that labor entirely but need more frequent watering and a good potting mix rather than backyard dirt. For a first season, I would pick one method, keep the footprint small, and let the habit form before expanding.
A single 4 by 8 foot raised bed or a cluster of five-gallon pots on a patio grows more food than a half-planned plot twice the size.
Beds should probably be no more than 3 to 4 feet wide for ease in planting and care, and can be as narrow as 12 inches if space is limited.
— University of California Agriculture and Natural Resources
That reach rule matters more than the material you build from. Stone, rot-resistant wood, or even a simple mound of soil all work; the width is what saves your back and your soil structure.
3. Prepare the Soil
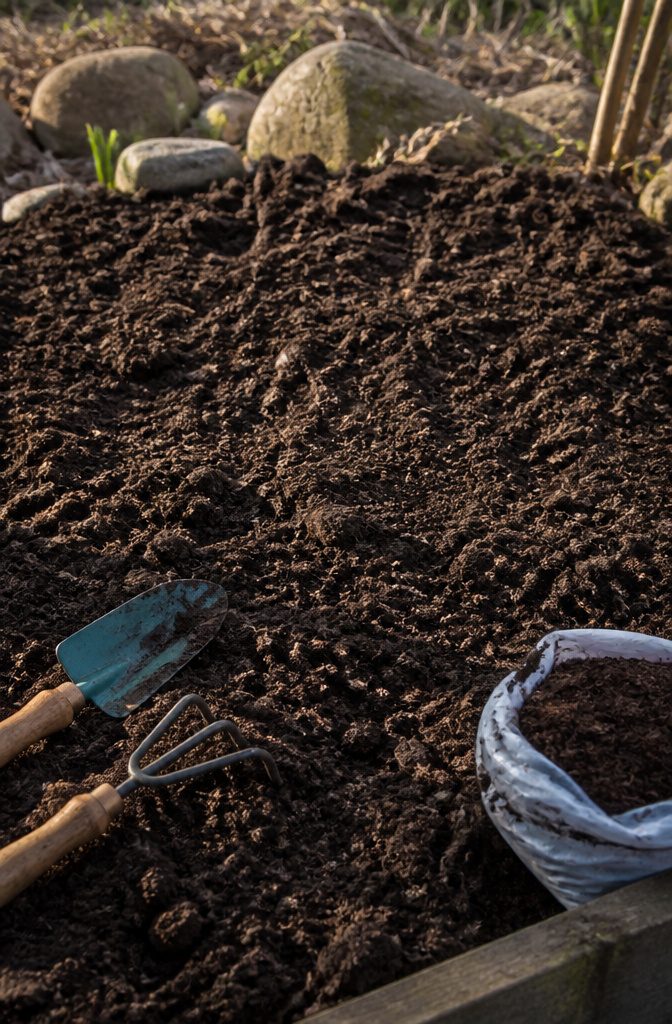
Weeds compete with seedlings for water and nutrients, so clearing them out comes first.
Pull them by hand or spot-treat with a natural herbicide, then get the texture of the soil right before you dig. Squeeze a handful: if it clumps, it is too wet to work.
Wet soil compacts under tools and boots, trapping roots and blocking the air pockets they need. Wait until it crumbles in your palm.
Loosen the bed 6 to 10 inches deep, roughly a spade’s depth.
I prefer hand tools here; a rototiller goes too far and breaks down soil structure past what vegetables need. If you hit gravelly subsoil, leave it where it lies rather than mixing it in.
Spread 2 to 4 inches of compost or organic matter across the surface, then work it into those top 6 inches. That layer feeds the soil biology and improves drainage without requiring a chemistry degree.
Most plants perform best in slightly acidic to near-neutral soil, around 6.0 to 7.0 pH, so a simple test kit is worth the ten dollars if your prior plantings have struggled. For heavy clay, garden gypsum helps water penetrate instead of pooling.
4. Decide What to Plant
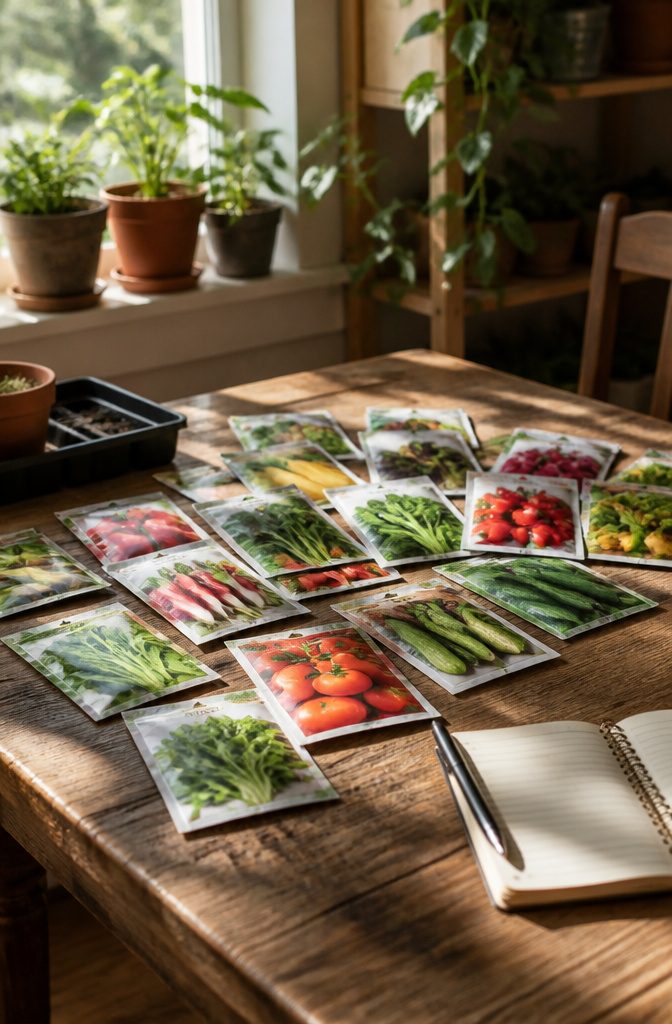
The first question to settle is what you actually want to eat, not what looks impressive in a catalog.
Tomatoes, cucumbers, and leafy greens earn their spot for beginners because they forgive a missed watering and still produce something worth harvesting.
I would skip zucchini unless you already have three recipes waiting; the plants are prolific to the point of becoming a burden.
Your local climate and planting schedule matter more than enthusiasm.
In the Midwest, the practical rule is waiting two weeks past the average last frost date, with both soil and air temperature at 60 degrees before you put anything in the ground.
Some crops handle direct seeding, lettuce and radishes among them.
Others, tomatoes especially, perform better as transplanted seedlings from a nursery. When you buy those seedlings, check that leaves are green and insect-free, and the plant fills its pot without looking cramped.
Starting from seed saves a few dollars, but transplants buy you time, and on a first garden that trade usually wins.
5. Plan Your Planting Layout
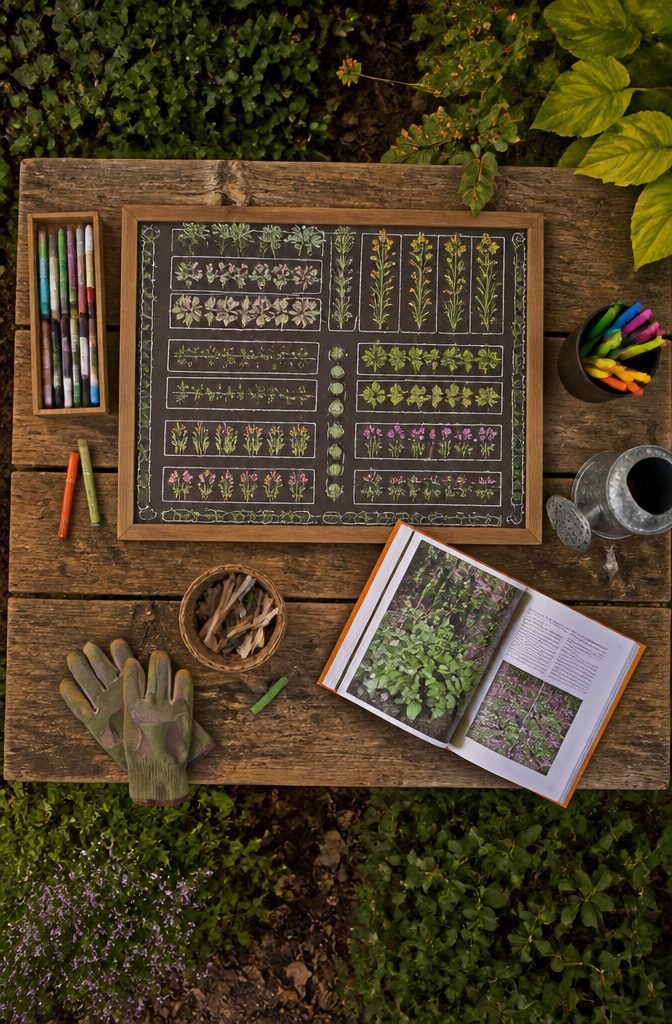
A quick sketch on graph paper or the back of an envelope saves you from the classic mistake of planting tomatoes too close together and watching them strangle each other by July.
Tall crops go on the north side of the plot so they do not throw shade on anything shorter; spreading plants like squash and cucumbers belong at the edges where they can sprawl without blocking paths.
I tuck herbs and flowers throughout the rest of the bed, which is companion planting in action: the mix attracts pollinators and keeps pests from zeroing in on a single crop type.
For climbing plants, a trellis buys back serious square footage. Anchor in-ground trellises in concrete, or bury the base at least a foot deep in raised beds so the frame does not topple under the weight of mature vines.
I would skip anything flimsy, because a trellis that collapses in August takes the plant with it.
6. Get Your Supplies

A shovel or trowel is the first tool to buy, and for most renters a trowel does the job.
Container gardening only needs that one hand tool; if you are breaking ground in a raised bed or yard plot, add a full-size shovel.
Either way, buy metal, not plastic: the blade edges stay sharp and the handle will not snap mid-dig.
A hoe controls weeds, a rake levels soil and clears debris, and gardening gloves spare your hands from blisters and the odd cut.
Pruners and a garden knife round out the starter kit, but they can wait if the budget is tight this weekend.
For plants themselves, I would pick nursery transplants over seeds every time in a first season.
You skip germination, which is the hardest part, and you start with something already alive. Seeds cost less and beans, radishes, lettuce, and squash sprout fast enough to experiment with later, but transplants let you win something right now.
Clean tools after each use, store them out of the weather, and sharpen blades when they dull; that habit matters more than owning many of them.
7. Plant Your Garden
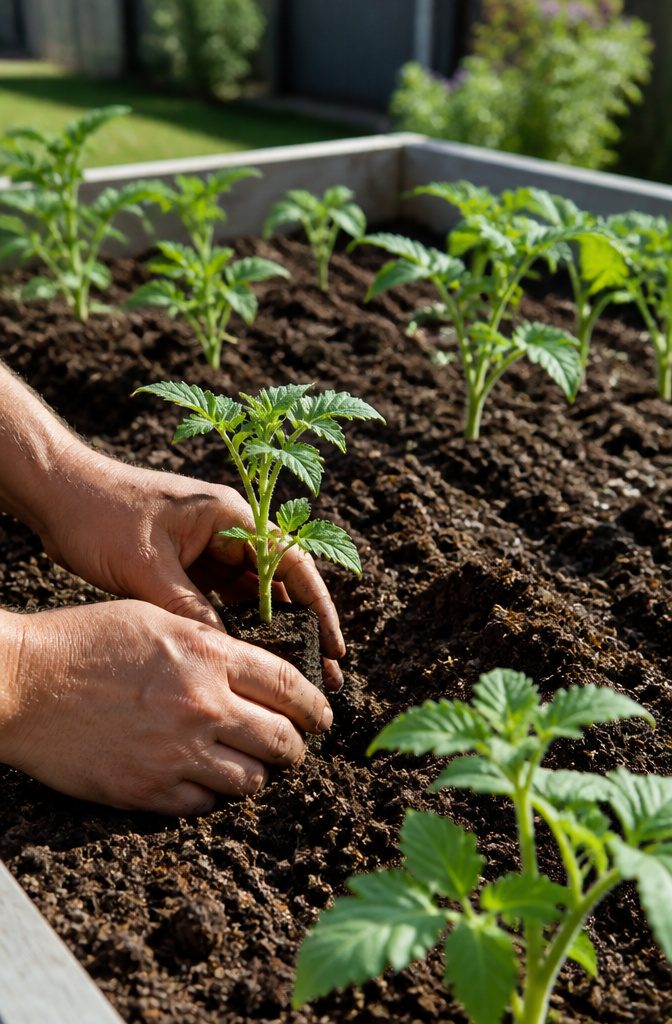
Seeds and transplants each demand a different touch, and the seed packet is the one place that tells you which is which.
For direct-seeded crops like carrots, cucumbers, squash, and lettuce, the packet lists depth and spacing; follow those spacing directions exactly, because crowding costs you the harvest.
I press seeds to the depth printed on the packet, no deeper, since too shallow dries them out and too deep leaves them struggling to break through.
Transplants need the same spacing discipline, but the planting depth changes: set seedlings at the same level they grew in their tray, never burying the stem.
I start mine indoors 4–8 weeks ahead, which is the window that lets tomatoes and peppers size up without turning leggy.
The soil should be warm enough that nights stay above 50°F for those heat lovers; cool-season crops like lettuce and kale can handle going out 4–6 weeks before your last frost date.
Keep the top inch of soil moist, not soaked, until germination. That first week or two, seeds are vulnerable to drying out, so I check morning and evening.
Once seedlings are up and rooted, they forgive a missed day. Mulch comes after that establishment phase; it holds moisture and suppresses weeds, but laid too early it blocks the warmth seeds need to wake.
8. Maintain Your Garden

Most gardens need about 1 inch of water per week, but that figure shifts fast with summer heat and your local weather. The finger test decides whether today counts as watering day: push two inches into the soil near your plants.
Still moist? Skip it.
Dry? Water slowly and deeply at the base, not the leaves, and aim for morning so foliage dries off and disease stays down.
Mulch is the other half of the job. Two to three inches of straw, shredded leaves, or wood chips around your plants holds moisture in, smothers weeds, and evens out soil temperature.
Every experienced gardener I know wishes they’d started sooner. Place it on top of drip tubing or soaker hose if you use them; if you’re overhead watering, apply enough to get through the mulch layer and reach the soil.
Weeding weekly keeps the competition for nutrients in check.
While you’re out there, inspect leaves and stems for pest damage. Healthy plants resist problems better than stressed ones, but catching an issue early still beats trying to reverse it later.
9. Enjoy the Harvest
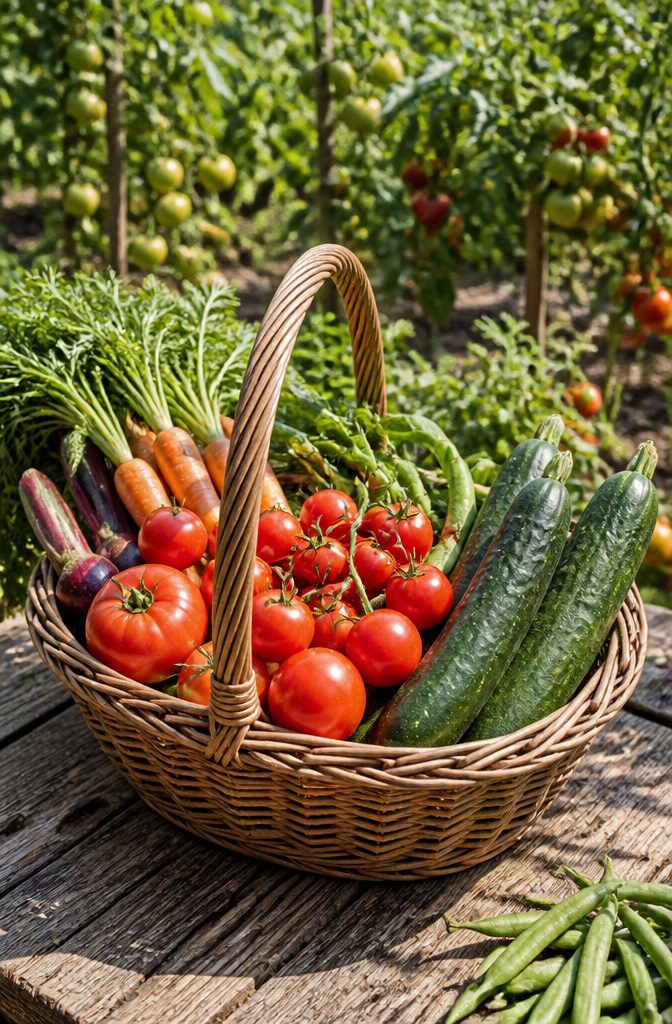
Harvest vegetables and flowers at their peak, not a day later.
Tomatoes left on the vine signal the plant to stop producing new fruit; beans and cucumbers work the same way. The more you pick, the more the plant gives back.
Dry mornings are the right time to cut.
Wet plants spread disease, especially with tomatoes. Most seed packets spell out the ripeness signs for that variety, and cooperative extension services fill in the gaps if you need a second opinion.
Leaf-by-leaf crops like kale keep going if you take the older growth and leave the center. Head crops like lettuce and cabbage finish in one cut, so succession planting keeps your supply tight.
Start a fresh tray a few weeks before the current heads are ready, then drop the new seedlings in the empty spot the same day you harvest.
The real advantage of a first garden is distance. Nothing travels from soil to plate faster than your own backyard.
Raised Beds vs. In-Ground vs. Containers

Raised beds give you a completely fresh start: you fill them with quality organic material, skip the weed pressure, and get better drainage for plants that hate wet feet.
The soil warms faster aboveground, so you can plant earlier in spring, and keeping the bed no wider than 4 feet means you never step into loose, uncompressed soil.
I build mine to knee height; my back notices the difference after an hour of tending.
In-ground beds cost less upfront and work fine for native plants, shrubs, and flowers that are not particular about soil.
Annual vegetables and leafy greens are pickier, though, and if your native soil is heavy clay, you are better off replacing it than amending it.
Containers are the only practical choice for a balcony, a rental you cannot dig into, or soil so poor it is not worth saving. They dry out faster and need more frequent feeding, but they also move with you.
| Raised Bed | In-Ground | Container | |
|---|---|---|---|
| Best for | Vegetables, leafy greens | Native plants, shrubs, flowers | Small spaces, rentals, poor soil |
| Soil control | Complete | Native soil only | Complete |
| Drainage | Fast | Depends on site | Fast (may need daily water) |
| Upfront cost | Higher (materials + fill) | Lowest | Moderate |
| Physical ease | Knee height, less bending | Ground level, more stooping | Waist height for large pots |
If I am starting from scratch on a lawn, I lay cardboard at ground level and build raised beds on top.
It smothers what is there without the sod-cutting machine. For a first season on a real budget, two raised beds work out about right: enough production to matter, not so much that you are overwhelmed.
Soil Amendments That Actually Matter
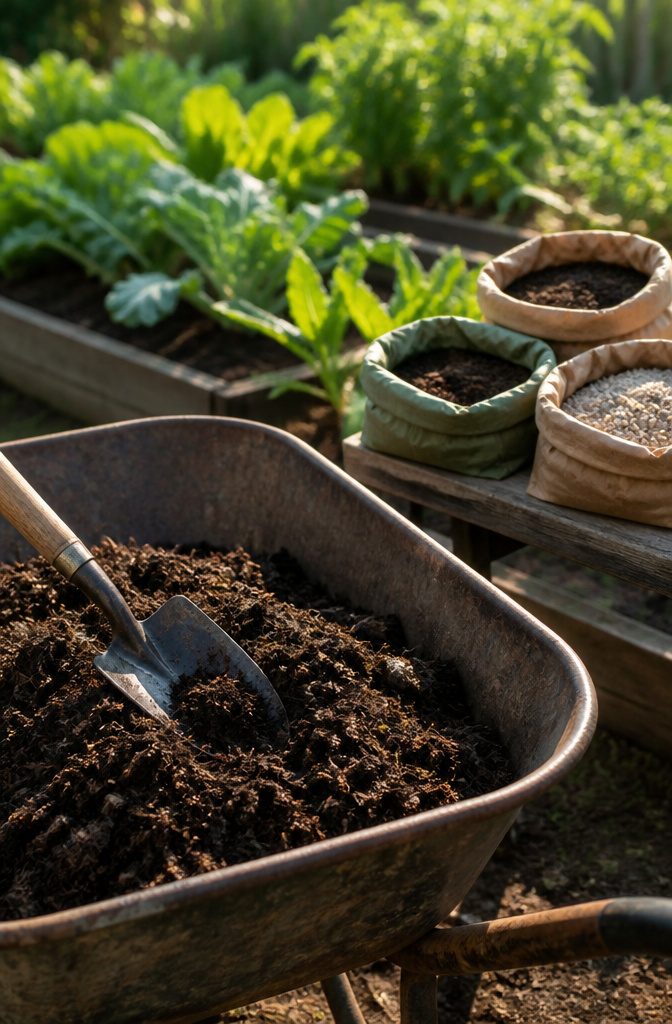
Compost is the one amendment I would not garden without. When I prepared my soil, I worked that 2 to 4 inch layer into the top 6–8 inches of ground, and that single step does more than any fertilizer I could buy later.
Compost separates clay particles so water and roots can move through, and it feeds the microbes that actually do the feeding. Living soil, built from compost, is what makes plants resist disease and handle dry spells without your constant rescue.
Worm castings are my second pick, used more as a top-dressing than a bulk amendment. A thin layer over the bed after planting wakes up the biology already in the ground.
They cost more per pound than compost, so I reserve them for beds where I want the fastest start, not for covering an entire yard.
Organic fertilizers have their place, but only after the compost is in. I add a slow-release organic blend at planting time for heavy feeders like tomatoes, then leave the soil life to do the rest of the season’s work.
Synthetic quick-release fertilizers skip the biology and burn out fast; for a weekend gardener on a real budget, compost plus a single organic feeding is the smarter spend.
Watering Without Wasting
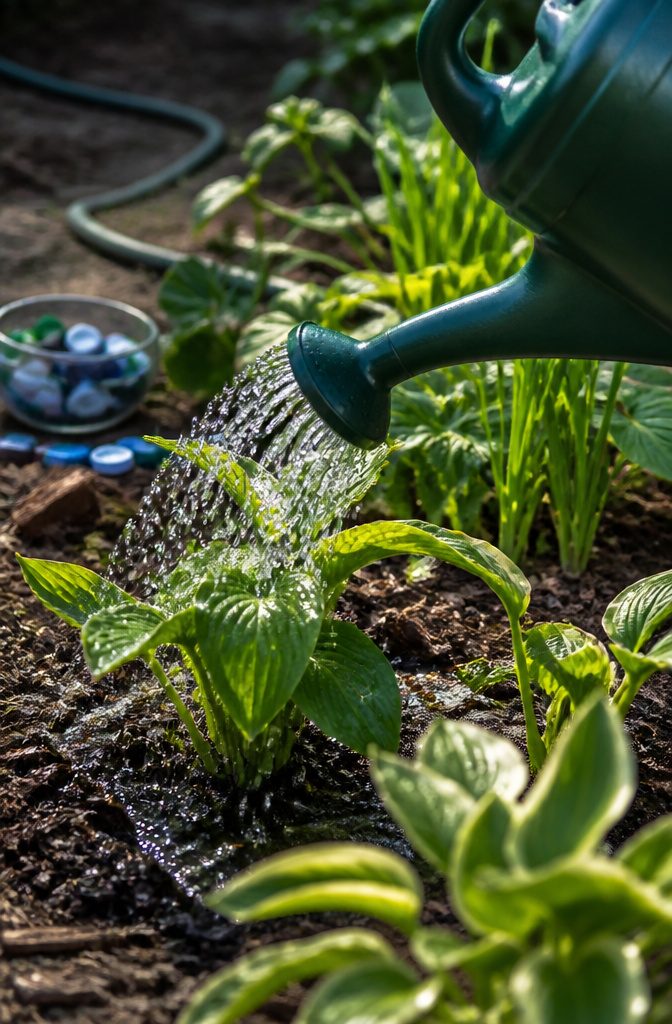
Most garden plants need about one inch of water weekly during the growing season, whether from rain or your hose. Before you water, push your finger two inches into the soil near the base of the plant.
Still moist? Skip it.
Feels dry? Water deeply and slowly at the base, not the leaves, and do it in the morning so foliage dries during the day.
Two to three inches of organic mulch around your plants holds that moisture in so you water less often, which matters when your gardening window is Saturday morning.
Straw, shredded leaves, or wood chips all work. Coarser material needs a thicker layer to be effective.
If you are overhead watering with a hose or sprinkler, apply enough to get through the mulch and reach the soil. Place mulch on top of drip tubing or soaker hose if you have either installed.
Overwatering does as much damage as underwatering: wet soil leads to root rot and disease.
Let the soil, not the calendar, tell you when to water. In summer heat, that one-inch rule shifts fast, so the finger test becomes your real schedule.
Container Gardening for Renters
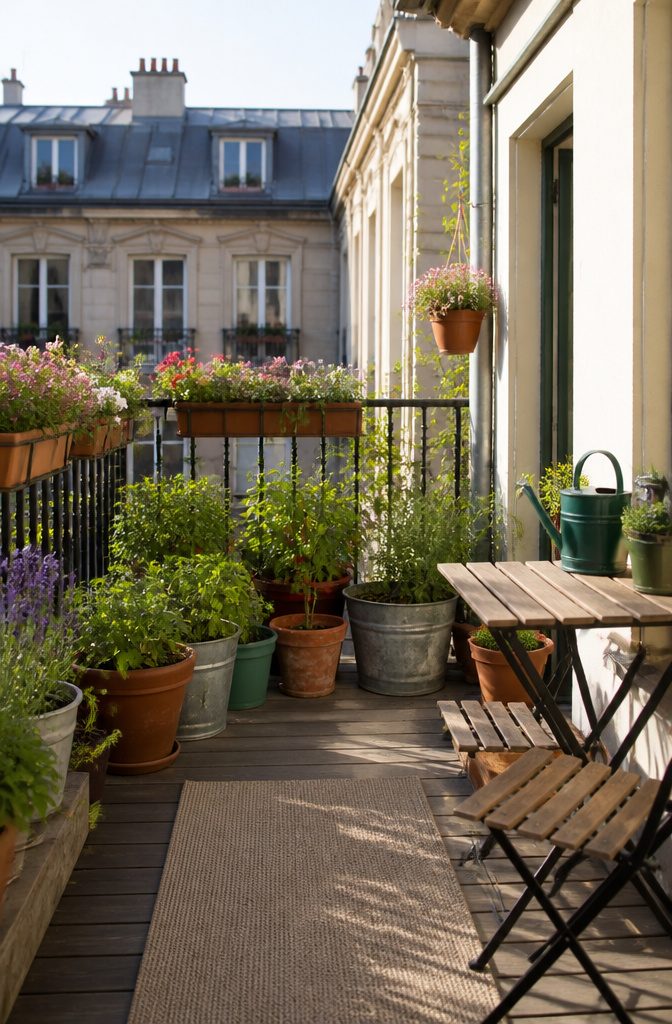
A balcony with six hours of sun and a patch of concrete is enough to grow food you will actually eat.
Containers are the only way I would bother in a rental, because the soil underneath belongs to someone else and usually it is compacted, weedy, or laced with construction debris from decades back. You skip all of that.
The only soil rule that matters here is also the one people break most often: do not fill pots with garden soil. It is too heavy, it drains like wet cement in a confined space, and it will suffocate roots.
Buy an organic potting mix labeled for containers, full stop. It costs more than shoveling dirt from the yard, but a tomato in bad soil is a $15 experiment that yields two wrinkled fruits and a fungus gnat infestation.
Weight and mobility are the trade-offs no one talks about.
A 20-inch terracotta pot with damp soil and a mature pepper plant can hit 80 pounds, so I keep larger containers on rolling saucers even if I do not plan to move them.
When the lease ends, the whole garden rolls to the truck in one trip, and the landlord never knew you were there.
Start with one or two pots, maybe a determinate tomato and a pot of basil. Expand once you know how much water a July afternoon drinks.
Companion Planting Basics

Some pairings work better than others, and I stick to the ones with enough field history behind them that I would bet my own seedlings on the result.
- Basil and tomatoes are the pairing I would not plant separately. The basil seems to throw off tomato hornworms, and both want the same warm soil and steady water, so you are not juggling two different care schedules in the same square foot.
- Marigolds tucked anywhere in the mix help against aphids and a few root nematodes. I treat them as the filler in a container plan, scattered rather than lined up, so pests have a harder time mapping a straight path to the crop they want.
- Nasturtiums draw aphids away from beans and lettuce. I would rather sacrifice a few nasturtium leaves than fight aphids on food I actually plan to eat.
- Beans fix nitrogen in soil that corn will greedily pull the same season. The old three sisters pairing, beans with corn and squash, still works because the timing lines up: corn goes in first, beans follow once soil warms, squash spreads at the edges to shade out weeds.
The pairings that matter most are the ones that solve a problem you already have.
If hornworms hit your tomatoes every July, basil is not optional. If aphids never show up, you can skip the nasturtiums and use that space for something you would rather eat.
Frequently Asked Questions
How much sun does a vegetable garden actually need?
Most vegetables and fruiting plants need 6 to 8 hours of direct sunlight daily to produce well. Leafy greens like lettuce and spinach can manage with 4 to 6 hours, but tomatoes, peppers, squash, and cucumbers will not fruit without that full sun window.
Spend a full day watching your yard before you decide where to plant, checking morning, midday, and late afternoon, because shadows shift as the sun moves.
What’s the best way to prepare soil for a garden?
Clear weeds first, then loosen the bed 6 to 10 inches deep when the soil is dry enough to crumble in your hand, not clump.
Spread 2 to 4 inches of compost or organic matter across the surface and work it into those top 6 inches.
A simple soil test kit is worth the cost if past plantings have struggled; most vegetables prefer slightly acidic to near-neutral soil around 6.0 to 7.0 pH.
Should I start with seeds or seedlings?
For a first season, buy nursery transplants over seeds. You skip germination, which is the hardest part, and start with a plant already alive and growing.
Seeds cost less and crops like beans, radishes, lettuce, and squash sprout fast enough to experiment with later, but transplants let you win something right now.
When buying seedlings, check that leaves are green and insect-free and the plant fills its pot without looking cramped.
What is the most common mistake of first time gardeners?
Another frequent error is planting in the wrong spot, especially one that fails the sunlight test, or crowding plants by ignoring spacing directions on seed packets.
The advice is to start with one method, keep the footprint small, and let the habit form before expanding.
How much does it cost to start your own garden?
Startup costs swing a lot based on your format. Container gardening costs the least, needing only pots, potting mix, and a hand trowel.
Raised beds run higher due to materials and fill soil. In-ground beds have the lowest upfront cost if your native soil is workable.
Budget for plants or seeds, soil or amendments, and basic tools, then leave wiggle room for small items that pop up. The smartest first-season choice is starting small rather than buying everything at once.