

I’ve slashed fencing costs six ways: barbed wire ($5–$10/foot) or electric ($8–$12/foot) for acreage, scavenged pallets (free, just sand and seal), prefab 6×8-foot panels (less waste, faster install), hedge fences like privet ($10–$20/foot, 20-year lifespan), lattice panels or fabric screens ($15–$39/linear foot, zip-tie simple), and building in sections (posts one weekend, panels the next). Each skips the custom-build markup, and I can show you how to build a pallet fence for $4/foot.
Save Money With Lightweight Wire Fencing
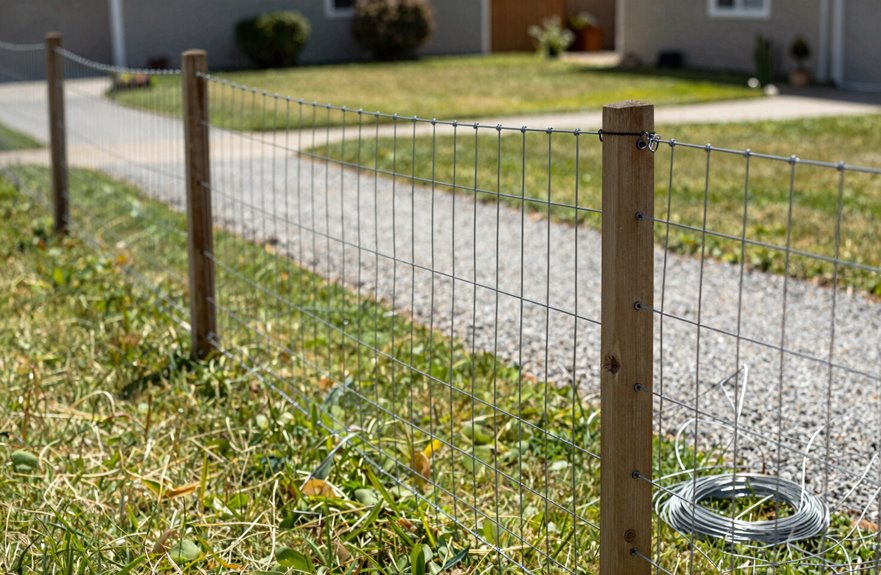
Why spend a fortune keeping animals in when lightweight wire fencing gets the job done for a fraction of the cost? I’ve used both barbed wire and electric fencing on my own property, and they’re effective solutions for budget-minded landowners.
Barbed wire runs about $5 to $10 per foot, perfect for rural setups where aesthetics are not a priority. It keeps cattle contained without breaking the bank. Electric fencing costs slightly more at $8 to $12 per foot, but that high-voltage deterrent teaches animals quick lessons about boundaries.
If you’ve got acreage and livestock, these options deliver significant value. The cost per foot stays low, installation is straightforward, and thousands of practical landowners have chosen these systems because function delivers results.
Find Free or Cheap Fence Materials Locally
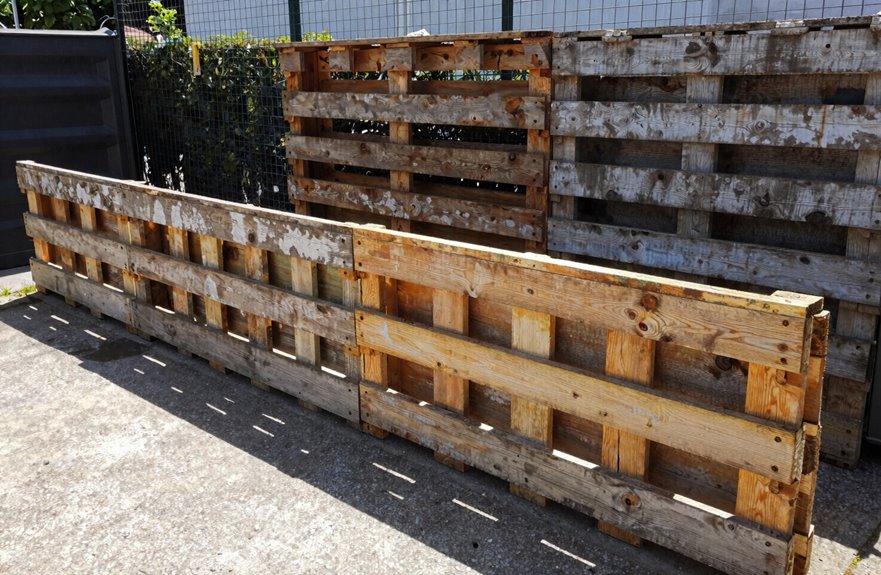
I’ve scored some of my best fence materials by simply asking at construction sites for scrap plywood, metal sheets, or pallets. Always check for “free” piles first, and bring gloves since those nails are sneaky.
Pallet fences are a favorite of mine. They’re basically free, eco-friendly, and with a pry bar, hammer, and 30 minutes of patience, you can break them down into 4-foot pickets or keep them whole for a rustic 6-foot privacy screen. Sand the edges, pull any protruding nails with pliers, and seal the wood. Splinters aren’t worth the risk, but the cost savings are substantial.
Scavenge Construction Sites
I hunt down free fence materials like it’s a sport, and construction sites are my favorite hunting grounds. Ask permission first before taking anything. You’ll find pallets stacked by dumpsters, plywood scraps from framing cutoffs, and corrugated metal sheets that contractors toss without a second thought.
Scavenging construction sites takes some hustle, but that’s where the community of thrifty builders finds treasure. I’ve scored heat-treated pallets (look for the IPPC stamp; avoid the chemically-treated ones with “MB” markings) that become perfect pickets for side yards. Those 4×8 plywood sheets can be cut into 6-inch slats, spaced two inches apart, to create instant privacy.
Salvaged materials aren’t perfect. You’ll spend extra hours pulling nails, sorting warped boards, and conditioning weathered wood. Combining these finds with cheap metal posts and bulk screws creates budget-friendly fencing that looks intentional rather than desperate.
Repurpose Salvaged Materials
If you’re willing to drive around on Saturday mornings with a tarp and some bungee cords, you can build an entire fence without touching your wallet. I’ve done it, and you’ll feel like part of the savvy crew that knows where to look. Reclaimed wood from teardowns (check Craigslist’s “free” section) becomes gorgeous budget-friendly fencing with a sander and sealant. Pallets score you vertical slats. Just flip them, stagger gaps for airflow, and plane down rough edges with a palm sander (80-grit first, then 220). Before hauling, always check for the IPPC stamp: HT means heat-treated (safe), MB means methyl bromide (skip it). Salvaged materials like corrugated metal sheets or plywood scraps pair with DIY posts, cutting labor costs to zero. Nothing delivers the satisfaction of neighbors asking where you bought it when you built it yourself.
Install Prefab Panels to Cut Labor Costs
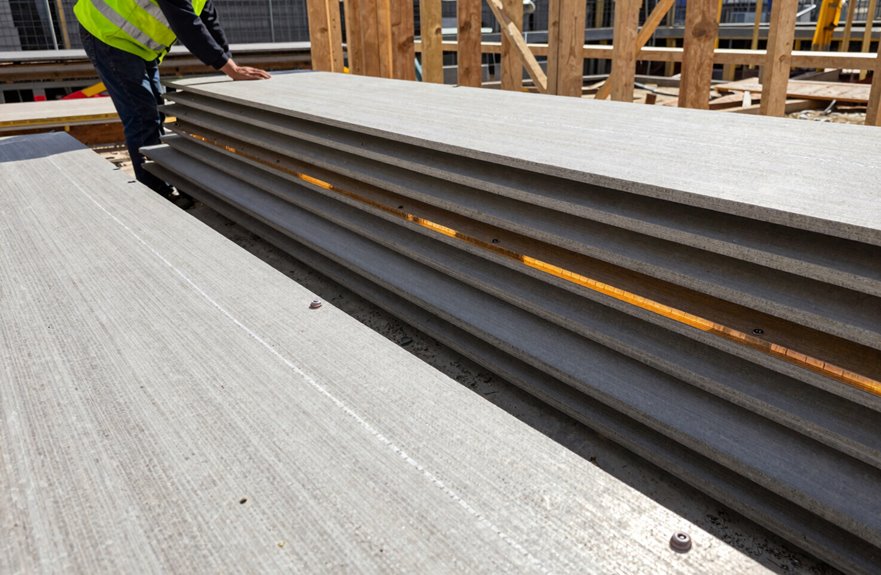
Three solid reasons make prefab panels my go-to suggestion for anyone watching their wallet: speed, savings, and sanity. I’ve watched neighbors burn weekends (and cash) on custom builds, while I finished my 6-foot privacy run in a single Saturday.
Prefab panels slash labor costs because they arrive ready to drop between posts. No measuring, cutting, or cursing required. Standard 6-by-8-foot sections mean you’re buying fencing options with predictable prices, not nasty surprises. When a windstorm cracked one of mine last spring, I swapped just that panel instead of rebuilding twenty feet.
For small yards, you’ll waste almost nothing. Just grab a 4-foot level, check your local height codes (usually 6 feet for backyards), and ensure your gate panel matches your chosen style. Your back and budget will benefit from this approach.
Plant Hedge Fences That Cost Less Than Wood
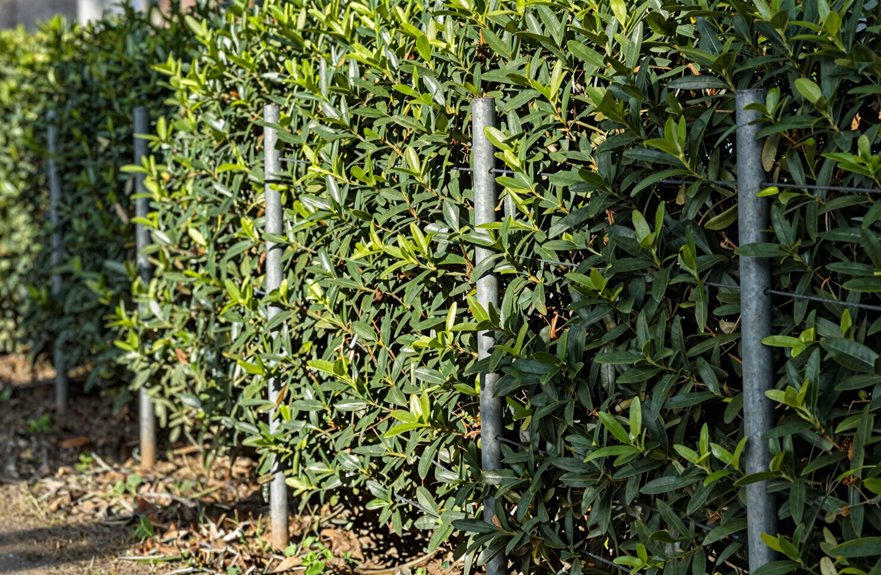
Why spend a fortune on cedar planks when you can grow your own privacy wall for half the price? Hedge fences offer a cost-effective fencing solution for homeowners who choose nursery plants over lumber yard materials.
Living privacy provides both aesthetic appeal and financial value. Privet runs $10–$20 per foot installed, lives 20+ years, and reaches 4–10 feet fast, making it effective for screening views like a neighbor’s RV. Yew grows slower but offers dense, bulletproof evergreen coverage. One-and-a-half-gallon starters cost $30 and thrive in most conditions. While pruning and watering are necessary, you’re building lasting landscape value rather than just creating a barrier. For tight spots, potted hedges at $15–$40 per foot provide flexibility where rigid wood cannot be installed.
Hedge fences deliver genuine curb appeal that wood cannot match.
Fill Gaps With Lattice or Fabric Screens
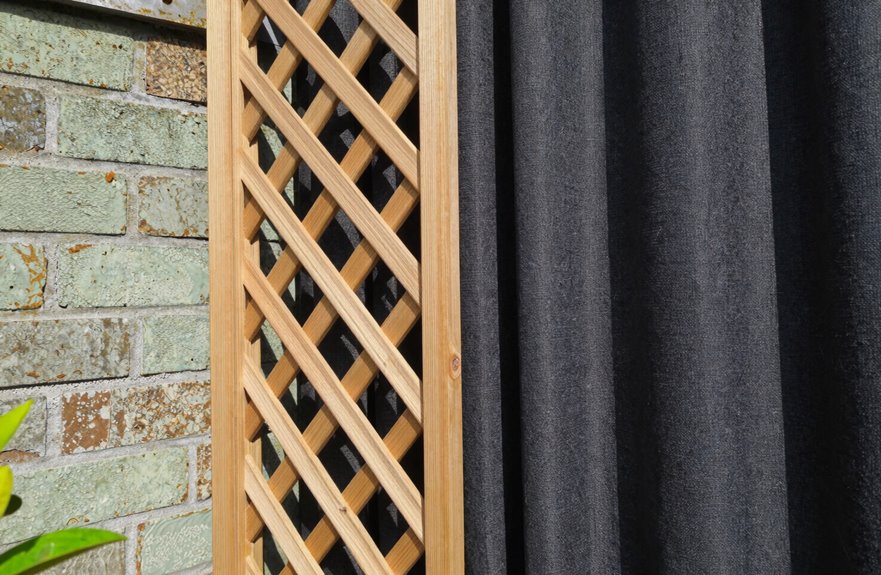
I’ve found that filling gaps with lattice panels or fabric screens gives you privacy without the sticker shock of a full fence rebuild, since you’re basically retrofitting what’s already there (think of it as a privacy upgrade, not a ground-up project). You’ll want to map your lattice panel placement first. Measure the gap height and width down to the inch, then cut your wood or vinyl lattice (usually 4×8 sheets, about $15–$39 per linear foot installed) to fit between posts or overlap existing rails. For fabric screens, attach them with heavy-duty zip ties or galvanized fence staples every 12 inches along the top rail and mid-rail, which takes maybe an hour for a 20-foot stretch. This method provides gap coverage that blocks sightlines without blocking all the light, plus you’re skipping the post-hole digger and concrete work that eats up half your weekend.
Lattice Panel Placement
A few clever cuts can turn leftover lattice into your fence’s best feature. Adding lattice panels to the top of a solid privacy fence lets light filter through while keeping nosy neighbors out. It’s cost-effective fencing that doesn’t feel cheap. You’ll spend roughly $15 to $39 per linear foot for the lattice components, significantly less than rebuilding everything from scratch.
Attach panels with galvanized screws, which are weather-resistant and won’t rust out, leaving a six-inch overhang for a custom look. Wood or metal lattice both work, depending on your preference. The diamond-shaped openings become instant trellises for clematis or morning glories, giving you green privacy without zoning headaches from height restrictions.
Fabric Screen Attachment
Most of us have stared at a chain-link fence and thought, “Well, that’s not keeping anything private,” which is exactly where fabric screens come in. These privacy attachments transform exposed yards into cozy retreats without draining savings, offering an affordable fencing solution that delivers results.
| Screen Type | Best For |
|---|---|
| Woven polyethylene | Full visual block, 85-90% opacity |
| Lattice-topped panels | Dappled light, climbing plants |
| PVC-coated mesh | Durability, easy hose-cleaning |
You’ll zip-tie or staple these directly to existing posts. No concrete, no permits, no weekend lost to demolition. The preferred option is 6-foot rolls (1.8m) with grommets every 12 inches for even tension. Lattice adds an architectural touch that neighbors will notice. Either way, installation takes roughly two hours and costs under $150 for 50 linear feet.
Gap Coverage Benefits
Why settle for a fence that leaves you exposed when a few strategic additions can transform the whole look. Lattice tops solve those pesky privacy gaps without breaking the budget.
Crisscross slats run $15 to $39 per linear foot, letting sunlight filter through while blocking sightlines. Wood or metal options blend seamlessly with existing structures. You’ll create visual continuity with your neighbors’ properties.
Lattice also functions as a trellis. Morning glories can thread through the diamond patterns, filling vertical spaces behind your current fence. This softens hard lines, adds greenery, and costs significantly less than full fence replacement.
Build Your Fence in Sections to Lower Upfront Costs
How can you tackle a full fence build without draining your savings in one weekend? Panelized fencing offers a smarter path forward. It’s cheaper upfront because you’re buying standardized sections, usually 6 or 8 feet wide, instead of custom-cut materials. With modular installation, you can set posts one weekend using a post-hole digger, level, and 80-pound bags of concrete, then hang panels the next. There’s no rush, no panic. You spread costs across pay periods, tackling 20 feet this month and 30 feet next. Measurements stay consistent, waste drops, and you avoid the custom build markup that hits hard. Phased work means you learn as you go, adjusting your technique without costly do-overs. Build one section at a time.





