
I shut off my outdoor spigot clockwise until tight, then squeeze the nozzle hard to release trapped pressure before unscrewing it completely. Store the nozzle separately so threads don’t warp. I lift one end high, walk the length, and let gravity push out every drop. No water remains to freeze and crack the hose.
Then I coil in loose two-to-three-foot circles against the natural curve, secure with twine or a quick-release strap, and hang it chest-high indoors.
Climate timing and hanger options determine how long your hose will last through seasonal storage cycles.
Shut Off the Outdoor Water Supply
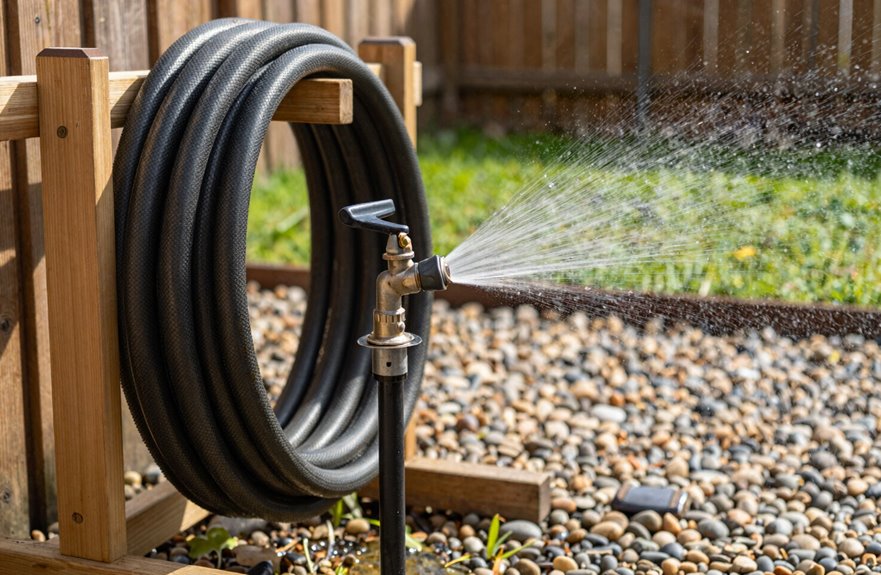
Start by locating your outdoor spigot and rotate the handle clockwise until it won’t turn anymore. Clockwise tightens the valve and stops the flow at the source.
Next, locate your shutoff options. If you have a main lawn and garden shutoff valve, close it. This depressurizes exterior lines so water pressure won’t cause issues later. Some homes have interior shutoffs for spigots; close those as well to protect indoor pipes from backflow.
Finally, verify your hose nozzle valve is closed. This prevents unnecessary pressure buildup when the hose is in storage.
When to Winterize: Timing by Climate Zone
With your water supply shut off and your hose drained, you can determine when to bring this equipment inside. Winterizing depends on your climate zone.
| Climate Zone | Winterizing Window |
|---|---|
| Zones 3–5 (freezing) | Late October–early November |
| Zones 6–9 (milder) | December–February |
| Zones 7–8 (coastal) | February–March |
In zone 6, watch for the first hard freeze forecast. If you have a main outdoor shutoff, drain the entire system before tackling hoses in zones 4–7. Never leave water sitting overnight. Frozen water expands, cracks your hose, and damages your equipment for the next season.
Release Pressure and Remove the Nozzle
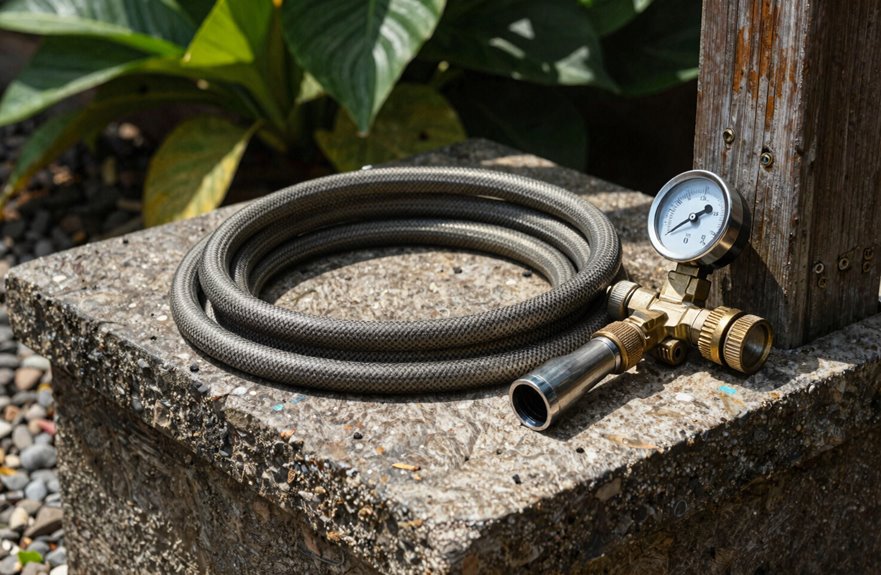
Why risk a cracked fitting or a face full of water next spring? Start by squeezing that hose nozzle trigger hard, letting the remaining water spray out in a satisfying arc. This releases pressure trapped inside like air from a balloon. Without this step, you’re asking for trouble when temperatures drop and expansion cracks your brass fittings. Once the water stops sputtering, unscrew the nozzle completely, check the threads for grit, and set it aside. Store the nozzle separately in a dry toolbox or shelf, not dangling from the hose end where gravity warps the threads over winter. Small gaskets deteriorate when stored improperly, and proper separation ensures your tools remain functional by April.
Disconnect the Hose From the Spigot
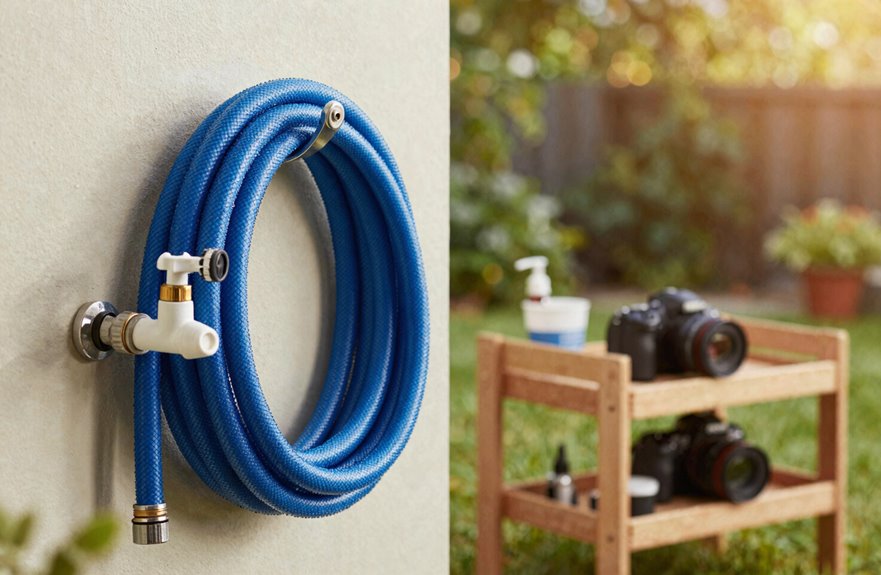
One stubborn twist of that brass connector, and you’ll feel the satisfying pop of release as your hose finally gives up its summer post.
One stubborn twist of that brass connector, and you’ll feel the satisfying pop of release.
First, squeeze your nozzle trigger (the same one used for pressure release) to drain any trapped water. This prevents that awkward spray when disconnecting. Now, unscrew the hose from the spigot by turning counterclockwise. Usually, hand-tightening reverses easily; reserve pliers for stubborn fittings (wrap the jaws with tape first).
Got multiple hoses? Disconnect them one at a time, laying each flat to avoid kinks. If yours is frozen solid, connect the ends together and bring it indoors to thaw. Never force frozen fittings, or you’ll crack them.
Once free, coil immediately or hang it up.
Drain Your Hose Completely Using Gravity
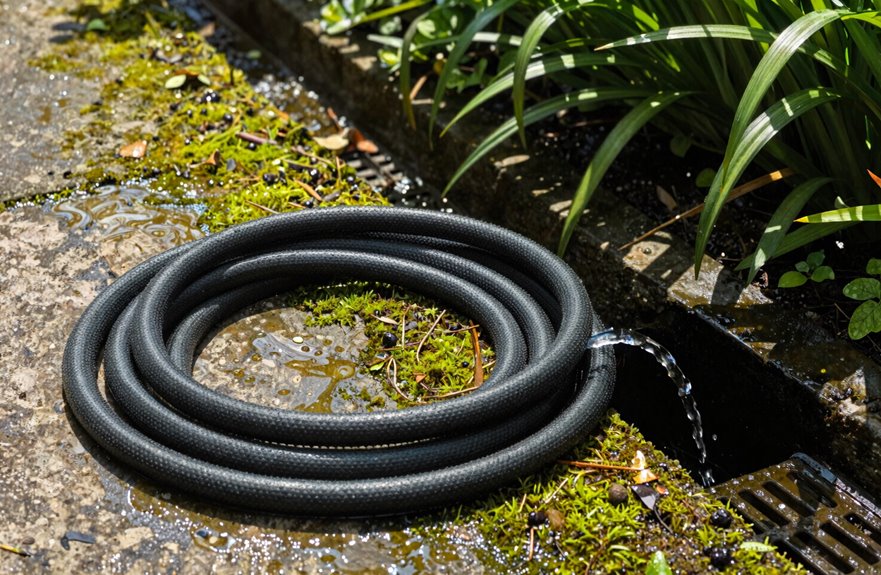
I always start by holding one end high and letting gravity do the heavy work, since water stubbornly clings to low spots. Frozen hoses crack by spring if water remains inside. If you’ve got a slope, position the nozzle downhill and lift the faucet end to shoulder height, about five feet, creating a gentle siphon that pushes every last drop out the open end. On flat ground, coil the hose into a three-foot loop, keeping the top section elevated while the bottom drains, then walk the length to squeeze out stubborn pockets. Finish by shaking the hose to confirm that telltale slosh is completely gone.
Gravity Drainage Method
Where’s the water hiding when you’re done watering? It’s still sitting in every low spot, waiting to freeze and crack your hose. That’s why gravity drainage works as a reliable storage practice.
For proper hose drainage, elevate one end about three feet high and watch the stream flow out until it’s just drips (usually two to three minutes for a 50-footer). On a sloped backyard, position the high end uphill, then slowly lift it in sections to push water downhill. On a flat driveway, loop the middle over your shoulder to create a temporary high point, or pinch it with your hand while guiding the rest downward.
If the hose is frozen solid, disconnect both ends, haul it inside, and wait. Gravity drainage won’t work through ice. Once empty, coil it immediately to prevent puddles and kinks.
Slope Positioning Tips
How exactly do you wring every last drop from a hose when your yard’s got more angles than a geometry quiz? Slope positioning tips turn your landscape into a gravity drainage ally.
First, elevate one end to shoulder height (about five feet), letting gravity push water toward the open nozzle. On sloped ground, position the hose with the high end uphill, keeping the low end below that highest point. Reverse siphoning can trap water in the line. For maximum drainage, create a two-to-three-foot circle at the top, then coil downhill. Gravity drainage works best with this spiral setup.
Afterward, lift and jiggle the hose slightly to dislodge trapped pockets gravity might miss. Removing all water prevents freeze cracks when you store it.
Coil Your Hose to Prevent Kinks and Tangles
Why does the hose always turn into a tangled disaster by July? A proper hose coil saves your sanity, your back, and your wallet.
Why does the hose always turn into a tangled disaster by July? A proper hose coil saves your sanity, your back, and your wallet.
Here’s my foolproof method for banishing kinks forever:
- Start at the faucet end, forming loose two-to-three foot circles (think hula-hoop size, not dinner plate), then wind outward in spirals
- Keep it gentle. Sharp bends create stress points that crack and leak, so think flowing river, not kinked straw
- Finish on a storage hanger or hook, elevated off the ground where UV and abrasion can’t touch it
For expandable hoses, the same rules apply. Concentric circles preserve that satisfying stretch. You’ll avoid wrestling spaghetti in August heat.
Secure the Coil With Twine or a Strap
I wrap twine around my coil starting at the hose end, making three or four tight passes before knotting it firm-but-gentle (think snug belt, not python squeeze), and I always leave a six-inch loop for hanging on a garage peg. If you prefer straps, thread a two-foot nylon one underneath and buckle it quick-release style; no fumbling with frozen fingers come March. Either way, check for fray every fall because a busted tie means a tangled mess, and that creates unnecessary complications in spring.
Tying Techniques
Where exactly should you put that strap so your hose doesn’t flop open like a sad accordion? I’ve learned these tying techniques through plenty of trial and error, with more failure than success.
Here’s what actually works:
- Wrap twine around the coil’s center, keeping loops snug but not strangling. Think firm handshake, not wrestling grip.
- Cross a narrow Velcro strap at multiple points to secure layers without crushing, preserving that perfect round shape.
- Tie near the top, leaving enough height for hook hanging without slip.
For expandable hoses, go slightly looser to accommodate that stretchy personality. The right storage setup means your hose stays coiled and ready. Garden hose management becomes straightforward once you apply these methods consistently.
Storage Benefits
Once you’ve got your hose coiled and tied, you’ll notice the immediate benefit: it actually stays where you put it.
This restraint makes all the difference. I hang mine on a Hose Hanger, and because the coil stays tight, I’m not fighting tangles every time I reach for it. The storage system works better when everything’s secured. No snagging on nails, no unraveling when I brush past it.
I use twine (old school, cheap) or a Velcro strap (fancy, reusable). Both keep tension even, which means fewer kinks wrecking your hose’s insides. The key is finding the balance: loose enough to breathe, tight enough to hold. Lift it off the ground too. Moisture causes mildew, and a simple wrap prevents both.
Check your restraint after storms or moves. A two-second tug prevents damage later.
Store Your Hose Indoors to Prevent Freezing
Why let a perfectly good garden hose turn into a cracked, brittle mess when winter hits? I bring my hose indoors before freezing temperatures arrive, and you should too. It’s the difference between a hose that lasts five years and one that barely survives one winter.
Don’t let your garden hose become winter’s casualty—bring it indoors and double its lifespan.
Here’s my routine:
- I start with drainage, lifting one end high and walking toward the other to push every drop out. Gravity does the heavy lifting, but I help it along.
- I coil the hose properly, working against its natural curve to prevent kinks and memory bends.
- I hang it on a simple loop of twine or a basic hanger in my garage, keeping it off the floor and away from hazards.
Store that nozzle separately, and you’re set for spring.
Hang Your Hose: Hanger, Hook, or Reel Options
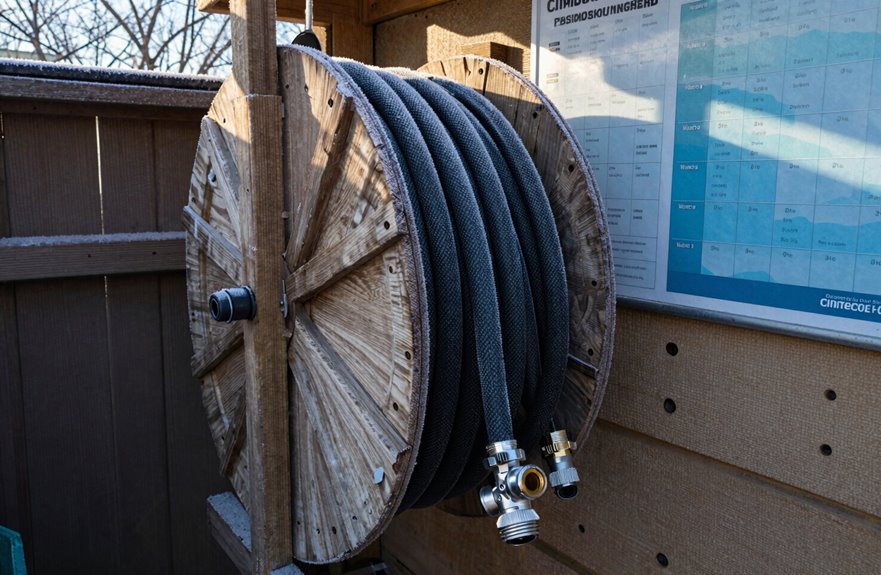
I hang my hoses because letting them sit on the ground causes kinks, cracks, and tripping hazards. Wall-mounted hangers work well if you have a sturdy fence or garage wall with 16-inch stud spacing, or use toggle bolts for drywall. Freestanding reels let you wheel the whole setup into a shed when winter arrives. Both options keep your coil elevated and dry, preventing moisture damage and mildew growth that develops when hoses stay damp on the ground.
Wall-Mounted Hangers
Where exactly should your hose live when it’s not soaking your tomatoes? Wall-mounted hangers keep my garden hoses safe from mower wheels and muddy puddles, and they look tidy too.
Here’s what works in my setup:
- I mount mine chest-high (about 48 inches) so gravity helps water drain out completely
- I always check that my spray nozzle clicks off tight before coiling, or you’ll have a drippy mess
- I use a reel with a swivel guide. No kinks, no hassle, just smooth winding
I drill into studs when I can, but concrete anchors work fine for brick. Before winter hits, I drain every drop. Frozen hoses split, and replacement costs add up quickly.
Freestanding Reel Solutions
Not every wall cooperates with mounting hardware. Freestanding reel solutions work when traditional installation isn’t possible. Post reels that stake into soil (2-inch diameter steel tubing, 48 inches tall), portable drum reels with wheeled bases, and bracket-mounted reels on standalone frames all address different needs.
| Reel Type | Best For |
|---|---|
| Post/Stake | Permanent beds, uneven terrain |
| Portable Drum | Small yards, frequent relocation |
| Framed Bracket | Patio corners, mixed surfaces |
Start by checking base width. A wider base prevents tipping. Select reels with guide rollers, those small wheels that feed hose flat, and choose powder-coated steel or UV-stable polymer for durability. In fall, drain the reel completely, dry it thoroughly, and apply silicone spray to moving parts. This maintenance extends equipment life and prevents corrosion damage.
DIY Hose Storage Ideas and Organization Hacks
While you could always buy a fancy hose reel for sixty bucks or more, some of the best storage solutions come from rummaging through your garage on a Saturday afternoon. Most people want to keep their gear tidy without breaking the bank.
What actually works:
- Coil your hose in concentric circles (2–3 feet across), starting from the far end and working toward the spigot. This prevents those annoying kinks that cause problems come spring.
- Drain every drop by elevating one end and letting gravity do the work before you put it away.
- Hang it all with simple twine loops or small garden hooks for compact indoor storage that keeps freezing at bay.
Disconnect the hose, release pressure by squeezing the nozzle, and store that separately. This protects your equipment and extends its lifespan.





