
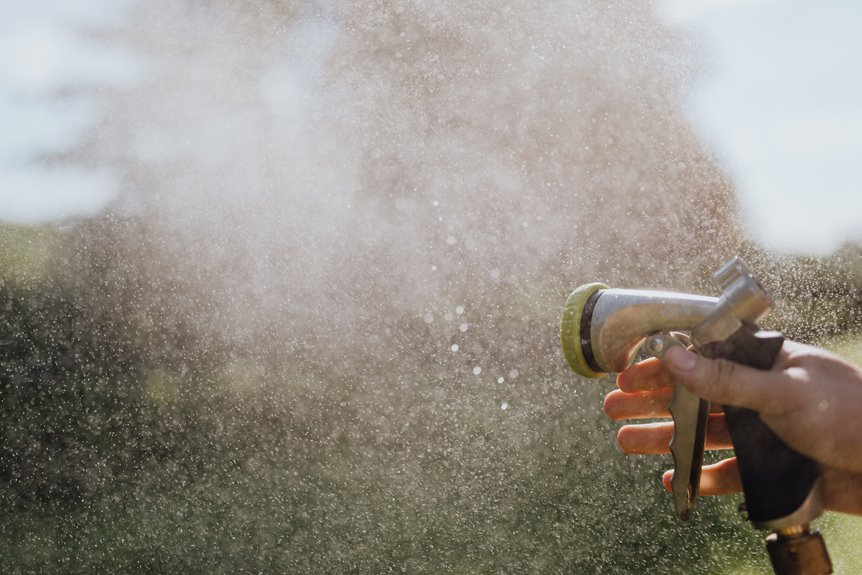
I start by testing my source pressure with a $10 gauge at the spigot. Shut off everything else first; 40–60 psi is normal, below 35 means the problem’s upstream.
Next, I unscrew nozzles and spray guns, scrub inlet screens with an old toothbrush, and run the bare hose for ten seconds to blast out grit. I walk the full length to unkink every twist, replace sharp 90-degree bends with gentle curves, and swap my 100-foot coil for a shorter, wider-diameter run for less friction and better flow.
I bubble-test joints with dish soap, swap flattened washers, and seal leaks with PTFE tape. If that’s not enough, I grab a high-pressure nozzle or, when my municipal lines just can’t deliver the volume needed, install a booster pump that pushes 4.4 GPM up to 65 feet. Each fix addresses a specific cause of pressure loss.
Test Your Source Pressure First
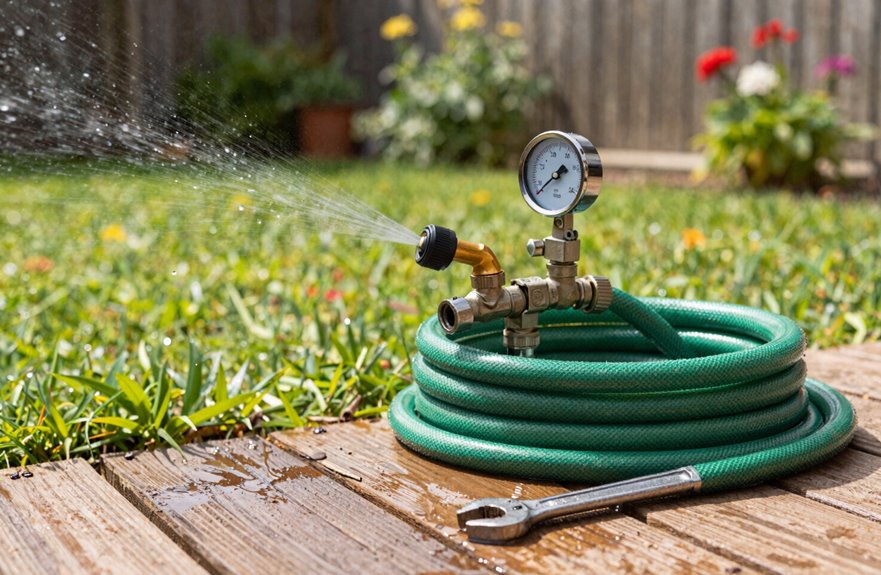
Why guess at the problem when you can measure it in five minutes. Grab a pressure gauge (about ten bucks at any hardware store) and thread it onto your hose bib, the outdoor spigot where everything starts. This tells you exactly what your source delivers in psi, pounds per square inch, before blaming your hose for anything.
First, shut off every other faucet, sprinkler, and thirsty appliance in the house. Then run water through a bare hose, no attachments, to isolate what’s really coming from the main. Typical homes push 40–60 psi, so if you’re sitting at 35 or lower, the issue isn’t your equipment; it’s upstream. Jot down the highest sustained pressure you see, watching for drops when someone flushes a toilet nearby.
Unclog Nozzles and Inlet Filters to Restore Flow
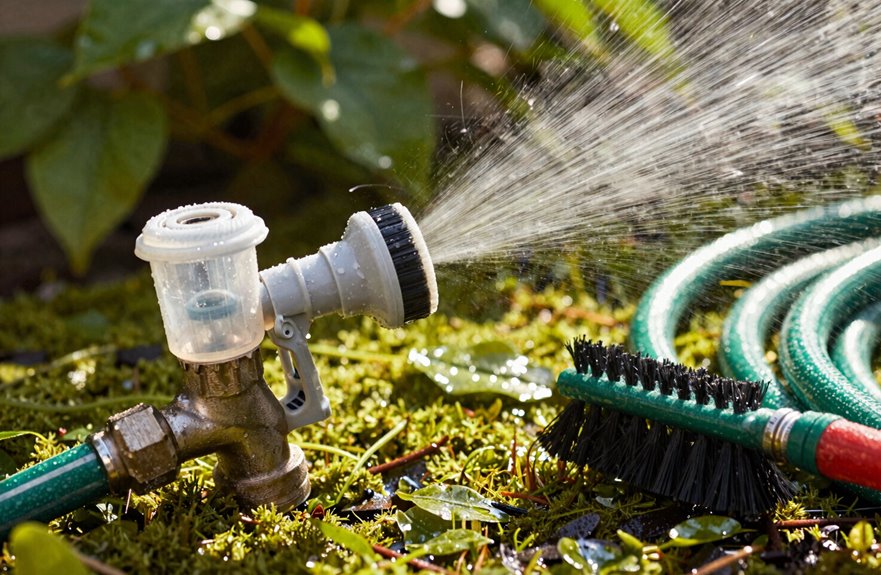
I’ll start by popping off that spray nozzle and running the hose bare. If water suddenly gushes stronger, you’ve found the culprit: grit or hard-water scale blocking the passages. Next, unscrew the hose from the spigot and check that little inlet screen, which catches sediment like a coffee filter catches grounds. A quick scrub with an old toothbrush under running water usually clears it, though stubborn mineral crust might need a 30-minute vinegar soak first. Between the nozzle and the filter, you’ll recover most of that lost pressure without using any tool beyond what’s already in the kitchen drawer.
Remove Debris Buildup
Ever wonder why your hose suddenly feels more like a dribble than a spray? I’ve been there, standing in my yard, wondering if I’ve lost my gardening touch. Usually, it’s just debris buildup causing trouble. I start with nozzle cleaning by unscrewing the spray head, poking out gunk with a paperclip or a toothpick, and running water backward through it. Then I check the inlet filters, those little mesh screens where the hose meets the spigot. I pull them out, rinse away sediment under the tap, and pop them back in. A clean hose inlet means less resistance and better flow. I reassemble everything, turn the water on full blast, and the strong spray returns.
Clean Filter Screens
Several tiny mesh screens stand between you and consistent water pressure. These sediment traps at the hose inlet are the primary cause when your hose loses flow. Check your filter screens first, as they’re ground zero for water pressure problems.
To diagnose the issue: unscrew the spray gun completely (no tools needed), run the bare hose for ten seconds, and observe the flow. If water sprays outward forcefully, you’ve identified your blockage. Scrub those mesh screens with an old toothbrush under tap water, reassemble everything finger-tight, and your pressure should return to normal.
For prevention, reverse-flush your hose for thirty seconds monthly (set a phone timer) to stop future clogs before they develop.
Remove Kinks and Reroute Sharp Bends
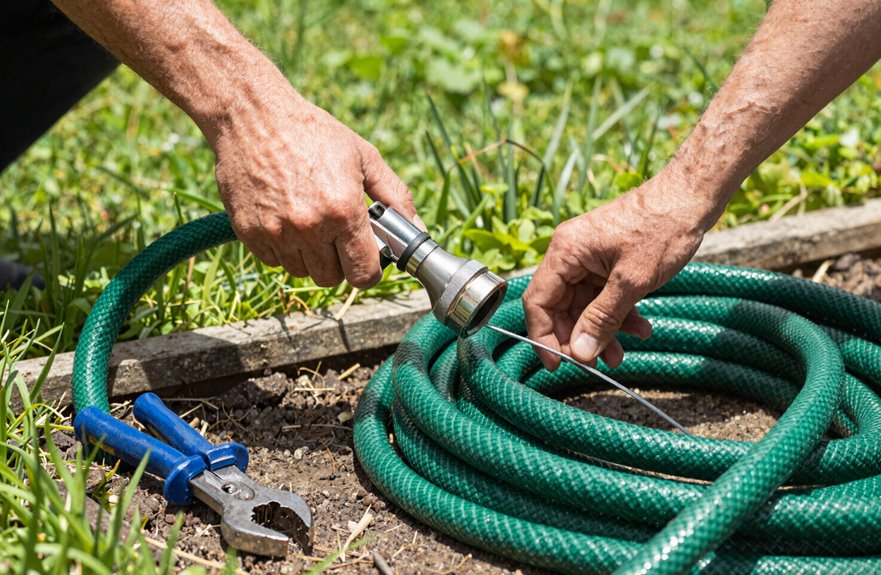
Why does my hose sometimes feel like it’s fighting me. Usually, it’s those sneaky kinks and sharp bends choking off my water flow.
I start by walking the entire length, feeling for twists or knots. They love hiding behind bushes. When I find one, I straighten it gently without yanking, which weakens the material. For 90-degree bends, especially near the faucet, I reroute the hose into gradual, sweeping curves instead of tight corners. Think of it like highway on-ramps versus stop-and-turn city streets.
I also slope the hose downward when possible, letting gravity work with me, not against me. Those tightly coiled loops from lazy storage need unwinding completely. Good hose routing keeps water pressure at maximum output. Reduced kinking and bending means your plants receive the full water volume they need.
Shorten the Hose Run and Optimize Layout
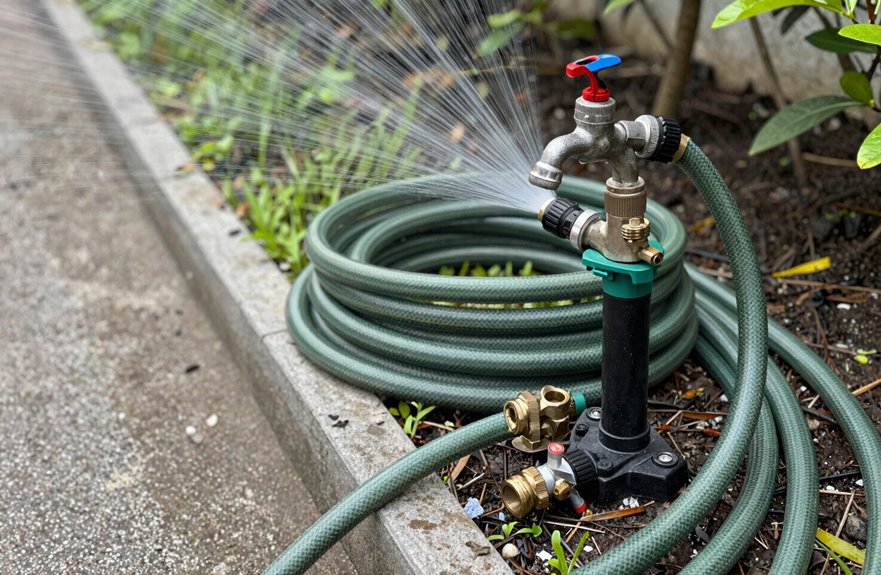
I’ve found that trimming my hose run to 15–20 meters (about 50–65 feet) makes a real difference, since every extra meter beyond 30 meters steals noticeable pressure through friction. I also swap in a 5/8-inch diameter hose when I need more oomph, because that wider pipe fights resistance better than the standard 1/2-inch. Finally, I lay out the line with gentle curves instead of sharp 90-degree kinks, and if the yard allows, I’ll angle it slightly downhill so gravity gives the water a little push.
Reduce Hose Length
With a shorter hose, I’m getting noticeably better pressure at the nozzle. There’s real physics at work here. Every meter of hose length creates friction that steals energy from your water flow, so I’m ruthless about cutting excess. I keep my runs between 15–20 meters (about 50–65 feet) instead of letting them sprawl past 30 meters. That’s where pressure loss really accumulates. When I swapped my long 1/2-inch hose for a shorter 5/8-inch model, the difference was immediate; thicker diameter plus reduced length equals improved flow. I also reposition everything to slope gently toward my supply, which stops backpressure from fighting the system. Reducing hose length and diameter improves plant watering efficiency while reducing physical strain.
Eliminate Unnecessary Bends
Because I got obsessed with my hose layout last summer, I finally realized those gentle curves I’d been so proud of were actually sabotaging my water pressure. Each 90-degree bend acts like a tiny dam, and I counted three in my setup, no wonder I had low water pressure at the nozzle. I’ve since learned that friction losses pile up fast, especially past 30 meters (about 100 feet), so I shortened my run to 15 meters and ditched the decorative loops. Now I route with gentle slopes, avoiding kinks and coils that pinch flow. If you’re still struggling after straightening things out, a pressure pump helps, but try kink-resistant hose first. Straight paths deliver steady pressure. Your plants will respond to the improved water delivery.
Find and Seal Hidden Leaks
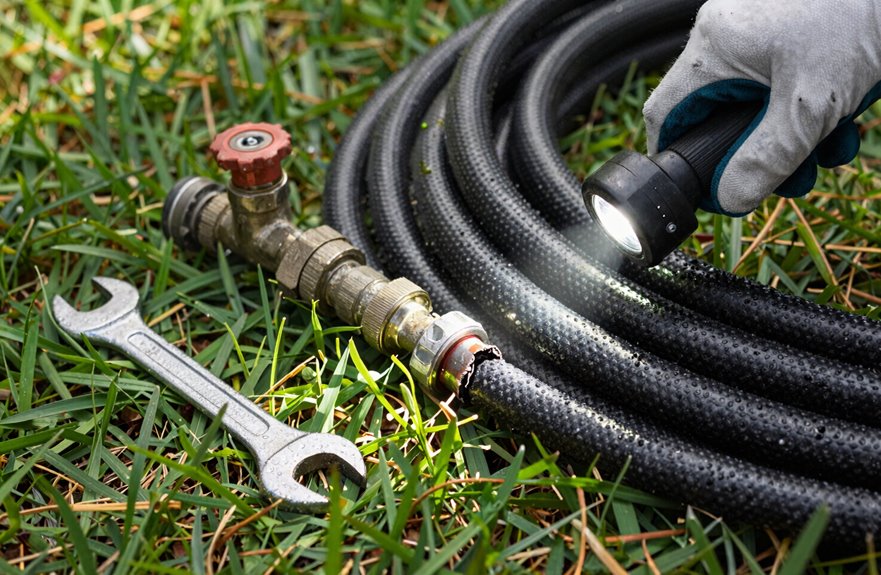
Before I blame my nozzle for the weak spray, I check for hidden leaks first, since they can silently steal pressure while I’m busy talking to my tomatoes. I run my hand along every inch of hose, feeling for damp spots or that telltale greenish discoloration that indicates trouble. At the fittings, I tighten what I can and swap out those flattened washers (they’re cheap, about 50 cents each at any hardware store). For the leaks I can’t spot visually, I mix dish soap with water, brush it on joints, and watch for bubbles that reveal the source.
| Leak Location | My Fix |
|---|---|
| Hose body crack | Cut, splice with mender (3/4″ barbed brass, $4) |
| Fitting threads | Wrap PTFE tape clockwise, 3-4 turns |
| Quick-connect | Disassemble, clean grit, reseat O-ring |
| Spray gun joint | New washer, hand-tighten plus quarter turn |
I seal everything, turn the tap wide open, and my stream finally punches through the air with proper force.
Switch to a High-Pressure Garden Hose Nozzle
Once I’ve patched every leak and my hose is running tight, I turn my attention to the business end of things: the nozzle.
I swap my old sprayer for a high-pressure nozzle. These nozzles pack multiple settings: jet, mist, shower. This versatility covers blasting patio grime or gently watering tomatoes. The magic’s in the narrow, well-sealed orifice (think of it as a focused straw versus a spilled cup), which cuts flow losses and cranks up effective water pressure at the outlet.
I check my hose fittings match, standard 3/4″ threads usually, then twist until it’s snug, not Hercules-tight. This simple upgrade compensates for friction losses along my hose length, giving me better reach and cleaning power without touching the spigot.
Install a Garden Hose Booster Pump for Permanent Pressure
Why settle for mediocre flow when you can engineer your way to better garden watering? Installing a garden hose booster pump, specifically the Naroote model, provides permanent water pressure that transforms your whole setup. This wall-mounted unit operates on 100–240V with a standard US plug and automatically activates with flow, so you’re not wasting electricity. It shuts off when you’re done. It pushes 4.4 GPM up to 65 feet, meaning your distant beds finally get adequate water coverage. Key features include low-pressure start capability, so even weak municipal lines work, plus adaptive technology that learns your pipes’ characteristics. For irrigation systems, this capability significantly improves performance. Mount it near your spigot, connect your hoses, and your sprinklers operate efficiently instead of struggling.





