These DIY wood flower pots cover scrap lumber builds you can finish in an afternoon up to planter benches and trellised boxes that take a full weekend, and the right one depends on whether you need the planter to stand alone, hang, or share space with a bench or trellis.
Pressure-treated 4x4s rated for ground contact will last the longest at the cheap end; cedar slats that weather bare sit at the other.
The planter bench with picket backrests and Adirondack proportions is the detail that shows how far the category stretches: furniture first, planter second, with soil depth under a few inches limiting you to shallow-rooted annuals.
1. Wooden Planter Bench

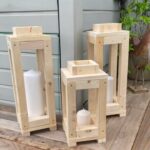
A planter bench reads as furniture first, planter second, which makes it a natural fit for a small deck or patio where seating and greenery share the same footprint.
The miniature scale visible here, with picket backrests and Adirondack chair proportions, works as accent pieces rather than full seating, so I would check the interior dimensions before cutting any wood: a soil depth under a few inches limits you to shallow-rooted annuals, succulents, or herbs.
Drainage holes are non-negotiable in this enclosed box shape, and I would line the interior with landscape fabric to slow rot at the seams.
If the matching piece visible beside it is your goal, build both at once; the repeat cuts save setup time and keep proportions identical.
2. Cedar Planter

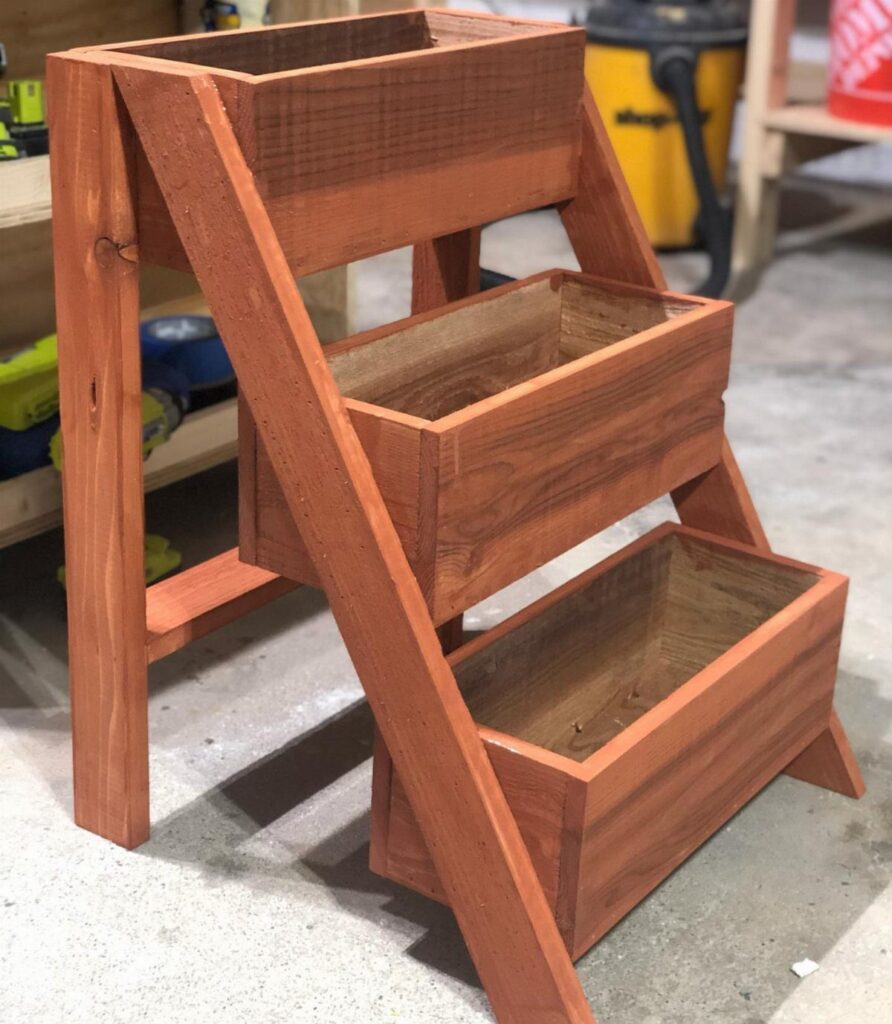
Cedar carries its own color, a warm reddish tone that needs no stain to look finished, which saves a step and a weekend of drying time.
A three-tiered stand uses vertical space for a footprint barely wider than a single large pot, a useful trade for renters on small balconies or owners with narrow walkways between house and fence.
I would use thick cedar boards for the boxes; anything thinner warps within a couple seasons of wet soil cycles.
The visible construction looks like simple butt joints, which I would reinforce with exterior-grade screws and waterproof wood glue rather than nails, since the weight of 3 watered boxes adds up fast.
3. Pressure-Treated Timber Wood Flower Pots
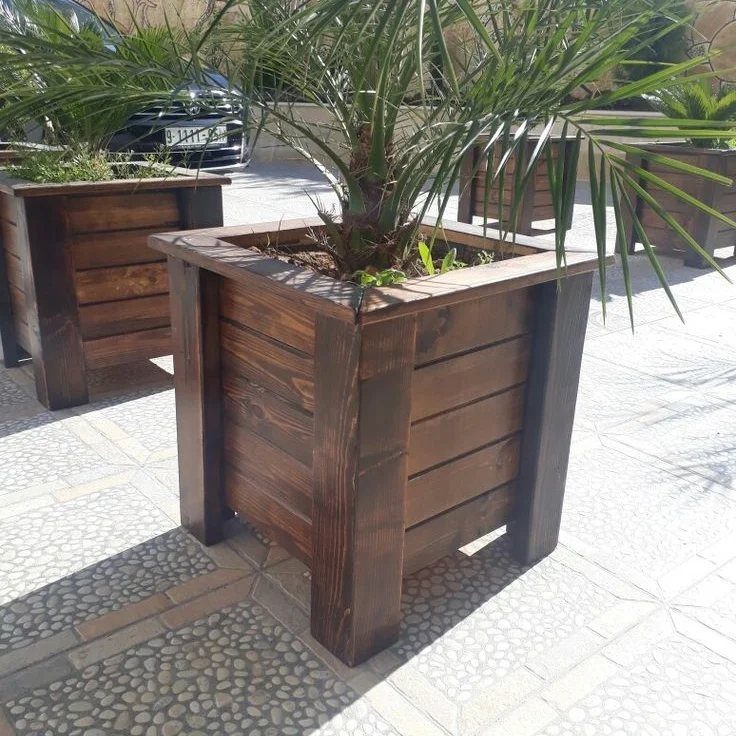
Pressure-treated 4×4 timber built the dark-stained boxes visible here, and that lumber choice is the whole story: it is cheap, sold at every home center, and rated for ground contact without additional protection.
The chemical treatment resists rot and insects for 15 to 20 years, though I would still raise the boxes slightly on pavers or shims to break soil contact and slow the darkening that happens at the base.
The stain color visible is a choice, not a requirement; left bare, the wood weathers to gray-green, which some prefer.
One limit worth knowing: the current treatment formula is safe for vegetables but I would line food-growing boxes with plastic sheeting anyway, as the old arsenic-treated stock still turns up in reclaimed lumber.
4. Railing Planter

The long horizontal box needs more structural attention than a standalone pot: I would use heavy brackets or a cleat system bolted to the rail, not screwed, since the lever arm of a full box of wet soil will pull out anything less.
Plan for a depth you can reach across comfortably, since one side is fixed against the rail.
I would skip finicky annuals here and plant cascading herbs or trailing strawberries, anything that rewards the side glance you give it passing by.
5. Raised Planter with Trellis

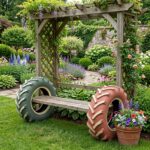
The diamond-pattern trellis integrated into this planter’s backboard is the detail that makes it: clematis and climbing roses need something thinner than a 2×4 to wrap tendrils around, and the lattice gaps visible look narrow, which suits most common climbers.
A box this size holds enough soil for perennial roots to survive winter, though I would anchor the trellis posts well into the ground or bolt them to a wall; the sail area of mature vines in wind is substantial.
The build time of a couple days matches the joinery I see, with the trellis frame mortised or at least deeply screwed into the box corners.
I would stain or seal before assembly; the interior corners are nearly impossible to reach clean once built.
6. Stain or Seal Wood
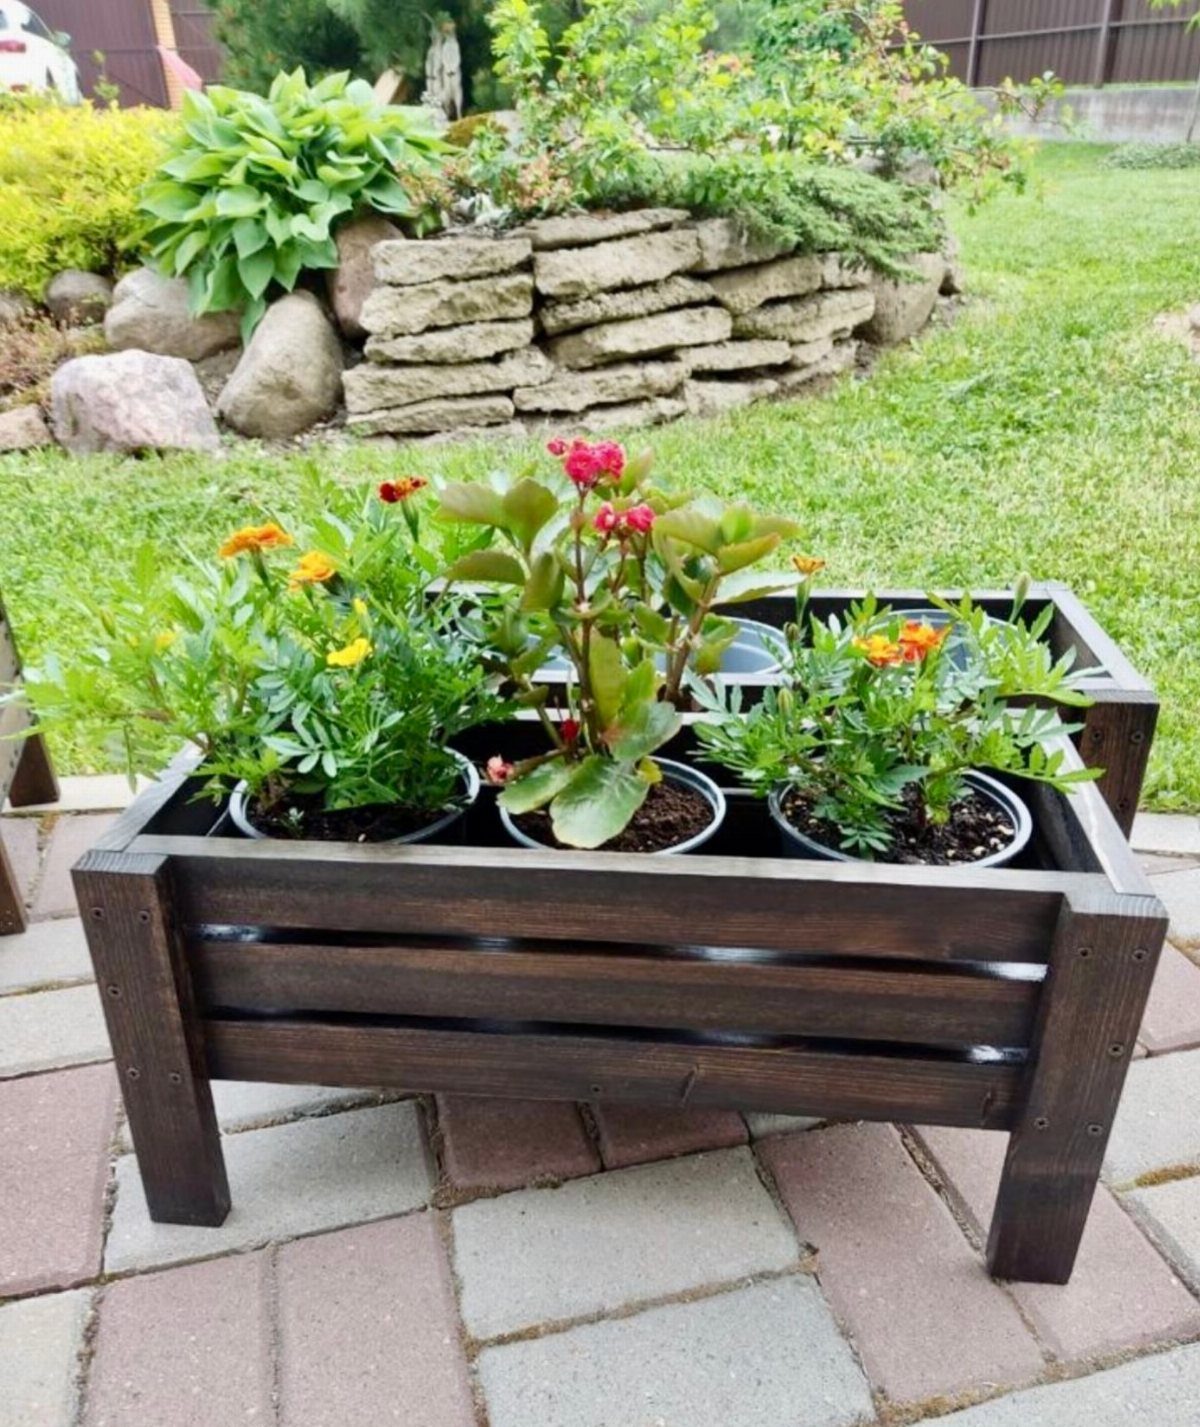
The legs raise the box off the pavers, which helps drainage and reduces the wicking that rots feet first, but the slatted construction is what lets air circulate to the soil chamber; I would use cedar or redwood for the slats themselves and reserve the stain for the frame, since those species weather well bare.
A single coat of exterior oil-based stain, reapplied on occasion, costs less than replacing a box and takes an afternoon. I would skip film-forming finishes like polyurethane outdoors; they trap moisture and peel in sheets.
7. Scrap Wood Flower Pots

Scrap wood planters come with the grain patterns and nail holes already telling a story, which saves the step of building character.
The dark stain visible here unifies mismatched boards into something intentional, though I would check each piece for rot or insect damage before cutting; soft spots spread fast once soil moisture hits them.
Butt joints and simple box construction suit this material, since warped or uneven boards fight anything fancier. I would line the interior with plastic sheeting to slow the decay that scrap lumber, often softer species, is prone to.
You can build this wooden planter box in less than an hour.
8. Hanging Rope Planter Box
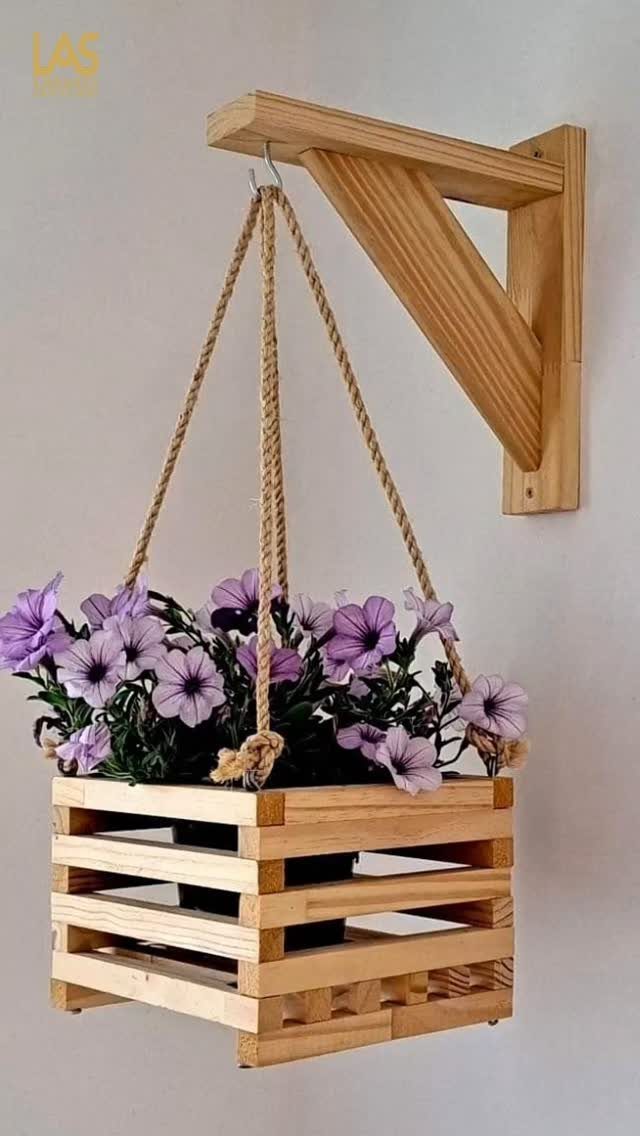
Thick rope and a wall-mounted bracket turn a simple slatted box into something that swings, which reads as casual and coastal against plain siding.
I would bolt the bracket into studs with lag screws rated for the wet weight of soil plus wood, which is heavy enough that skimping on hardware is where this build fails.
The slatted floor drains on its own, though I would still leave gaps between boards rather than trusting shrinkage. Petunias suit the full sun and the downward view this placement gets.
9. Hollowed-Out Log Planter

A hollowed log trades carpentry for carving, which means finding the right trunk first: straight grain, solid heartwood, no hollow that reaches the ground.
The supports visible are separate pieces, not the same log, which matters for stability and for getting the planting chamber level.
I would drill drainage holes through the base with a long bit, since standing water rots even rot-resistant species from the inside out.
Ferns suit the shade and moisture this setup usually sits in, and their shallow roots match the limited depth a thick bark wall leaves.
10. Tall Tapered Slat Planter
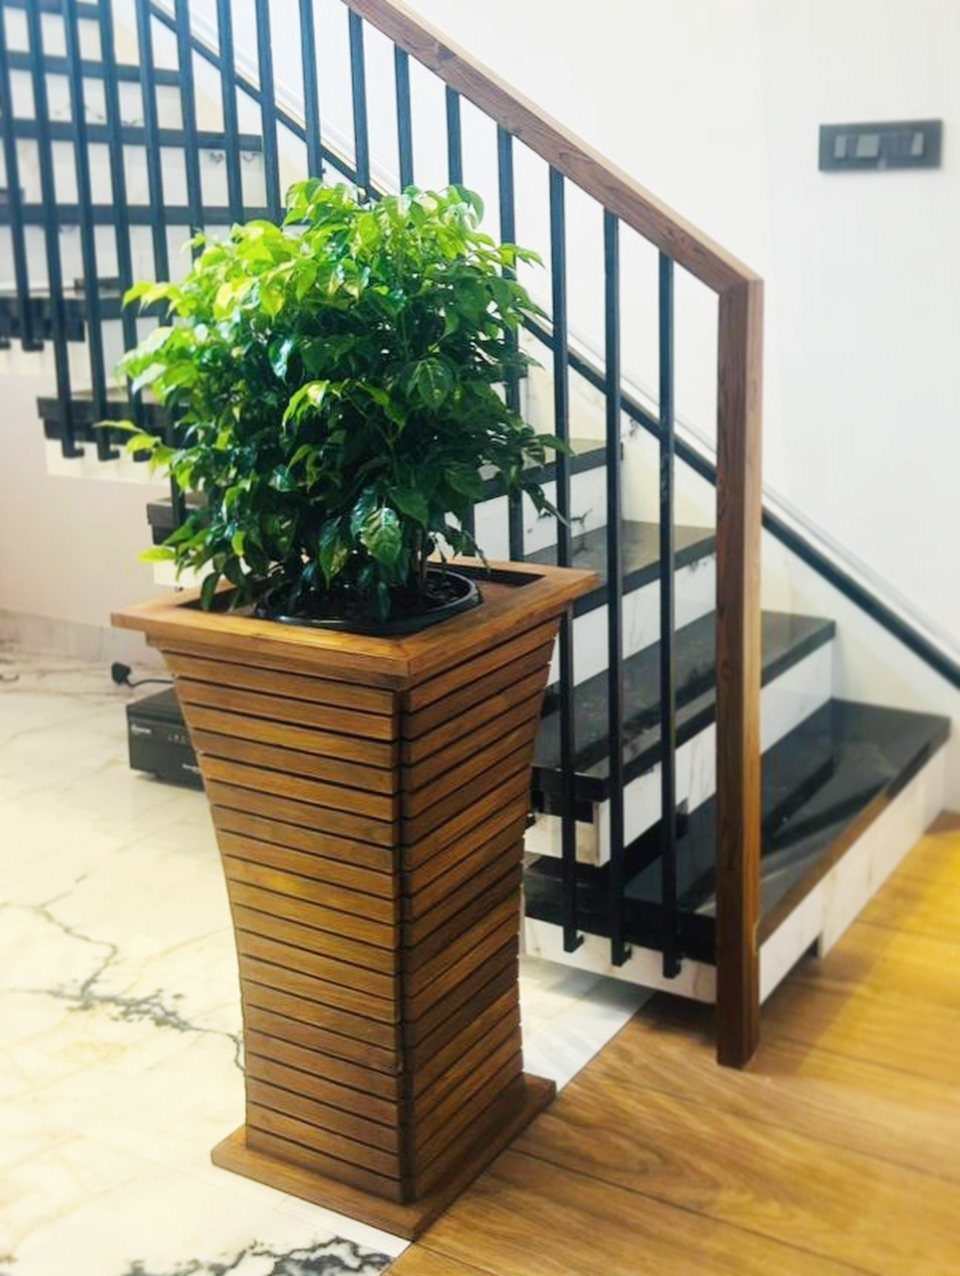
Horizontal slats stacked with gaps create a tapered cylinder that reads as modern and lets the root ball breathe, a detail I like for indoor plants that stay too wet in solid pots.
The taper narrows toward the base, so the slats need precise angles or a jig to keep the gap even; I would build a simple trapezoid frame first and attach slats to it rather than freehanding.
A plastic liner inside hides the soil and catches water, since the gaps would leak onto that marble floor. This size suits a single statement plant with a vertical habit.
11. Tiered Vertical Ladder Planter

A ladder frame with boxes stacked vertically turns one plant into a column, which I would place against a fence or wall rather than floating in open space where it looks thin from the side.
I would build the boxes removable, not fixed, so you can take the lowest one out to reach the highest without a step stool.
The weight stacks too, so the feet need a broad base or anchoring to the fence rail behind.
12. Wall-Mounted Tiered Planter
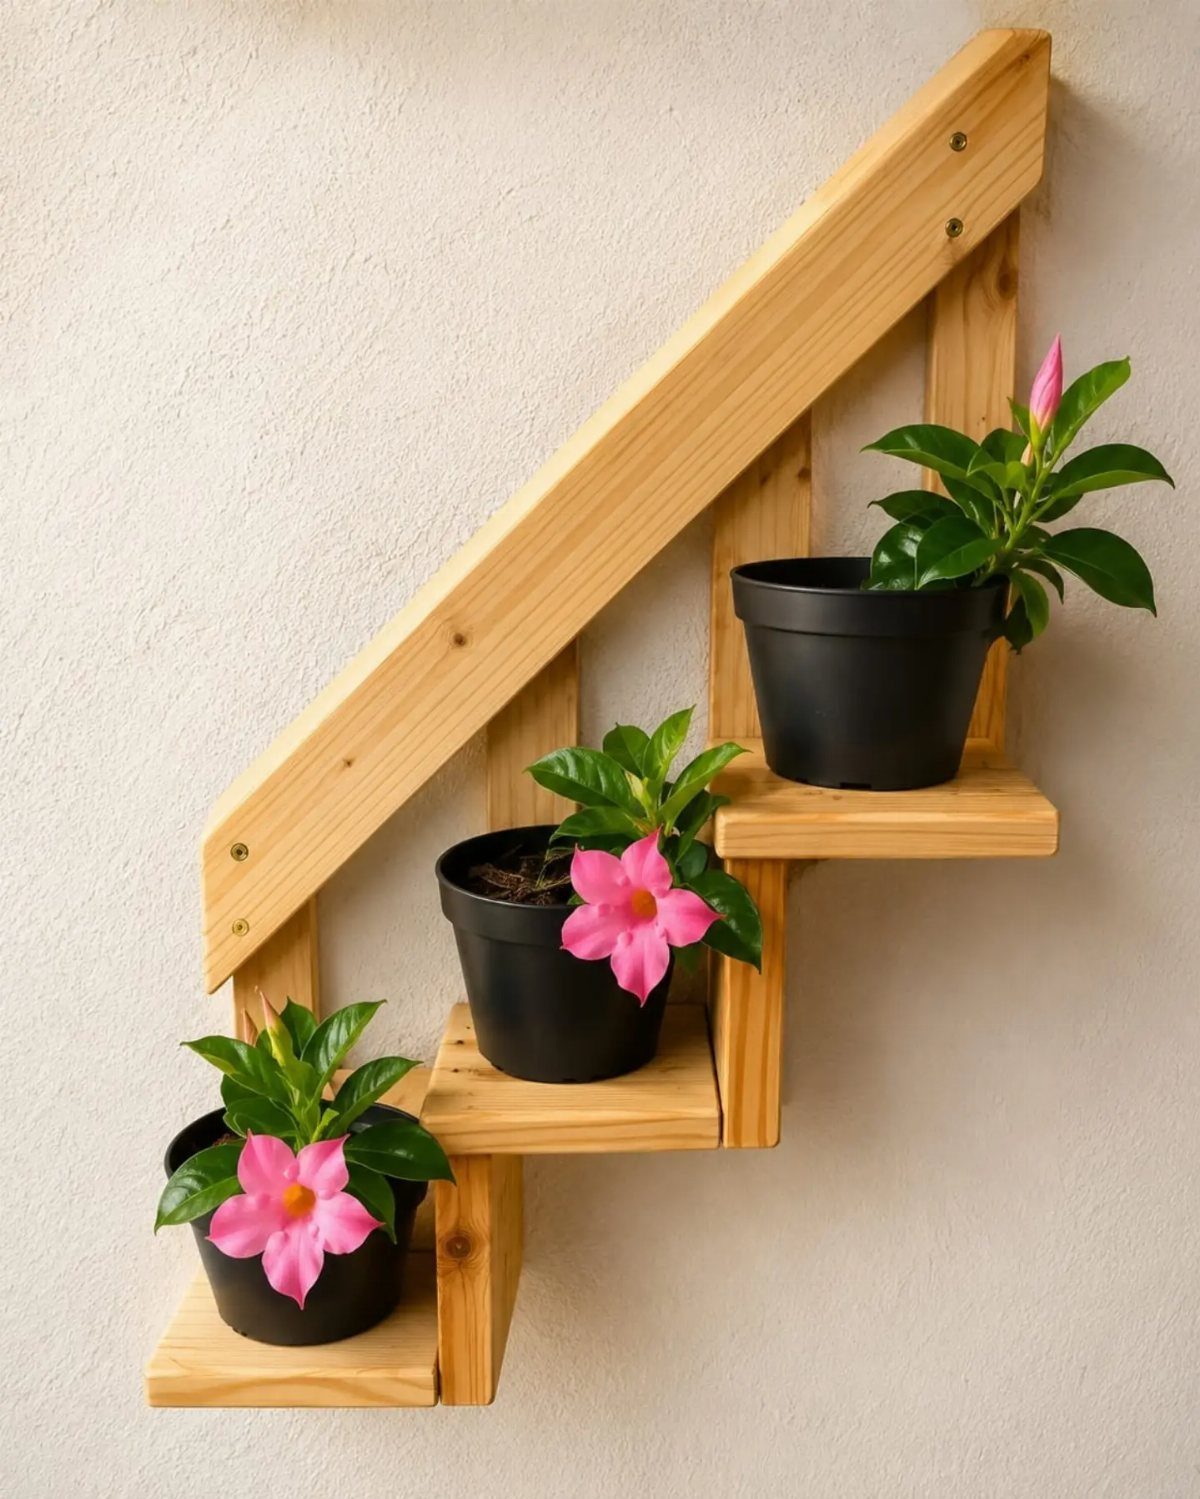
A stepped shelf mounted flat to the wall keeps pots separate rather than building one shared box, which means each plant gets its own drainage and you can swap one out without disturbing the rest.
The pine visible here is light and easy to mount, though I would seal it well; the water that runs off plastic pots collects on the shelf below and soaks in.
The depth looks shallow, so I would check that my chosen pots sit stable and do not overhang the front edge.
3 pots in a vertical line draw the eye up a blank wall without the weight of a full planter box.
13. Planter Box with Light Post

The post rising from the center of this box does 2 jobs: it carries a solar light for evening visibility and provides hooks for hanging baskets or tools.
That makes it a single piece of outdoor furniture rather than a planter with an add-on, which I would place where it lights a path or doorway rather than deep in a bed.
The box itself looks like standard 2×6 construction; I would check that the post is through-bolted to the base, not toe-nailed, since leverage from hanging weight or wind works joints loose.
A solar cap needs full sun to charge, so I would site this where the post top sees sky most of the day, not under eaves or tree cover.
Choosing the Right Wood
Cedar and redwood carry natural rot resistance in their oils, which lets them weather bare while softer woods need protection from the first season.
Pressure-treated 4x4s trade that natural chemistry for a factory-applied preservative rated for ground contact; the current formula replaces the arsenic-based treatment phased out years ago, and it is listed safe for food crops, though a plastic liner still removes any question.
Construction-grade pine or whitewood costs less up front but typically gives one to two seasons before decay shows, so I would reserve it for temporary plantings or indoor use.
Reclaimed sources change the math: railway sleepers bring weathered character and often hardwood density, but check the origin; old stock may carry the old treatment.
Decking off-cuts or pallet wood suits scrap-built boxes, though soft spots and nail damage need inspection board by board.
Safety Precautions
Gloves and safety goggles belong on before the first cut, not after a reminder from a splinter or chip. The goggles matter most with power saws, where debris travels faster than reflexes.
A dust mask is worth adding for pressure-treated lumber; the sawdust carries the same chemical load as the surface, and you do not want that in your lungs over a full afternoon of cutting.
Maintenance Tips
A box that looks sound from the outside can hide decay at the soil line or inside corners where water sits.
I would check these spots twice a year, in spring before planting and in fall after cleanup. Soft wood gives under a screwdriver probe; catch it early and a single board replaces easily, wait and the rot spreads through joints.
Sealant wears fastest on horizontal surfaces and at the waterline inside. Exterior oil-based stain soaks in and can be touched up without stripping; film finishes like polyurethane need complete removal once they start peeling.
Reapplication on a regular schedule is typical for stained boxes in full weather, though a covered porch stretches that interval.
Frequently Asked Questions
How to prepare a wooden planter?
Drainage matters more than anything else: bore a few half-inch holes through the bottom before you add soil, or the box will rot from the inside out.
A layer of landscape fabric inside buys you a couple extra seasons by keeping soil off the seams without holding water like a solid plastic liner would.
I reach for an exterior oil stain over paint every time; it soaks in and lets the wood breathe instead of trapping moisture under a film.
What do you put in the bottom of a wooden planter box?
Drainage holes come first, since standing water rots wood from the inside out.
I would add landscape fabric above those holes to keep soil from washing through, and make sure the holes themselves are sized to let water out fast enough that roots don’t sit wet.
Some builders leave gaps between bottom boards instead of a solid floor, which drains on its own but needs a liner to hold soil.
How to DIY flower pots?
For wood specifically, start with butt joints and simple box construction, which suits even warped or uneven boards better than fancy joinery.
Drill drainage holes, line the interior to protect the wood, and raise the box slightly on feet or pavers to break soil contact.