
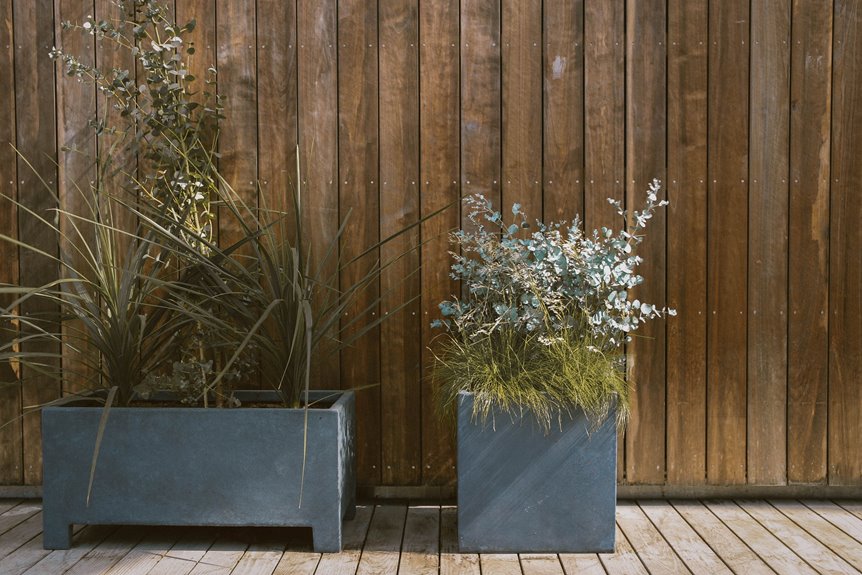
I begin with cedar (naturally rot-resistant, no chemicals required) and cut four legs at 34½ inches, four top rails at 30 inches, plus eight long slats at 53 inches and eight short ones at 27 inches, all from ¾-inch cedar fence stock. I sand everything with 80- through 180-grit before assembly (this seals end-grain, where moisture sneaks in), then drill pocket holes with my Kreg Jig for hidden, strong joints. I build the two long sides first, screwing slats to legs with that ¾-inch front reveal, then connect them into a rectangle and check square with a carpenter’s square. Wobbly planters fail prematurely. Center battens (¾” x 2″) get glued and screwed to prevent bowing, then I add four bottom rails angled toward the center for drainage, topping them with slats spaced ¼ inch apart. Inside, I layer chicken wire, landscape fabric, and black plastic up the sides. This three-layer system provides effective protection against rot. A coat of exterior latex on the frame, spar varnish on the slats (three coats on end-grain), and the project is complete. Sealing before assembly extends planter life by years rather than seasons, and proper pocket hole placement makes squaring nearly automatic.
Why Cedar Outlasts Other Woods for Outdoor Planters
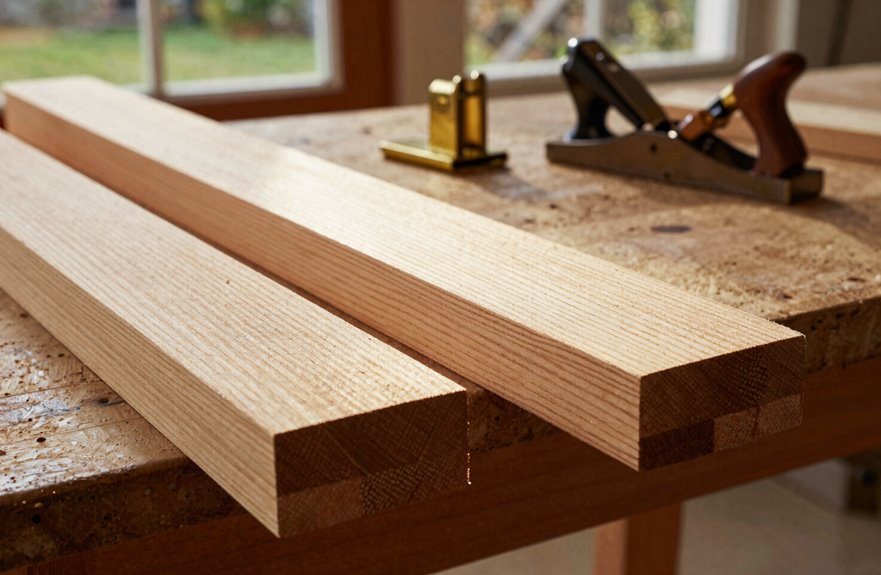
Because I’ve built planters that fell apart after one rainy season, I’m picky about wood now. Cedar’s natural rot resistance makes it my go-to for outdoor planters that actually survive. The plan uses cedar framing plus 3/4-inch cedar slats (that’s three-quarters of an inch, roughly the width of your thumb), which resist moisture while other woods warp and deteriorate. Cedar’s decay resistance means less maintenance, so you’ll spend more time planting tomatoes and less time rebuilding boxes. Sure, pressure-treated lumber works, and Redwood or Ipe last even longer, but cedar hits that sweet spot of durability and affordability. Leftover scraps work well for small herb boxes. When neighbors are rebuilding their planters, you’ll simply be adding soil to yours.
Cut Your Elevated Planter Frame and Slats to Size
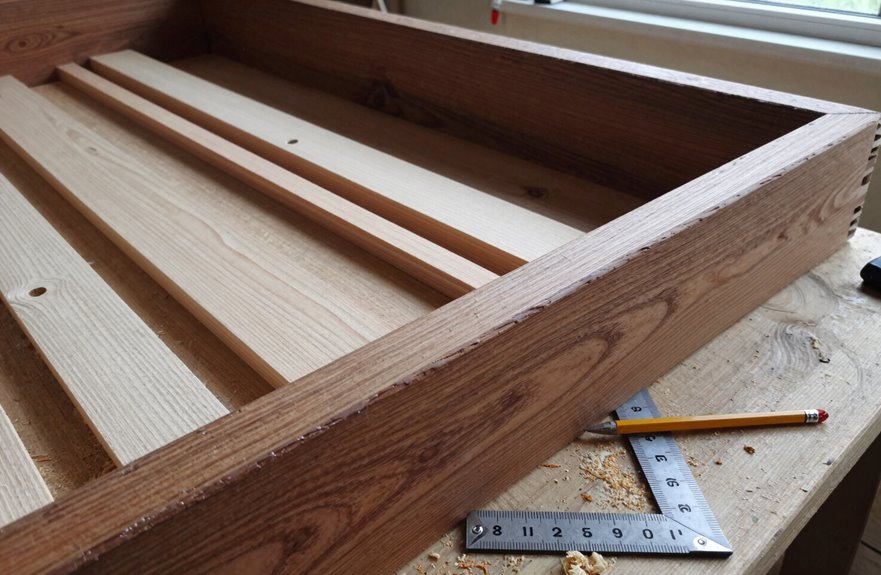
Where exactly do we start when the wood’s still in full lengths and our planter exists only in imagination? Right here, with the saw and a clear plan. I’m cutting my cedar down to buildable pieces, and you’re coming with me.
For the frame, I’ll buzz through four legs at 34½ inches (that’s your total height minus the top), plus four top bars at 30 inches. Rough-sawn cedar 2x4s handle the load beautifully. Now the slats: I need eight long ones at 53 inches, eight short at 27 inches, all from ¾-inch cedar fence stock. I’m putting a ⅛-inch chamfer on those long front edges. This detail looks sharp and helps water run off.
Measure twice, cut once, and your imaginary planter will have structural integrity.
Build This Planter Without a Table Saw
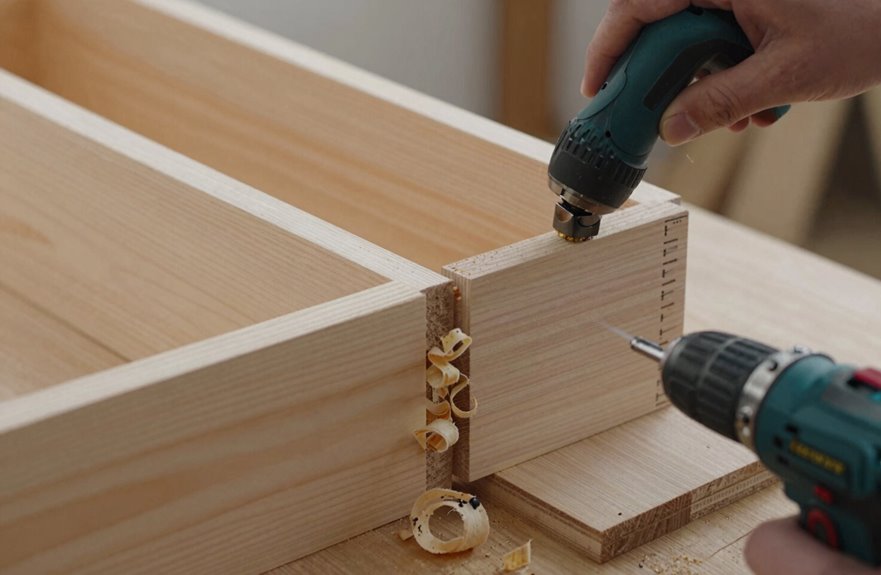
I built this whole planter with nothing but a Japanese pull saw, the kind that cuts on the pull rather than the push, and a speed square for keeping my 1×6 cedar boards straight. You don’t need a table saw for this project. You’ll swap the usual five side slats for just four, which looks cleaner and saves you from ripping boards to width. Trim everything with 1x3s screwed through pocket holes to keep those panels perfectly square. Measure twice, clamp a straightedge when you need it, and remember to leave quarter-inch gaps between slats for drainage. The same finish rules apply whether you’re power-tooling it or going old-school.
Alternative Cutting Methods
What if you don’t own a table saw? You can build this planter using tools you probably already own.
I reach for my jigsaw when I need clean, straight cuts on those 17 3/4″ side panels. Clamp a metal straightedge as your guide for precise results. For those decorative angled “Xs,” use a miter box (the cheap plastic kind works fine) to achieve those 15° and 36° cuts.
The scrap-block method works effectively: clamp a scrap piece at exactly 14″ spacing, then butt each board against it before cutting. Batch cutting with this jig keeps every plank identical without requiring fancy equipment. Double-check your marks and cut with confidence.
Hand Tool Options
Going fully unplugged is possible. I built mine with hand tools alone, no table saw required.
| Task | Hand Tool | Pro Tip |
|---|---|---|
| Corner cuts | Japanese pull saw | Let the saw do the work, don’t force it |
| Joinery | Kreg Jig (manual) | Pocket hole joinery works beautifully by hand |
| Square check | Carpenter’s square | Measure twice, clamp once |
I cut eight 12-inch planks total, four per side, using my pull saw for clean, precise corners. For pocket hole joinery, I drilled manually with my Kreg Jig, controlling depth and alignment perfectly. Those decorative “X” pieces were secured with finishing nails and glue, no fancy cuts needed. Square construction demands patience: clamp, measure, adjust, repeat. I checked every corner with my carpenter’s square. The repetitive process develops muscle memory and builds confidence in hand tool technique. You’ll develop the skills of builders who understand their tools completely.
Design Adjustments
Starting with cedar fence pickets (roughly 5.5″ wide, available at any big-box store), you’ll skip the table saw entirely by ripping them down by hand or with a circular saw and a straight-edge guide. Cut them to 4.5″ widths this way; the slight variation adds character.
For edge alignment that keeps everything square, use a carpenter’s square plus pocket holes drilled with a Kreg Jig. This pulls joints tight even when hand cuts aren’t perfect.
Build sides from scrap wood leftovers, battens, and bottom rails, which means fewer long, precise cuts to manage. Finally, run a 1/8″ chamfer along front slat edges with a trim router or hand plane. No fancy shop required; just materials, patience, and a finished planter you’ll actually want to display.
Sand and Seal All Pieces Before Assembly
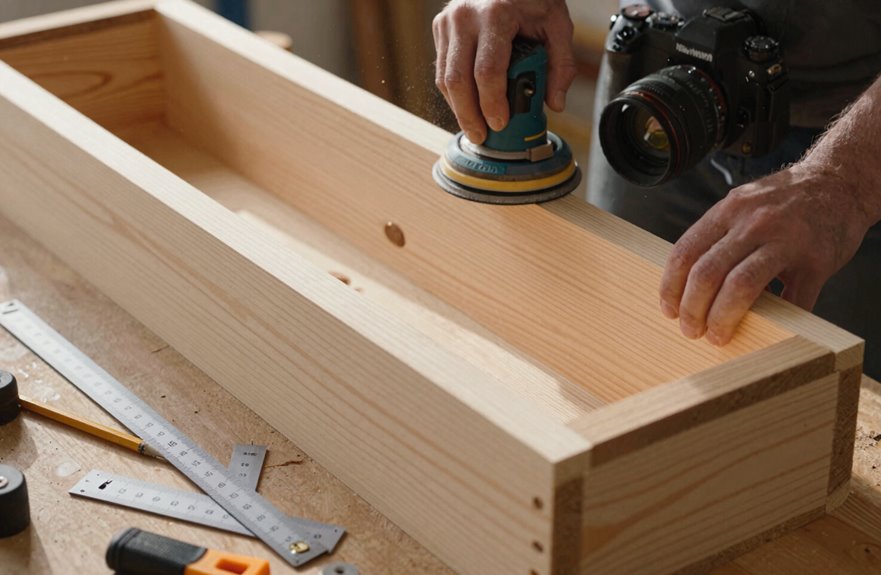
I’m sanding and sealing everything before assembly because once it’s put together, working around corners and crevices with sandpaper becomes difficult. I start with 80-grit on the cedar pieces, working up to 180-grit for a glass-smooth feel, and I sand those 1/8″ chamfers on the front slats carefully to prevent splinters. For finishes, I use exterior latex on the frame since it’s durable and affordable, and Spar varnish on the slats since they’ll take the weather beating. I allow everything a full 24 hours to dry before assembly. Rushing this step results in peeling paint later, a lesson learned from experience.
Pre-Assembly Surface Prep
Why fight with corners and cracks later when you can finish everything flat on your workbench first? Pre-assembly surface prep directly extends the lifespan of your work.
I grab my random orbital sander and hit every piece, frame and slats alike, starting with 80-grit (aggressive enough to knock down rough-sawn cedar), then stepping up through 120, 150, finally 180-grit for that butter-smooth feel. This prevents rot by sealing wood fibers properly. Those 3/4″ fence pickets absorb finish differently than the 2×4 frame, so I mark each piece with pencil (lightly, top-side only) to track what gets what.
I drill pocket holes now, too, since hiding fasteners beats filling holes later. Your future self will appreciate the time saved in finish work and maintenance.
Finish Selection Options
Every single piece gets its own finish strategy before I ever reach for my screws. Trying to finish after assembly leaves weird gaps and raw edges that are visible.
For my frame, I’m going with exterior paint: two full coats, plus a third on the end-grain where water loves to sneak in. Dark gray or black looks sharp against greenery.
My cedar slats get spar varnish, three coats. It lets the wood breathe and move because cedar expands and contracts with moisture, while keeping that natural color intact.
I sand everything first, 80-grit to 180-grit, so the finish actually sticks. Working piece-by-piece means complete coverage, no overlaps, and I can flip parts without smudging wet edges.
Different wood requires the same approach: outdoor-rated finishes, multiple coats, and no shortcuts.
Drying Time Requirements
Planning your drying schedule matters just as much as picking the right finish, because rushing this part turns your hard work into a sticky mess. I sand every piece from 80-grit up to 180-grit. Skipping grits shows in the final result. I seal before assembly: two coats of exterior latex on the frame and three coats of Spar varnish on cedar slats. End-grain gets a bonus third coat because it absorbs finish faster than other wood surfaces. I wait between coats, usually overnight or longer if it’s humid, since tacky pieces bond badly. Trapped moisture warps wood, and incomplete curing causes cracks. Your drying time functions as insurance for the finished product. Dry parts assemble cleanly, last for years, and ensure you actually complete this project.
Use Pocket Holes for Strong, Hidden Joints
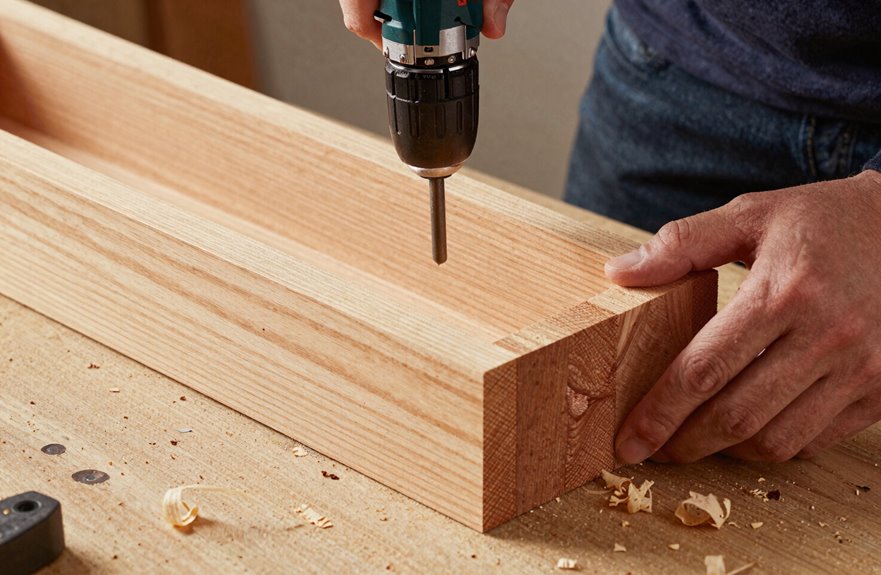
How do you hide screws in a wood planter box so it looks clean from every angle? Pocket holes are the solution for hidden joints that actually hold up.
Here’s my setup: I grab my Kreg Jig, a worthwhile investment, and I drill pocket holes on the inside faces of all four frame legs. Then I hit every single slat, sixteen total, with two holes each, also on the inside. This keeps every fastener out of sight.
I’m driving 1¼” pocket screws from the back side for panel-to-leg connections, which keeps that exterior face flawless. No metal peeking through, no ugly plugs needed. Just smooth wood, front to back.
The jig gives me perfect depth and alignment every time, so my joints remain tight through seasons of soil, water, and weather exposure.
Assemble the Two Long Sides First
Since I want this build to go smoothly, I start with the two long sides before tackling anything else. I grab four long slats and two legs, positioning the slats with a 3/4″ front reveal flush against the legs. This creates a shadow line on the finished piece. I drill pocket holes on the inside faces to hide fasteners and prevent visible screw heads. Then I drive pocket screws to lock everything tight. I check for square by examining the slat alignment; uneven edges indicate poor craftsmanship. Once the first long side is complete, I build its mirror image. Finally, I screw center battens to each long side for mid-span support. This prevents the structure from bowing when soil weight accumulates. Two solid sides are now ready for the next step.
Connect the Sides and Square the Frame
Now that I’ve got two solid long sides, I’ll connect them using pocket holes, those angled holes that hide screws inside. I’ll drill near the edges so fasteners stay invisible from outside.
I’ll pre-assemble each long side first, then attach the second one to form our rectangular frame. Frame squaring is essential here. I’ll grab my carpenter’s square and check every corner as I go, adjusting until we’ve got a true rectangle with perfect 90-degree angles. Skipping this step results in a wobbly planter that won’t perform properly.
Once the long sides are joined and squared, I’ll add center battens with glue and one screw per slat to keep everything straight. This combination of methods creates a rigid structure where precision at this stage ensures a finished product you’ll be satisfied with.
Add Battens to Keep Sides From Bowing
Two key threats every planter faces are the weight of wet soil and the slow, inevitable warping of wood exposed to moisture, so I’m adding battens to keep my long sides flat and true.
I’m using 3/4″ x 2″ battens (scraps work great here), placing them center on each long side after attaching my slats. These internal supports stiffen everything, resisting that outward bowing when dirt piles in. I drill pocket holes into the battens, then drive screws into the inside faces of my long sides. One screw per slat plus glue holds it tight. I check with my square as I go, spacing consistently so nothing twists. This step prevents your box from staying straight and true rather than bulging like a tired fence come spring.
Install Angled Bottom Rails and Drainage Slats
How do you keep your plants happy without turning your planter into a swamp? Install angled bottom rails and drainage slats that let water escape while holding your soil in place.
First, attach four bottom rails, two per side, raising the outer edge about one inch. Angle these rails toward the center in a shallow V-shape so water drains where you want it. Center them between battens and side slats, then glue and screw them tight.
Next, install slats across those rails. Space them with quarter-inch gaps for drainage without losing dirt. Drill pocket holes or use wood screws to secure them. Fill any awkward gaps with scrap pieces if you have them available.
| Part | Spacing/Angle | Purpose |
|---|---|---|
| Bottom rails | 1″ raised outer edge | Support structure |
| Bottom rails | Center-angled | Directs water flow |
| Slats | 1/4″ gap between | Allows drainage |
| Fasteners | Pocket holes or screws | Secure attachment |
| Scrap wood | Fill gaps if needed | Reduces waste |
Layer Wire, Fabric, and Plastic to Protect the Wood
I start by cutting chicken wire to fit the bottom frame. This gives structural support, especially if you’re loading up heavy soil. Then I staple landscape fabric on top to hold dirt while letting water pass through. Finally, I tuck black plastic up the sides, stopping short of the top edge, to shield the wood from moisture without blocking drainage. Don’t attach the wire or fabric to the sides; only the plastic extends upward, which keeps everything secure while maintaining the necessary escape route for excess water. Each layer serves a specific function: the wire prevents soil from settling unevenly, the fabric contains dirt while allowing drainage, and the plastic protects wood from rot caused by direct soil contact. Exact measurements and installation techniques for each layer follow.
Bottom Reinforcement Layer
Why does the bottom matter so much? It’s where everything rests, where water escapes, and where your wood lives or dies. I’ve learned this the hard way.
For bottom reinforcement, I start with chicken wire or landscape fabric laid flat across the base. This distributes weight, prevents bowing under heavy soil, and keeps your box square for years. Don’t staple it to the sides; let it breathe.
Next comes landscape fabric (the fuzzy, felt-like stuff at any garden center), which holds dirt while preserving drainage. I run it up the sides about three inches, securing with a standard stapler every six inches or so.
Finally, I drape black plastic over everything, running it up the sides to block soil contact with wood. I leave small gaps at corners for drainage paths. Your planter will resist rot, maintain structural integrity, and function properly for multiple seasons.
Drainage Fabric Barrier
Where exactly does your planter start falling apart. Usually, it’s the bottom, rotting from trapped moisture and soil grinding against raw wood. I’m layering protection now, before we add dirt.
This drainage fabric barrier serves these functions for your planter box construction:
- LANDSCAPE fabric lets water escape while holding soil in place (think of it as a coffee filter for your box)
- Chick wire on the bottom adds strength and spreads weight across those rails we installed
- I cut pieces tight, tucking edges so nothing shifts when I fill it
- This combo creates drainage paths that keep wood dry-ish, extending life significantly
I don’t attach fabric to sides; that’s coming next. For now, I’m covering just the bottom interior, ensuring drainage flows freely. This layer reduces rot damage and adds years to your planter’s functional lifespan.
Protective Plastic Shield
The real armor goes in now. I layer chicken wire first for bottom strength, then landscape fabric to hold dirt while allowing drainage, and finally the plastic shield to guard the wood from moisture. I squish them into place and staple, keeping everything inside rather than attaching to outer sides.
| Layer | Purpose |
|---|---|
| Chicken wire | Bottom strength, weight distribution |
| Landscape fabric | Holds soil, allows drainage |
| Plastic shield | Blocks moisture, prevents leakage |
| Staples (inside only) | Secures layers without side damage |
| Up-the-sides placement | Protects wood completely |
This combo keeps my box breathing yet waterproof where it counts. The plastic goes up the interior walls, creating a protective pocket that stops rot while roots stay happy. It’s like giving your planter box a raincoat with ventilation holes that allow air circulation while blocking water damage.





