
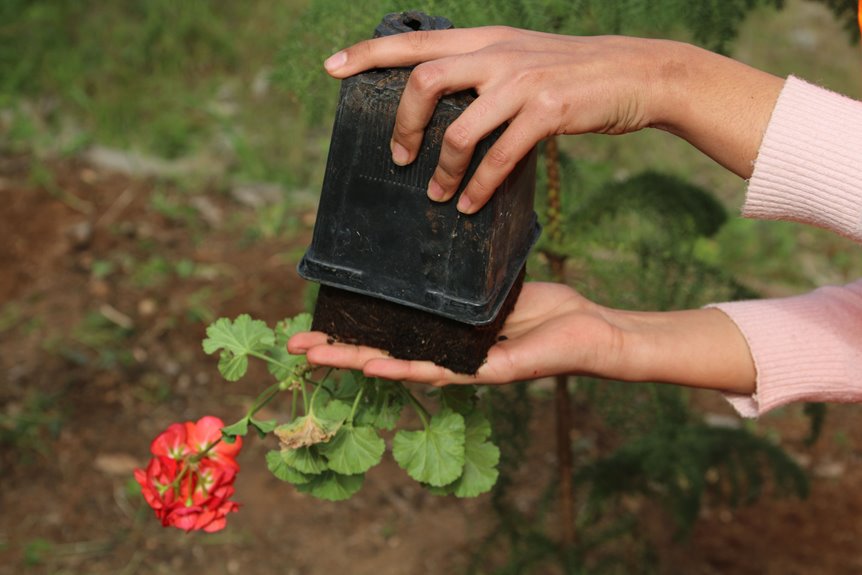
I always start by picking healthy runners with visible roots, usually ones that have been growing a few months and look established enough to handle the move. Then I set up small containers, such as yogurt cups or nursery pots with drainage holes, filled with equal parts compost, coarse sand, and potting soil, placing each within an inch or two of the soil surface. I secure the runner’s stem with a hairpin or bent paperclip, keep it attached to the mother plant, and wait 6–8 weeks while monitoring moisture. Once roots hold firm, I check readiness by gently lifting to confirm they’re anchored, then transplant to permanent beds with rich, sandy loam at pH 5.5–6.5, watering thoroughly after each placement. Finally, I mulch carefully. Timing matters here; too early smothers the plant, too late dries it out. Keep the bed evenly damp like a wrung-out sponge until new growth appears. The first leaves perking up signal that the transplant has successfully established.
Pick Healthy Runners With Visible Roots
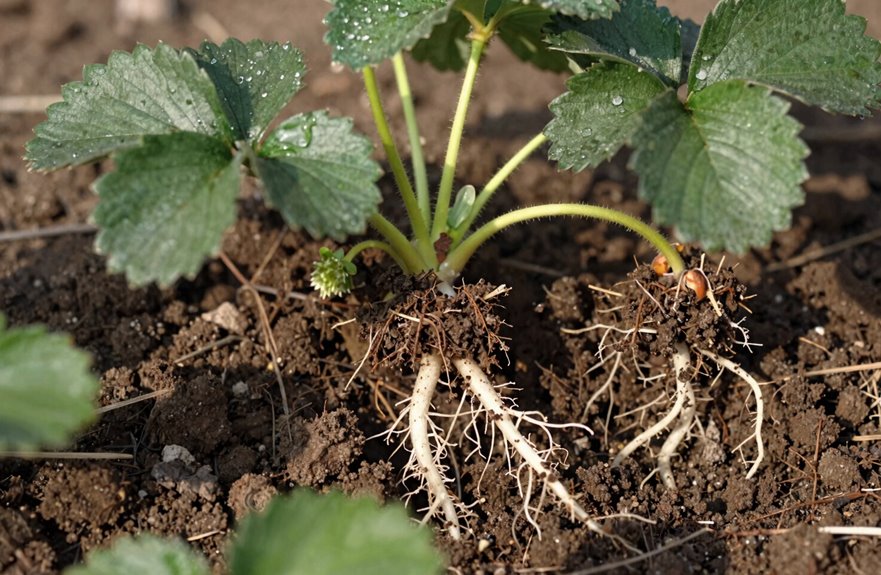
The runner-selection process starts with scouting for strawberry runners that have been growing a few months. They’re established enough to handle transplanting without stress. Younger runners are too fragile for this process. Look for where the runner has already laid down roots, then gently lift to confirm those connections are intact. Keep it attached to the mother plant while you work. Grab your garden spade, loosen the surrounding soil, and dig carefully to avoid root damage. Before the final move, pinch off flower buds and any damaged leaves. The roots need all the energy they can get, not some demanding flowers. Handle those roots carefully, keep them moist, and the transplant will succeed.
Set Up Temporary Containers for Rooting
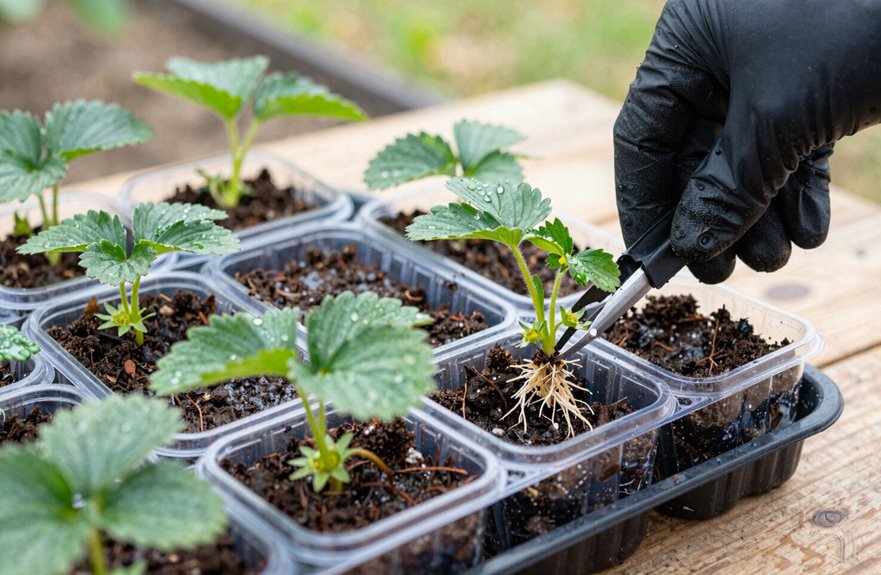
I grab a small container with drainage holes, about four to six inches wide, and nestle it right next to the runner I’ve chosen, keeping the rim within an inch or two of the soil surface so the plantlet doesn’t strain. For the rooting medium, I mix equal parts good compost, coarse sand (builder’s sand, not the salty beach stuff), and potting soil. This blend drains beautifully while holding just enough moisture for those tender new roots to establish. Once I’ve filled the container and pinned the runner’s stem in place with a simple hairpin or a bent paperclip, the plantlet is ready to develop roots.
Container Selection Criteria
A few small containers (think yogurt cups, nursery pots, or even cut-off milk jugs) with drainage holes poked in the bottom will get your runners rooted and ready for their new homes. Anything holding 4–6 inches of depth works perfectly for strawberry transplants. Match your rooting container size to the runner’s vigor; shy runners fit fine in yogurt cups, while aggressive spreaders appreciate nursery pots.
Position your container within an inch or two of the topsoil level, right beside that runner stretching from the mother plant. You’ll want drainage holes (a heated nail or drill bit works), since soggy roots cause root rot. Secure the stem with a hair pin, keep things moist, and wait. Your container mix needs will come next, but first, gather these supplies as you build your propagation system.
Rooting Medium Preparation
Once you’ve got your containers ready, it’s time to mix the rooting medium. Use a compost mix blending good compost, sand (for drainage, since soggy roots fail), and potting soil, filling your hole-punched containers within an inch or two of the top soil level. This rooting medium provides the right balance: fluffy enough for new roots to push through, dense enough to hold moisture. Nestle each container near its runner and secure the stem with a hair pin (a simple wire). Monitor soil moisture regularly; dry conditions will kill seedlings. Keep them close to the mother bed until roots establish, then snip and transplant. The appearance of white root threads indicates successful rooting.
Pin Runners and Wait 6–8 Weeks
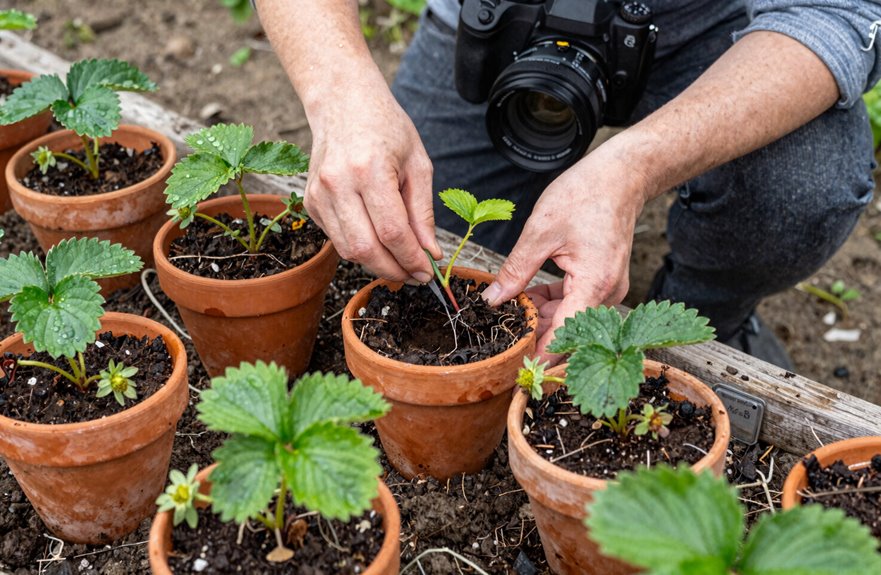
Where exactly do you look for a runner that’s ready to transplant? Scan for ones that’ve already touched down, those little adventurers that’ve rooted themselves while still tethered to mom. You’ll spot them easily with small leaves and tentative roots grasping soil.
The process works like this:
- I lift gently, keeping that lifeline attached for early nourishment
- I loosen soil with my spade, teasing roots free without tearing
- I nestle each runner into a 3-inch pot with moist potting mix
- I maintain steady moisture for 6–8 weeks of establishment
- I snip the runner 6 inches from the vine once roots hold firm
This establishment phase builds your transplant’s independence. The 6–8 week period allows the roots to develop enough strength that the young plant can survive on its own nutrients rather than relying on the parent plant.
Check Root Readiness Before Moving
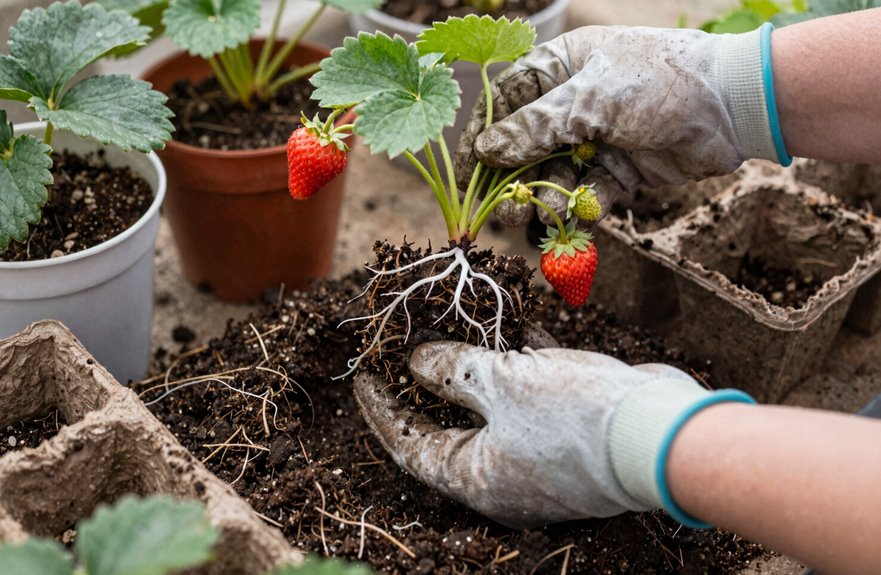
How do I know when my baby strawberry is actually ready to leave the nest? Transplant readiness isn’t about guessing. It’s about finding that sweet spot where roots have grabbed hold but haven’t grown too deep.
I start by tracing each runner to its rooted section, the part that’s touched soil and started its own life. I gently lift the plant, keeping that runner attached to mom for now, and I look for white, fibrous roots holding firm. If they crumble, I wait another week. If they hold, the plant is ready.
Before I commit, I loosen the surrounding soil with my garden spade about six inches out so I don’t snap those tender roots. I keep everything moist, handle minimally, and confirm that healthy connection. This indicates the plant is ready for transplanting.
Transplant Strawberries to Their Permanent Bed
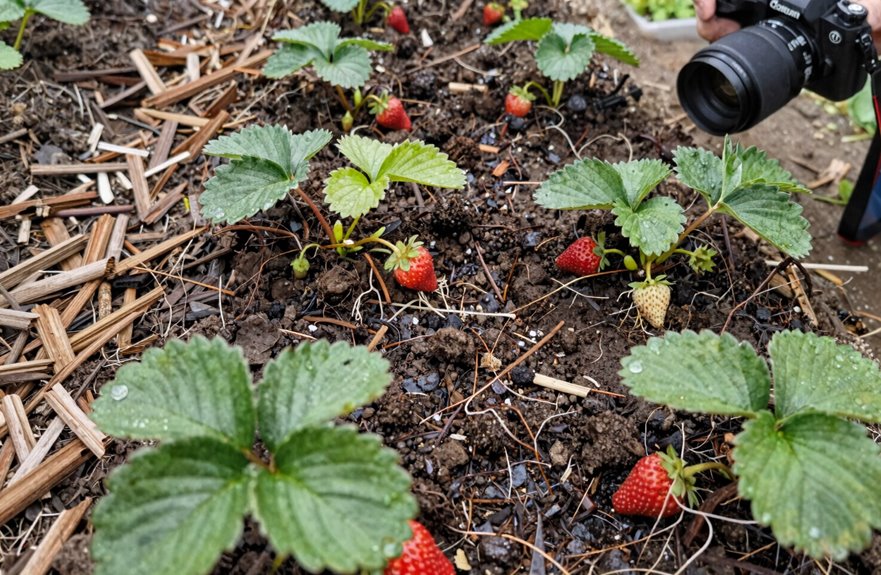
With the roots confirmed ready, I’m moving these babies to their forever home. Transplanting strawberries means treating that root system like gold: dig wide, lift gentle, and don’t let those fine hairs dry out.
Here’s how I settle each plant into its permanent bed:
- Dig up runners carefully, keeping most roots attached (think ice cream scoop, not shovel)
- Work one plant at a time into sandy loam with drainage you could bet on
- Maintain moist roots throughout; don’t skip this step
- Tuck plants in with light mulch (straw works, leaf litter too) until spring growth shows
- After establishment, prune runners to control spacing (about one per square foot)
Water thoroughly after each placement. Soil contact matters; no air pockets allowed.
Mulch and Water to Establish Plants
Now that my strawberries are settled into their new bed, I’m focusing on the aftercare that determines their survival. The right mulch choice matters; straw is effective, though pine needles work as an alternative. Watering frequency requires balance: the soil should stay moist without becoming waterlogged. Over the next few weeks, you’ll observe how the plants acclimate. Getting this part right produces lush runners rather than dried-out plants by spring.
Mulch Selection Tips
Once I’ve got those strawberry plants settled in their new spots, I grab my mulch. Here’s what I’ve learned about picking the right stuff:
- Straw’s my go-to; it locks in moisture without getting soggy
- Shredded leaves work great too, and they help maintain that slightly acidic soil pH strawberries crave (aim for 6.0–6.5)
- Pine needles? Perfect if you’ve got them, since they’re naturally acidic
- Avoid fresh wood chips; they’ll steal nitrogen while breaking down
- Skip anything with dyes or chemicals, you’re growing food
I spread mulch 1–2 inches deep, keeping it an inch back from the stems so crowns breathe. Refresh it seasonally to maintain soil quality and support healthy plant growth.
Watering Frequency Guide
That mulch layer’s down, and I’m already reaching for the hose because keeping these transplants happy requires hitting the right moisture sweet spot. During strawberry transplanting, I keep soil moisture consistent: never soggy, never bone-dry, especially those first 2–3 weeks when roots are finding their footing. My watering frequency depends on weather, but I check daily by poking a finger two inches down (dry? water; damp? wait).
| What I Feel | What I Do | Why It Matters |
|---|---|---|
| Anxious about wilting | Water morning, check evening | Prevents drought stress on tender roots |
| Relieved by cool mulch | Adjust depth 2–4 inches | Locks in moisture, blocks weeds |
| Worried I’m overdoing it | Lift mulch, feel soil | Stops root rot before it starts |
| Proud of green growth | Back off gradually | Builds resilient, deep roots |
| Connected to my patch | Monitor, adapt, repeat | We’re in this together, plant and gardener |
Establishment Timeline Overview
How quickly can a transplant go from “please don’t die” to “look at you thrive”? With solid bed preparation and patience, you’ll see it happen faster than you’d think.
Establishment timeline for getting strawberry transplants settled in:
- Keep that new bed evenly moist (not soggy, just damp like a wrung-out sponge) while roots grab hold
- Time your mulching with your transplant timing. Too early smothers; too late dries things out
- Water thoroughly after each runner placement, then check daily until you see new growth
- Aim for that sweet spot: rich, sandy loam with good drainage and slightly acidic soil (pH 5.5–6.5)
- In Year 4 fall, renew Bed 1 while Beds 2–4 keep producing, then restart your cycle
The first leaves perking up signal that your establishment phase is working.





