
I thread a cotton wick through my pot’s base so one end sits in soil and the other dangles into the reservoir, using capillary action. I nest the gray liner inside my decorative container, add 1–2 cups of water, then seat the inner pot while keeping that wick submerged. I top-water for 1–2 weeks to prime the system, then switch to reservoir-only refills every 3–14 days. I use fast-draining peat-perlite mix, never garden soil, and flush salts seasonally when flow slows. Maintaining wick health requires consistent attention to water quality and proper system setup.
Thread the Wick Through Your Pot’s Base
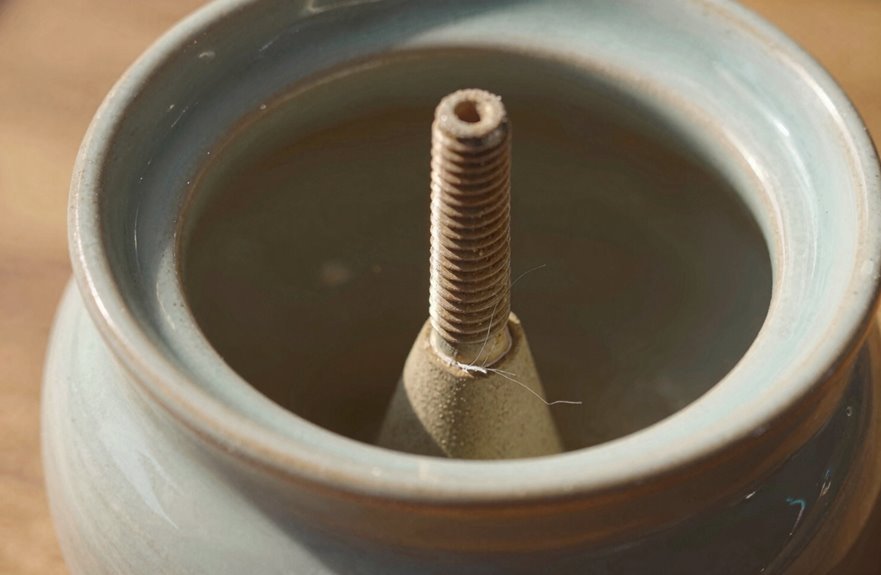
Where exactly does the magic start in a self-watering pot? Right here, with this humble wick. I thread mine through the base of the black pot, making sure one end sits snug in my potting soil while the other dangles free, ready to meet the reservoir below. This isn’t just string; it’s a lifeline. Through capillary action, think of it like drinking through a really slow, reliable straw, water climbs from the gray liner’s bottom chamber up into the root zone. I check that my wick path stays clear, no kinks or gaps, before nesting the pot back into place. Skip pouring water on top. Let the wick do its job. Your plants will benefit from consistent moisture delivery, and you’ll spend less time on watering maintenance.
Set Up the Reservoir and Seat the Inner Pot
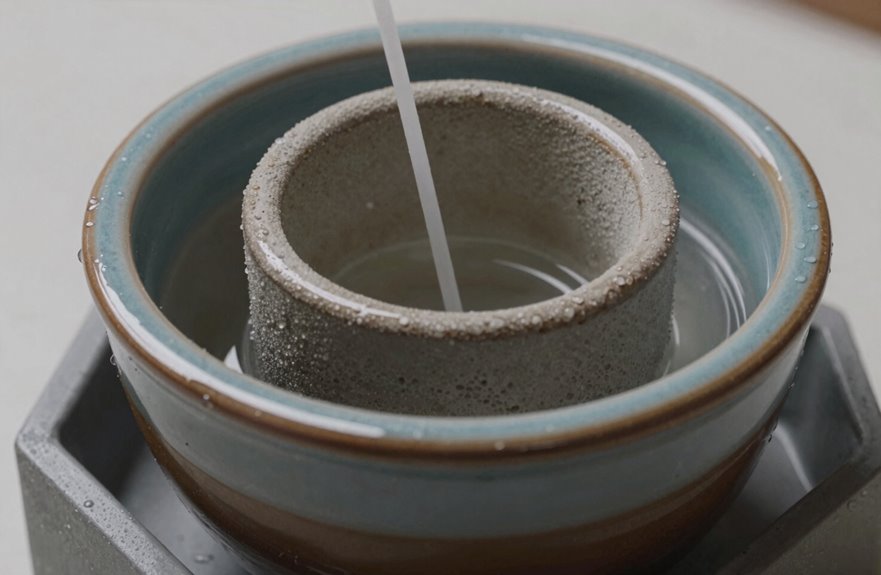
How do I turn two separate pieces into one smooth, functioning system? I nest the gray liner, our reservoir, inside my decorative outer container first. Then I fill that bottom reservoir with water, about one to two cups depending on pot size (don’t overdo it; we’re building a self-watering setup, not a swamp). I insert my wick through the black inner pot’s base so it dangles below, ready to drink.
Next, I seat the inner pot onto the liner, ensuring my wick stays submerged while soil rests above water level. This capillary connection through wick to reservoir to roots is what enables the entire system to function.
| What I’m Checking | Why It Matters |
|---|---|
| Wick reaches water | No contact = no self-watering |
| Soil stays dry-ish | Prevents root rot |
| Pot sits level | Even moisture distribution |
| Assembly fits container | Stability, no wobbles |
Prime the Wick With One Top-Watering
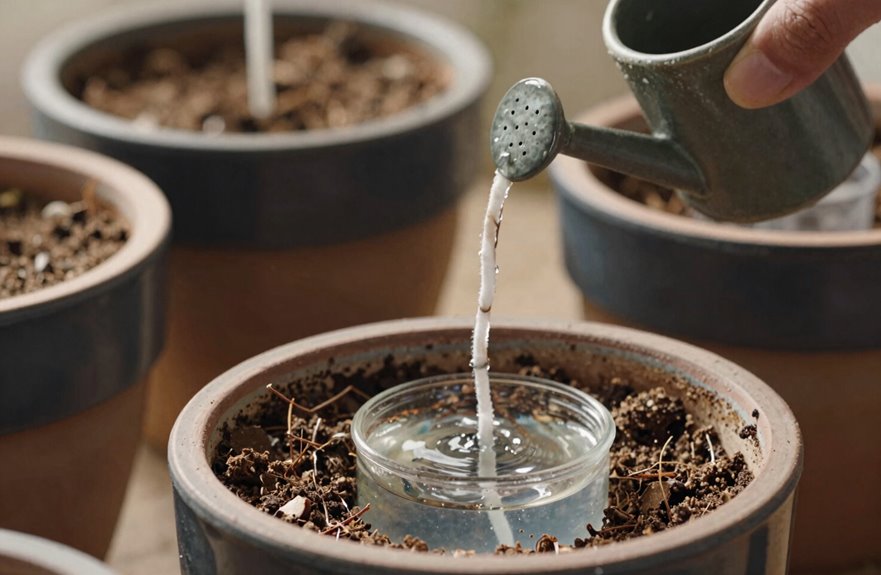
Why bother with old-school top watering when we’re building a self-watering system? Because priming your wick properly is the secret handshake that makes the whole thing work. For the first 1–2 weeks, I’m watering from above to saturate that essential soil-reservoir interface, where the magic happens. I make sure my wick runs clean from the bottom of the soil, through the black pot, and into that bottom water reservoir in the gray liner; no shortcuts here. I’m aiming for moist, not swampy, since waterlogged roots aren’t part of our club. Once the wicking action kicks in, I’ll switch to reservoir-only watering, letting moisture travel upward like nature intended. After that, I just refill the reservoir every few days or weeks, depending on my thirsty plant and the room’s vibe.
Pick a Fast-Draining Potting Mix
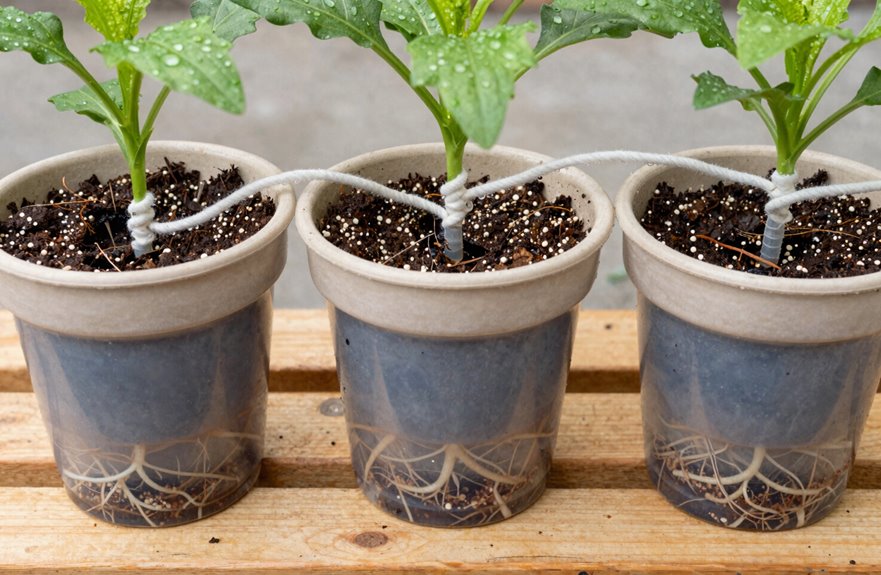
I won’t use dense garden soil in my wick pots, since that heavy stuff basically chokes the capillary action (think of trying to suck a thick milkshake through a coffee stirrer). Instead, I’m grabbing a lightweight peat- or coir-based mix with perlite, which lets moisture travel up the wick without turning the whole pot into a swamp. That top inch or two stays nice and airy for root growth, while the bottom stays evenly moist through the wick. This creates the balance needed for healthy plant development.
Avoid Dense Soils
What’s the biggest mistake I’ve seen wreck a perfectly good wick pot? Dense, heavy soil that chokes the whole system. I learned this the hard hard way when my first wick setup turned into a swampy mess.
Your potting mix needs to stay light and fluffy, like a peat- or coir-based blend with perlite mixed in. Skip the garden soil entirely, it packs too tight, and your wick can’t pull water up from the moisture reservoir properly. Think of it like trying to drink a thick milkshake through a coffee stirrer.
Here’s what works:
| Soil Type | Wicking Action | Root Risk |
|---|---|---|
| Peat/coir + perlite | Excellent | Low |
| Heavy garden soil | Poor | High rot |
| Compacted mix | Blocked | Suffocation |
| Loose aerated blend | Steady flow | Healthy growth |
Top-water just the first week or two to settle everything and activate the wick, then let the reservoir do its job. No drainage holes needed here; the wick system handles distribution. Light soil keeps algae away too, which means less scrubbing for you.
Promote Healthy Roots
Getting that soil mix right sets you up for the real win: roots that actually thrive instead of struggle. When your self-watering system works, it delivers consistent results.
Here’s what keeps that wick pulling moisture exactly where roots need it:
- Grab a fast-draining mix, peat or coir with perlite (that white, popcorn-looking stuff), because compacted soil kills the capillary action your wick depends on.
- Skip garden soil entirely; it’s too heavy and will reduce drainage performance.
- Top-water for 1–2 weeks first, letting everything settle before the reservoir takes over.
- Keep things loose and airy, never packed tight, so drainage stays open and root health stays strong.
Refill the Reservoir Before It Runs Dry
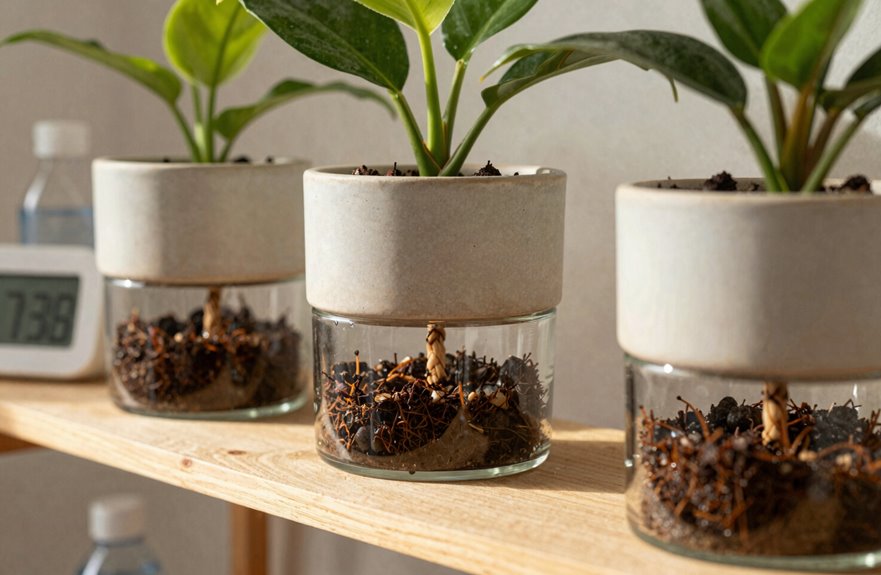
How often should you actually check that reservoir? Most planters need a refill every 3–14 days, though sun-drenched patio pots require more frequent refills than cozy indoor ferns. You’ll feel the pot get noticeably lighter, or spot that low water gauge if your model has one, and that’s your cue.
Keeping that reservoir topped maintains steady moisture delivery through the wick so your plants don’t experience dry periods mid-growth spurt. When refilling, fill to the recommended level, just shy of overfilling, and double-check the wick’s still connected from soil to water source. A gap breaks the whole system. Flush everything with fresh water once per season to keep refill intervals reliable and ensure consistent plant health.
Flush Salt Buildup and Fix Weak Wick Flow
Why does your wick suddenly seem to be slacking on the job? Staring at self-watering pots with a cranky pothos is frustrating. Usually, salt buildup is choking your wick flow, and it needs to be fixed.
Here’s the rescue routine:
- Flush that reservoir – Dump everything, scrub with plain water (no soap), and refill with fresh tap water or water left out overnight.
- Check your wick’s path – Make sure it runs clean from soil bottom to reservoir with no soil clumps or fabric blocking it.
- Skip the overfill temptation – Keep water below the max line to prevent salt concentration and algae growth.
- Embrace dry-down cycles – Let the top inch of soil dry between refills to reduce salt saturation in your potting mix.
Reservoir flushing seasonally keeps wick flow strong and plants healthy.





