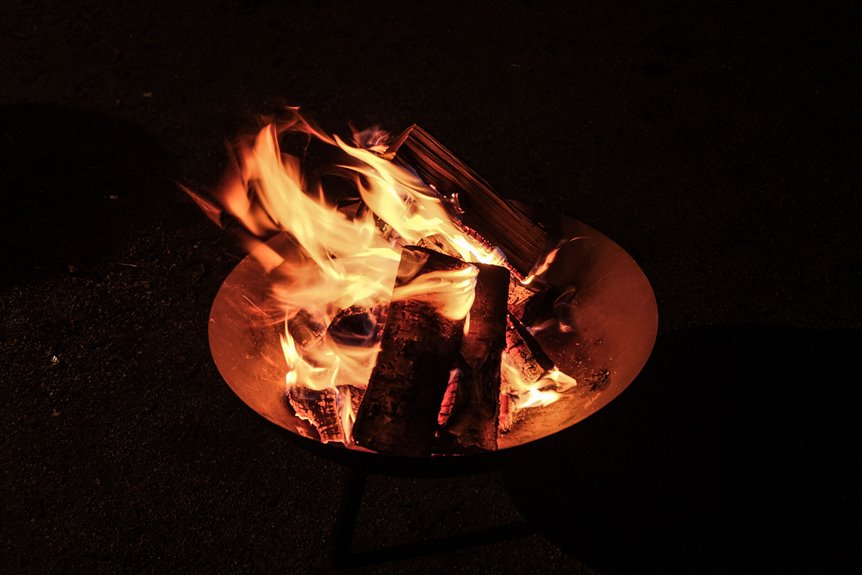
I’ve built enough fire pits to know the six steps that actually matter: pick a spot with ten feet of clearance from anything flammable (check your local codes first, nobody wants a visit from the fire marshal), dig a six-inch circle and fill it with flush gravel for drainage, lay your first course of trap stones and minis with a four-foot level until that center bubble sits perfect, stack up with landscape adhesive in a zigzag pattern so the walls lock tight, build a crushed limestone seating patio with proper edging and a plate compactor (rent one, about $65), then add pathway lights and benches to extend your usable evening hours.
Choose a Safe Location for Your Fire Pit
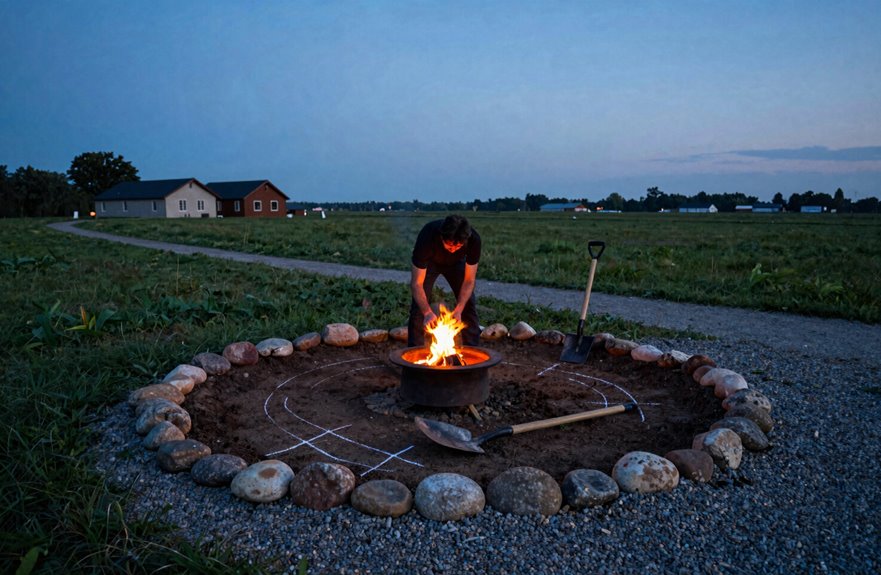
Before grabbing your shovel and planning s’mores, find the perfect spot for your fire pit. A poorly placed fire pit can damage nearby structures; nothing ruins a gathering quite like explaining to your neighbor why their fence has a new ventilation hole. A safe location requires at least 10 feet of clearance from buildings, trees, fences, and any combustible materials, plus overhead clearance for branches that could catch fire.
Check local fire codes before construction, as permitting violations result in costly enforcement visits. Flat ground is preferable, and you should plan drainage to flow away from the seating area to prevent water accumulation.
Mark your intended fire pit circle with twine and verify your setup meets all safety requirements before building.
Excavate and Build a Gravel Drainage Base
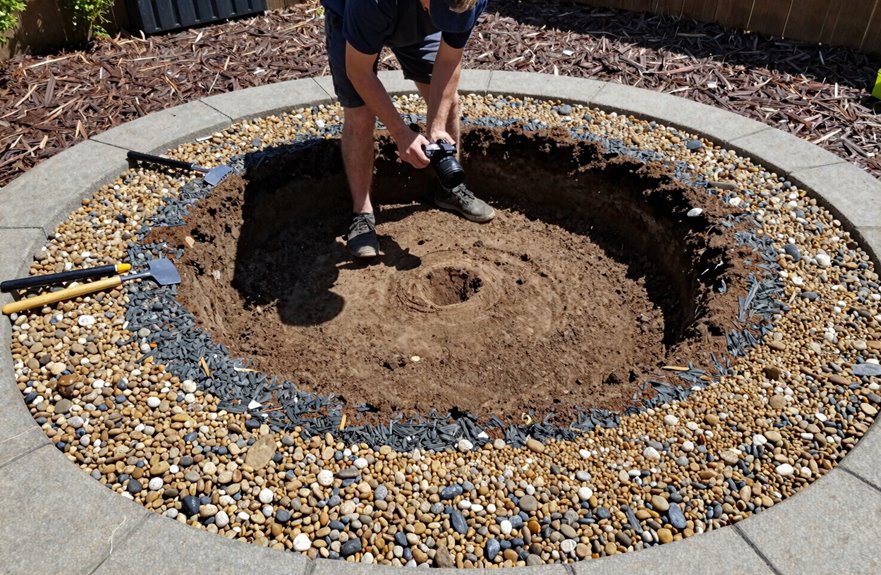
Now where exactly do we put all this fire. Right here, friend. Let’s carve out our gathering spot together.
I grab my shovel and dig a circular pit about six inches deep, roughly the diameter I’m dreaming up. This is essential work. We’re building something that’ll last. Once I’ve got my circle excavated, I pour gravel until it’s flush with the surrounding ground. This gravel drainage base keeps rainwater from pooling underneath, which prevents soggy fires and cracked stones later.
I set my first stone rings around that gravel edge, then start tamping with rubber mallet with firm but gentle pressure to avoid cracking anything. The gravel base supports everything above while letting air flow through, keeping the fire burning properly and the structure stable.
Lay and Level the First Course of Stones
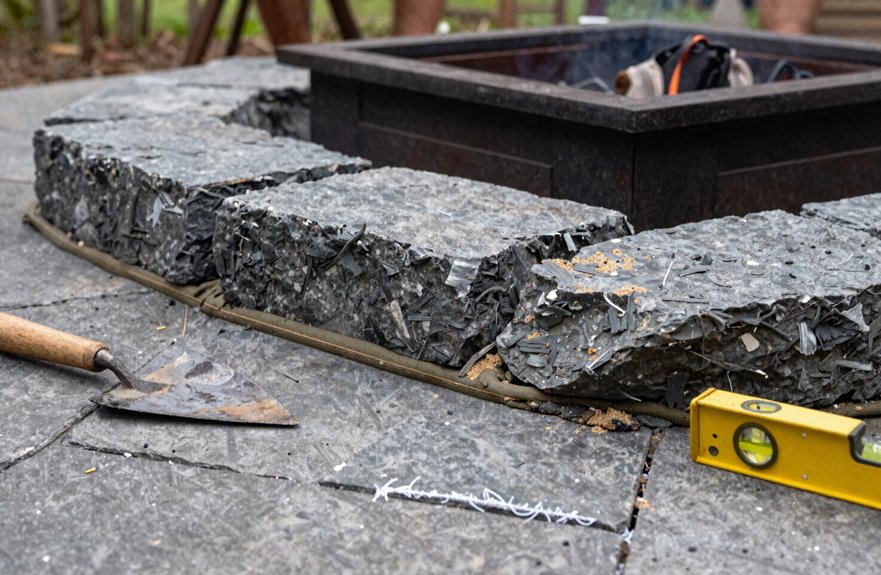
I’ll start by choosing stones that fit tight together (traps and minis, which are wedge-shaped and rectangular blocks), checking each one with a 2-foot level as I go. I’ll check front-to-back and side-to-side, since a wobbly first course results in a wobbly fire pit. You’ll want to stagger the joints, like bricks, so nothing lines up vertically. This locks everything together and allows air flow underneath for better combustion. Once they’re set, I sweep sand over the top, working it into every crack with a push broom. This creates a solid, drainable base before you glue the next layer on.
Stone Selection Tips
Once you’ve got your base prepped and your stones sorted, it’s time to lay that first course. A wonky first row means a wobbly fire pit down the road. I alternate traps and minis (the chunky, flat-topped pieces and their smaller cousins) to build stability and keep airflow moving through your base. Each stone gets leveled individually with frequent checks using a 4-foot level before brushing sand between gaps to lock everything tight. Think of it like puzzle pieces; you want that gravel bed compacted firm underneath, so nothing shifts when the heat hits. That 1-to-1 staggering pattern prevents pressure cracks and maintains structural integrity through thermal cycling. Get this interlock right, and you’re building something that will last for decades.
Leveling Techniques
With your stones picked out, I’m ready to get my hands dirty on the part that’ll make or break this whole build.
I lay the first course with alternating traps and minis, checking levels obsessively. Every single stone requires attention, with no shortcuts. Here’s what I’m watching for:
- The bubble sitting dead center on my 4-foot level (no cheating with a dinky torpedo level here)
- Sand filling every gap after I broom it in, locking stones together like puzzle pieces
- Adhesive zigzagging between courses, creating that interlock we need
I stagger joints religiously. No stacking seams, ever. That foundation has to be flat, or we’re building a wobbly mess. High spots get tapped down. Sloped edges get fixed now, not later. This leveling work isn’t glamorous, but it determines whether your structure stays stable or fails under weight and settling.
Drainage Considerations
Why does a fire pit need drainage? Without it, water pools beneath your stones, freezes, and heaves your hard work apart. I’ve seen it happen, and it’s heartbreaking.
I dig my footprint circle about 6 inches deep, then pack it with gravel right up to ground level. This gravel bed lets water escape, keeping your base dry and your levelness intact. (Some folks use crushed limestone; I grab whatever’s local and affordable.)
When I lay that first course, I’m obsessive about levelness with frequent checks using my 4-foot level in both directions. The drainage below supports this precision, so stones don’t shift later. I alternate traps and minis for stability and airflow from the start. This groundwork transforms your fire pit from a weekend project into a neighborhood gathering spot.
Stack Fire Pit Walls With Landscape Adhesive
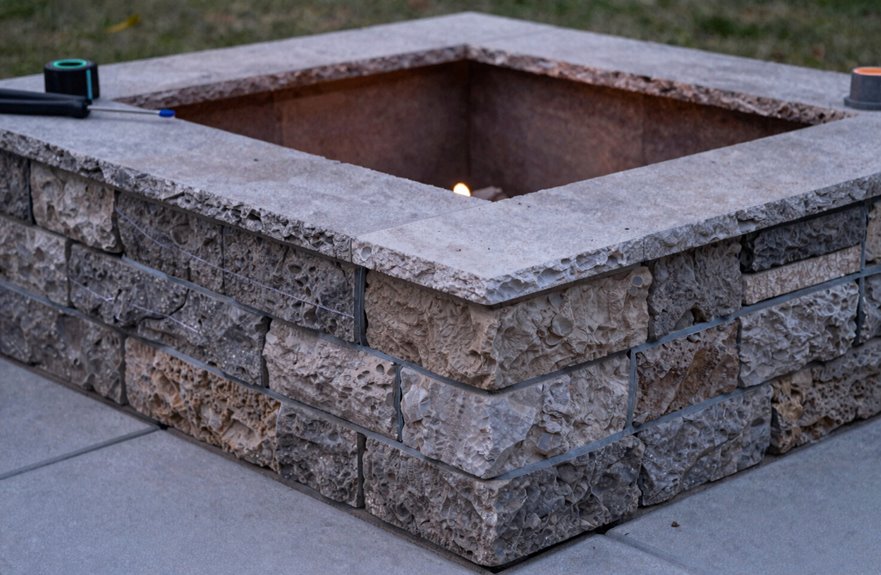
Because a fire pit built on a wobbly foundation is basically a very expensive Jenga tower waiting to happen, stacking these walls correctly prevents costly failures.
Start the first course with alternating traps and minis, checking level and alignment obsessively since this base determines everything. Once that’s set, sweep in sand and broom it tight so every stone sits evenly against its neighbor.
For stacking stones on subsequent courses, run a zigzag bead of landscape adhesive between layers. This adhesive locks fire pit walls together while allowing air circulation for thermal expansion.
Proper construction involves these key steps:
- Your rubber mallet taps out adjustments, each strike bringing plumb perfection
- Staggered seams interlock like fingers clasped in solidarity
- Level bubbles hovering dead center, enabling decades of gatherings
Construct a Crushed Limestone Seating Patio
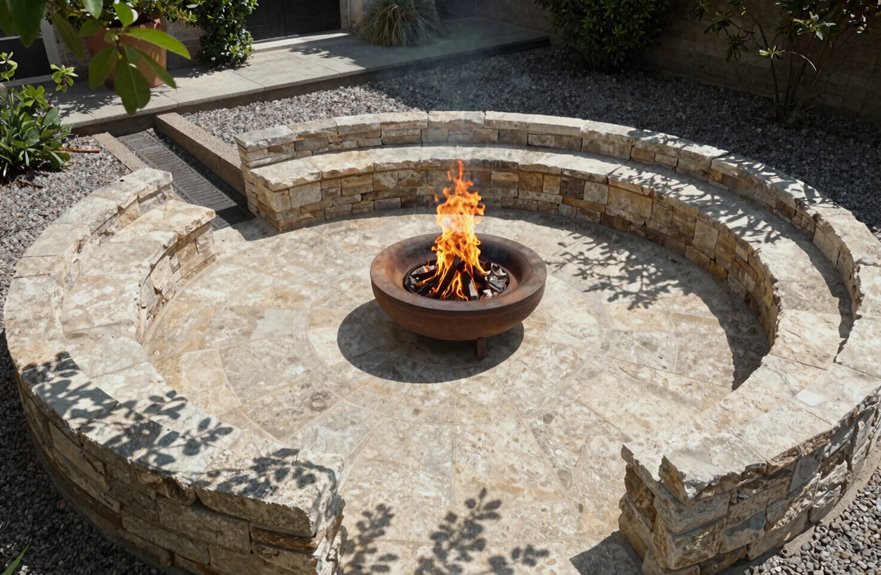
I’ll start by figuring out how deep I need my gravel layer (about 1.5 feet for proper drainage, which is necessary when building on clay), then I’ll pin down my surroundings edging to create a crisp border that won’t shift over time. After that, it’s all about leveling: raking, checking with a 2×4, and repeating until I’ve got a surface level enough to balance a marshmallow roasting stick on it.
Planning Gravel Depth
Once I’ve got the fire pit ring level and the drainage trench dug (that 6-inch deep, 12-inch wide channel around the perimeter, sloped away from the center), I’m ready to tackle the gravel base that’ll make or break this seating area. My limestone bulk delivery, 7.5 tons of crushed limestone, arrives right on schedule, and I’m aiming for a gravel depth of 4 inches across the entire seating patio. This granular fill needs to hit that sweet spot: deep enough for stability, shallow enough to keep chairs from wobbling like a carnival ride.
As I spread this material:
- A pale, dusty river of stone flows from my wheelbarrow, catching the late afternoon light.
- My rake creates even ridges that flatten into a honey-colored canvas.
- Friends’ bare feet will find that perfect, crunchy give on future summer nights.
Installing Edging Border
With the limestone spread and leveled to that satisfying 4-inch depth, I’m ready to lock this seating area into shape before the gravel shifts. I grab 80 feet of landscape edging (steel or recycled plastic both work great), plus fabric and metal pins to anchor it properly. I lay the edging border along my marked perimeter, making sure it accounts for that walkway I’ve planned. Nobody wants to trip over the seating area getting to the fire pit. The pins go in every few feet, securing the landscape edging tight against the ground. Now my crushed limestone gravel stays contained, and this seating patio functions as a defined gathering spot. The border prevents material migration.
Leveling Surface Evenly
The real transformation happens now, as that mountain of crushed limestone (all 7.5 tons of it, which sounded impressive until I saw the pile) gets coaxed into a proper seating surface.
I grab my steel rake and start spreading, working from the center outward like frosting a cake you’re actually proud of. Leveling isn’t glamorous, but it’s where stabilization begins.
Here’s what you’re aiming for:
- A surface flat enough that your chair doesn’t rock annoyingly every time you shift
- Depth uniform enough (about 2-3 inches compacted) that no one ankle-rolls walking to their seat
- Slope gentle enough (roughly 1/8 inch per foot) that rainwater drains away from the pit, not toward your socks
I rake, tamp with a plate compactor (rental, $65/day), then brush loose limestone to fill the voids. The seating surface firms underfoot and becomes stable enough to support foot traffic and furniture without settling or shifting.
Install Lighting and Comfortable Outdoor Seating
Every great fire pit deserves a proper living room around it, so I’m tackling 80 feet of scenery edging to carve out a real seating zone. Think fabric, pins, and a walkway that ties everything together. I’m placing benches around the perimeter because everyone needs a spot to sit. For lighting, I’m running light posts, pathway lights, and torches off a solar-battery-inverter combo with no trenching required. Wireless speakers complete the setup.
| Light Type | Purpose | Placement |
|---|---|---|
| Pathway lights | safety guidance | walkway edges |
| Light posts | ambient fill | seating perimeter |
| Torches | flickering warmth | corners, near benches |
| Wireless speakers | shared soundtrack | under seating overhangs |
This outdoor space functions as an extra room once the sun drops, extending your gathering time into the evening hours.