
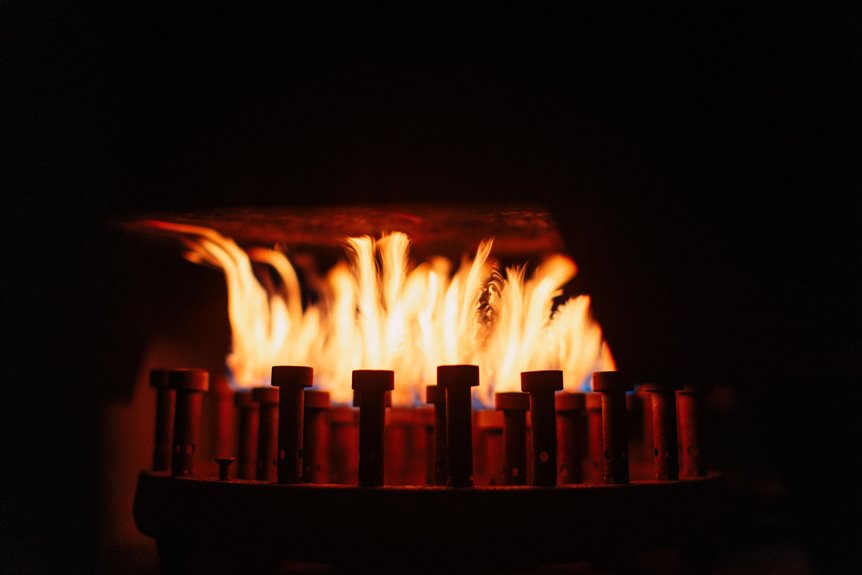
I’ll walk you through ten precise steps to fire up your propane pit without singeing your eyebrows. Start with a thorough inspection of your tank, regulator, and hose for cracks or corrosion (think of it as a pre-flight check, but for flames).
Mix one tablespoon of dish soap with one cup of water to mist every connection and watch for telltale bubbles that indicate a leak.
Next, hand-tighten your tank connection, snug it with an adjustable wrench (don’t overdo it), and set everything on a stable, non-flammable surface with at least ten feet of clearance from structures.
Clear debris and check wind conditions; hold off if gusts exceed 10 mph.
Twist that tank valve counterclockwise until it stops.
Insert fresh AA batteries into the ignition system, verify the control knob sits in “pilot” position, and press the ignition while pushing the valve knob to wake the main burner.
After twenty seconds, release and adjust flame height to six to eight inches, keeping watch throughout.
When finished, turn everything off, let it cool fifteen minutes, disconnect the battery, and store upright with a weatherproof cover.
The following section covers what to do when things don’t go as planned.
Inspect Your Propane Fire Pit Before Every Use
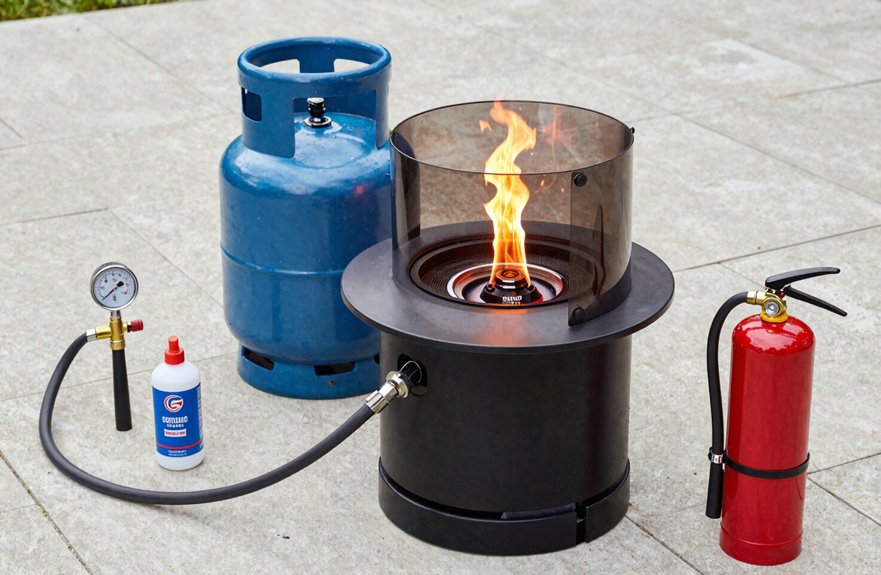
Every single time I fire up my propane pit, I treat that pre-use inspection as a critical safety step. I start by giving the propane tank, regulator, and hose a thorough once-over, checking for cracks, brittleness, or corrosion that could spell trouble. Then I move to valves and burners, replacing anything that looks worn before connecting gas. Clearance matters too; I ensure at least 10 feet from structures and remove all debris. My safety inspection wraps with testing automatic shutoffs and running through the ignition sequence, always supervised and never rushed. I save the full leaks test for the soapy water method I’ll walk you through next. Performing this inspection correctly prevents gas leaks, equipment failures, and potential injuries.
Check for Gas Leaks With a Soapy Water Test
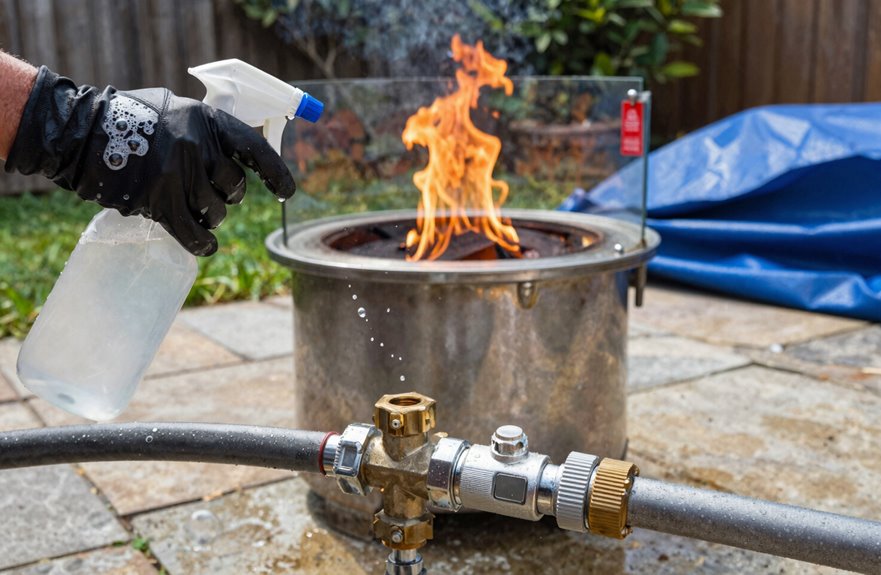
Why risk a surprise whoosh when there’s a foolproof way to sniff out trouble. I always run a soapy water test on my propane fire pit before lighting up. It’s the gold standard for safe testing and takes two minutes.
Here’s my routine: I mix one tablespoon of dish soap with a cup of water in a spray bottle (any clean bottle works), then mist every connection: tank valve, hose fittings, burner inlet. I turn the gas on low and watch. No bubbles means the system is secure. Steady bubbles indicate a leak. I shut off the gas immediately without sparks or panic, and call a professional.
Never use a lighter to check for gas leaks; that creates a fire hazard. After repairs, I re-test everything. This prevents safety issues.
Connect and Position Your Propane Tank
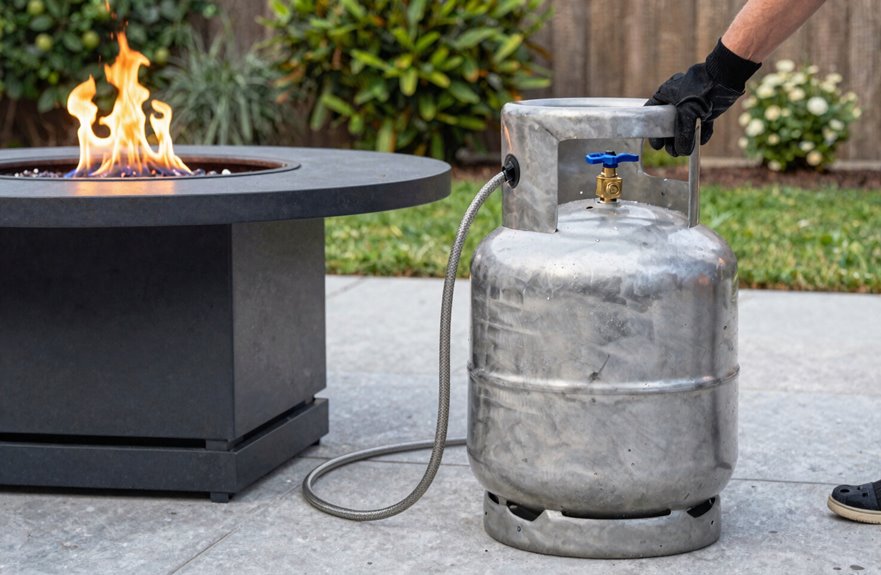
I’ll walk you through how I connect and position my propane tank, because getting this right keeps the whole setup safe and running smoothly. First, inspect the tank itself by checking for dents, rust, or expired dates (they’re stamped on the collar, usually good for 12 years) before hooking anything up. Then make sure you’re using the right regulator and hose for your specific fire pit model, since mixing parts can cause leaks or pressure problems.
Tank Inspection First
Before I even think about lighting anything, I grab my propane tank and give it a proper once-over. My propane tank inspection starts with checking compatibility: does this tank match my fire pit’s specs. Then I scan for rust, dents, or damage near the valve, where leaks love to hide. I position it upright, away from heat and sunlight, in a well-ventilated spot where it won’t tip.
Next come regulator checks. I examine hoses for cracks, tighten connections finger-tight plus a quarter turn with an adjustable wrench, then mix dish soap with water for my leak test. I brush this solution on fittings, open the valve slowly, and watch for bubbles; those mean trouble. If I spot fizzing, I shut it down immediately, skip the flames, and call a pro. These safety precautions prevent propane leaks and gas-related accidents during backyard gatherings.
Secure Connection Method
Once I’ve cleared my tank inspection, I’m ready to lock in that connection like I’m sealing a deal I actually want to keep. I thread my propane tank connection by hand first, then snug it with an adjustable wrench without overtightening, which strips threads. My regulator hose gets a once-over for cracks, kinks, or dry-rot that can fail mid-summer.
As I work, I focus on these elements:
- The satisfying click of metal threading metal, hand-tight then tool-secure
- Soapy water foaming at joints as my bubble watch for the leak test
- A stable, level surface (concrete paver, 16×16 inches minimum) keeping my tank upright
- The valve key turning slowly and deliberately
- That first hiss of gas, controlled and expected, confirming my secure fuel source
I never rush this part. A secure connection prevents gas leaks that can damage equipment and create safety hazards.
Proper Placement Guidelines
After I’ve locked in my tank connection, I’m scouting the perfect real estate for this fire pit like I’m choosing where to plant my favorite tree. Proper placement isn’t just about aesthetics. It’s about keeping my crew safe while we’re gathered around.
I always start with a stable, non-flammable surface (concrete pavers work great, or I’ll grab a fire-proof mat for my wooden deck). My propane fire pit needs a 10-foot safety distance from structures, fences, and anything that’ll catch. I’m also watching those overhangs. No string lights or power lines above my head.
For the fire pit area itself, I leave three feet of breathing room from windows and doors. Heat and flames don’t belong near my house. I make sure there’s adequate surrounding space too. Crowding blocks my escape route if something goes sideways.
Clear Debris and Verify Safe Clearance
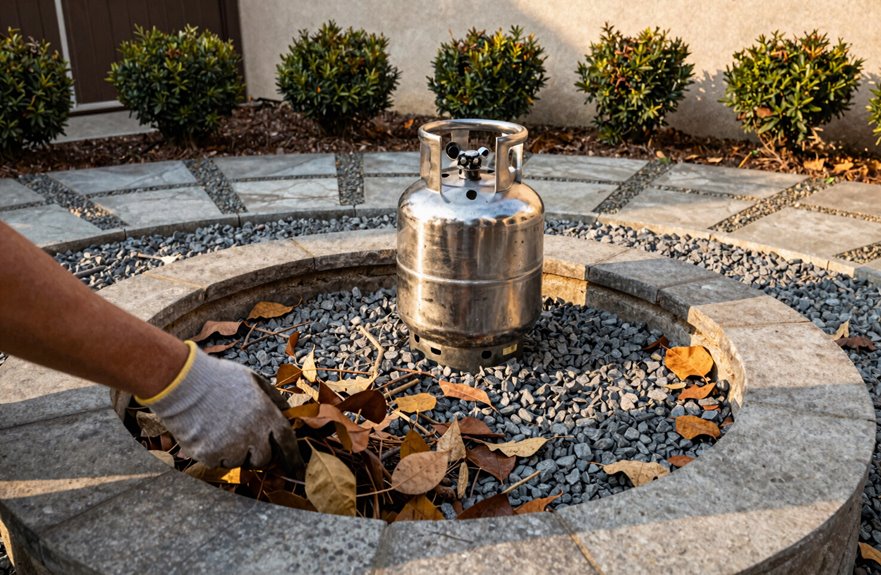
Where should I start when getting ready to fire up my propane pit? Begin with debris removal, because unexpected flare-ups from stray leaves are a serious hazard.
Safe clearance checklist:
- Picture a 10-foot circle of bare concrete with no leaves or twigs in corners
- Scan upward for overhanging branches that could catch fire
- Relocate cushions and mulch beds away from the pit area
- Double-check that your fire-proof mat sits flat, protecting your deck from heat transfer
- Check wind conditions before starting
Keep escape routes clear within 3 feet, with no storage boxes blocking your path. If wind gusts exceed 10 mph, wait until conditions improve.
Light Your Propane Fire Pit Using the Built-In Ignition
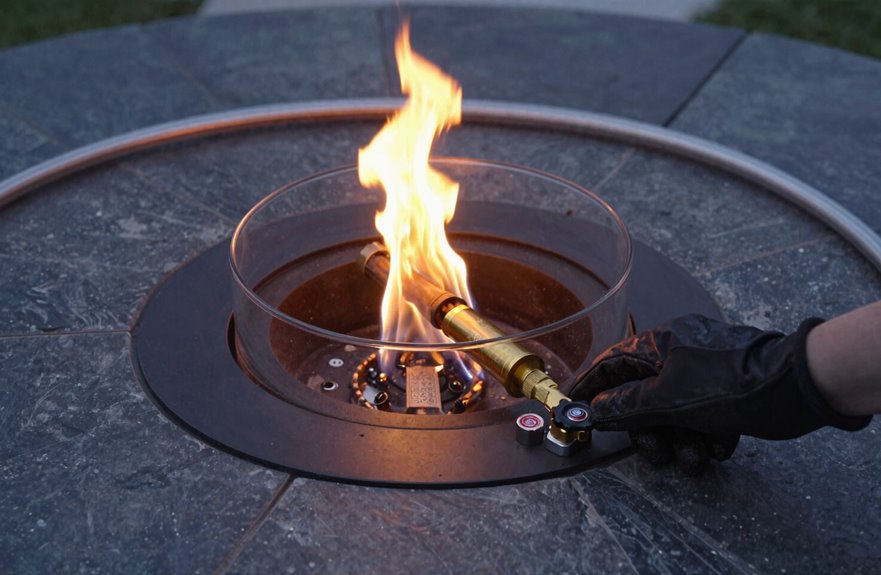
I’ll walk you through lighting your propane fire pit using the built-in ignition. Start by understanding your ignition system type: push-button spark ignition runs on a single AA battery, which requires periodic replacement. Turn the valve control knob to start gas flow, then press the ignition button at the right moment. Wait 20 seconds after releasing the button before you let go of the knob completely. Once your flame is lit, adjust the flame height using the valve control knob to reach your desired intensity, whether that’s a low ambient glow or a stronger heat output.
Ignition System Types
How do you actually get this thing roaring? Your ignition system determines everything, and I’ve used all three types enough to know what fits your needs.
- Push-button ignition (my go-to for reliability) clicks a spark from a AA battery, lighting the pilot before the main burner catches.
- Electronic ignition runs safety checks first, then delivers a full blaze within seconds (battery or app-controlled, your choice).
- Match-lit ignition keeps you hands-on with a long-stemmed match or grill lighter, no continuous flame needed.
- Each system starts gas flow differently, but all minimize the effort required on your part.
- Built-in ignition eliminates the need to fumble with external lighters every time you gather friends around.
Always keep the control knob OFF if ignition fails. Check for leaks before trying again. Safety protocols prevent accidents and allow you to enjoy your grill confidently.
Step-by-Step Lighting
Now that you’ve picked your ignition system, let’s walk through the actual lighting sequence so you don’t end up just pushing buttons and hoping for the best. When starting propane fire pits, safety matters.
First, push the ignition button while slowly turning the gas valve. This creates a spark that ignites the pilot light. Keep that gas flowing and watch for the small blue flame, which is your pilot. Release the button immediately once it catches. Hold it briefly, then twist the control knob to fire up the main burner.
Want bigger flames? Turn counterclockwise. Smaller? Go the other way.
If nothing happens, shut off the gas completely. Wait five minutes for any accumulated gas to clear, then restart the lighting sequence. Patience beats shortcuts.
Troubleshoot Common Lighting Problems
Few things kill the vibe of a crisp evening faster than a fire pit that won’t cooperate when you’re ready to relax. These steps will get you back to enjoying the fire:
- Twist the propane tank valve counterclockwise all the way until it stops, then sniff around connections with soapy water for bubbles. This is your quick gas leak check before panicking.
- Pop fresh AA batteries into the ignition system, since weak ones cause endless clicking and zero spark.
- Verify the control knob sits in “pilot” or “light” position and that hidden burner shutoff valves aren’t accidentally closed.
- Peer into burner ports with a flashlight, clearing spider webs or debris with a soft brush after the pit has cooled.
- Shield the flame from sudden gusts, or relocate if wind keeps winning.
You’re back in the circle where you belong.
Adjust Flame Height for Safe, Efficient Burning
Why settle for a timid flicker or a roaring monster when you can dial in that perfect, golden flame. Once your propane fire pit is lit, grab the gas control knob and turn it counterclockwise to wake up the main burner. Keep rotating, fine-tuning until you hit a steady, partially visible burn; think six to eight inches of friendly flame dancing just above the ports, well below your fire pit’s rim for safety. If it sputters or dies, pause, relight, and wait a beat before nudging flame height up again. Stick to your manufacturer’s restricted or extended settings for consistent heat without excess smoke. This approach ensures safe operation with complete control over your flame.
Monitor Wind and Stay With Your Fire Pit
How quickly can a cozy evening turn sideways when the wind picks up? I always check local wind conditions before lighting my propane fire pit, because gusts can send flames and embers dancing toward places they don’t belong.
What to watch for:
- Leaves rustling hard enough to whisper warnings
- Smoke drifting sideways instead of rising lazy and straight
- Flames leaning like they’re reaching for something
- Your safety distance shrinking as embers travel farther than expected
- That gut feeling telling you conditions aren’t right
Maintain constant supervision. Never wander off for snacks or bathroom breaks. If wind speeds climb high, delay ignition or relocate to a sheltered spot. Use a simple wind direction gauge, or just watch smoke behavior, to decide if conditions are safe. Your vigilance keeps everyone gathered around the fire secure.
Turn Off Gas and Extinguish Flames Safely
Turn the control knob clockwise to OFF (usually marked clearly, sometimes with a click you can feel) to cut the gas flow and let the flames die out naturally. No blowing or water is needed; allow about 30 seconds to a minute for the flames to extinguish completely. Once everything has cooled down enough to touch, typically 10-15 minutes, double-check that electronic ignition systems are fully powered down. This prevents unexpected sparks when you’re packing up your equipment.
Gas Valve Shutdown
The moment comes when it’s time to kill the flames, and rushing this part is where things get dicey. Let’s nail these safety steps for your propane fire pit.
- Twist the gas valve clockwise, feeling the click as it locks into OFF and the blue tongues shrink to nothing.
- Lean in and watch for any orange embers hiding in the burner rings like coals with secrets.
- Count slow: one Mississippi, two Mississippi. Let the metal breathe out its heat and the pressure bleed away.
- Keep your phone handy in case those flames don’t respond to your shutdown attempt.
- Pull the ignition battery (if your unit has one) only after everything’s stone cold.
Proper shutdown takes about two to three minutes and reduces fire hazard significantly.
Flame Extinguishing Steps
Once the flames start dying down, grab the valve control knob and twist it firmly to OFF (clockwise, usually), cutting the gas flow. If lingering flames appear, turn off gas at the main tank valve too, then step back and let the burner cool. Patience prevents safety hazards.
Do not douse an active flame with water; rapid temperature drops warp metal components and crack fire pits. Instead, keep a fire extinguisher (Class B or ABC rated for gas fires) or a bucket of sand within arm’s reach to smother stubborn embers if needed. After extinguishing flames completely, inspect hoses and valves for heat damage, then store the propane tank upright in a ventilated spot.
Store Your Propane Fire Pit System Between Uses
Proper storage keeps your propane fire pit running smoothly for years. Taking care of your propane tank, storage, safety, and fire pit system together protects your investment and your crew.
Follow this checklist:
- Disconnect the propane hose and stand that tank upright in a cool, shady spot. Never place it in direct sun or near your water heater.
- Store all fittings and hoses in a sealed outdoor cabinet, keeping everything bone-dry.
- Twist that tank valve shut tight, then pop the protective cap back on to keep bugs out.
- Lift the whole fire pit system onto a concrete paver, then slip on a weatherproof cover.
- Give hoses and valves a quick once-over for cracks or leaks, double-checking both shut-off points.
This routine maintenance prevents rust, contamination, and equipment failure while extending the lifespan of your system.





