
I always weigh my window box wet, filled with soil and soaked through, before picking hardware, since water weighs eight pounds per gallon and adhesive hooks collapse under real weight. Under fifteen pounds, I’ll use tension brackets; over that, I’m drilling into studs with exterior anchors and silicone-sealed spacers. I measure my window frame-to-frame, add two to three inches of overhang per side, then mark bracket placement six inches from each edge (twelve for bigger boxes) using a nine-inch level to keep everything square.
For siding, I mount a backing board to hit solid framing; for brick, I grab masonry bits and Tapcon screws. I drill, seal every hole with exterior silicone, hang the box, and wiggle-test before planting. Drainage holes and a centered bubble determine whether your petunias thrive or your planter crashes.
Weigh Your Window Box Wet to Choose Your Mounting Method
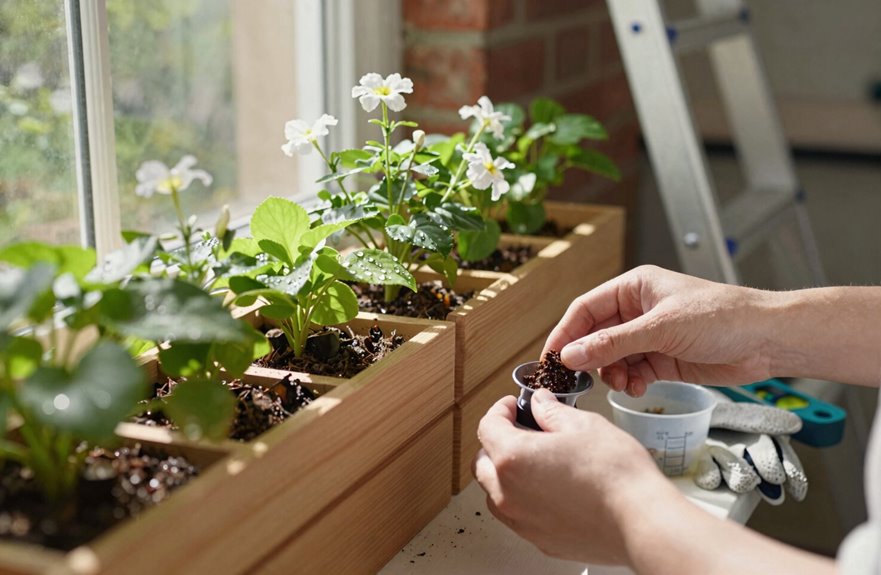
Start here. This is the step most people skip, then wonder why their beautiful planter ends up on the sidewalk. Grab your bathroom scale, because your window planter box isn’t staying empty. Fill it with soil, add your plants, then water thoroughly. Now weigh it. That’s your wet weight, and it will be heavier than you’d guess since water weighs eight pounds per gallon. If your scale’s too small, hold the box and subtract your body weight for an accurate estimate. Under fifteen pounds? You’ve got options. The no-drill method, such as adhesive hooks or tension brackets, works well for lighter loads. But cross that fifteen-pound threshold, and you need to drill into structure with exterior-rated anchors and silicone-sealed spacers. Match your mounting method to this load weight, and your planter will stay secure through storms.
Size Your Window Box to Fit the Window and Trim
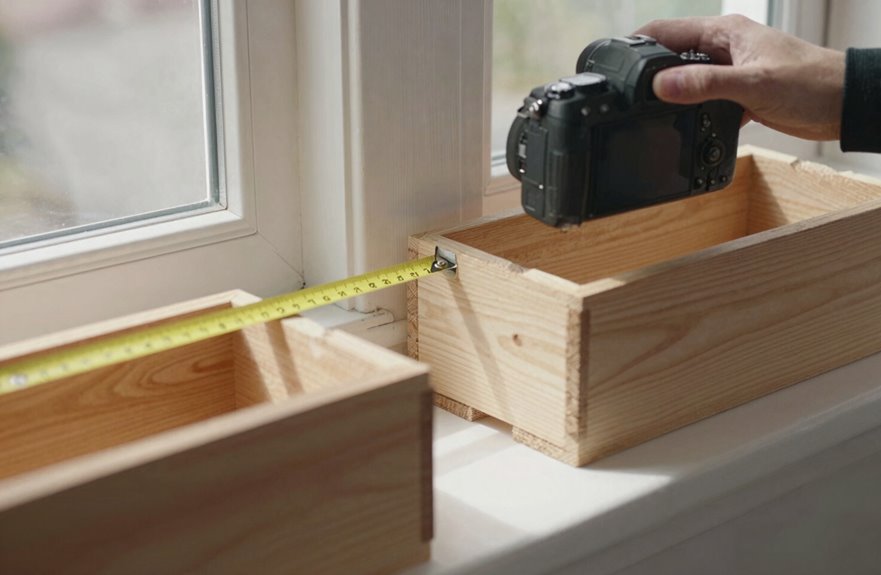
I grab my tape measure and start with the window’s actual width, not the trim, since you’ll want the box to either match that exactly or extend 2–3 inches past each side for a polished, intentional look (think picture frame, not afterthought). Don’t forget to account for the trim’s depth too, especially if you’re mounting below the sill. I’ve seen boxes that jut awkwardly or sit too flush when this measurement gets overlooked. Get these three numbers down: window width, trim width, and desired overhang. These measurements will keep everything proportional and balanced, making installation much easier.
Measuring Window Dimensions
How do you know your window box won’t look like a sad, floating afterthought. Measure first. Grab your tape measure and check the window’s full width, frame to frame, because that’s your starting point for dimensions. Walpole Outdoors carries boxes from 24 to 72 inches (custom too, if you’re quirky like me), so you’ve got options. For placement, hang yours one to two inches below the sill. This keeps it close enough to feel connected without crowding the window. Protrusion matters: aim for 2–3 inches of overhang per side, 4–6 inches total, for that balanced, intentional look. Got a three-pane window. Install three medium boxes, or maybe two large on the ends. Measuring right ensures your box looks like it grew there.
Accounting for Trim Width
Where exactly does your window box end and the trim begin. This distinction affects sizing accuracy. When I size a window box, I measure the full window width first, then I add the trim width to that total. That measurement becomes your true mounting surface. Base window box sizes exclude any cap or decorative edge trim, so don’t let those top overhangs fool you into ordering too small.
Full width spanning works best because a box that stops short of the trim looks disproportionate. For bracket installation, I position my hardware to hit solid framing beyond the casing, not just drywall. Walpole Outdoors stocks 24- to 72-inch widths, and I’ll go custom if your window’s an unusual size. Correct sizing ensures your box integrates properly with your home’s existing architecture.
Balancing Overhang Proportions
Once you’ve determined your mounting surface width, consider how far your box should extend beyond the trim. A 4–6 inch total overhang works well, which breaks down to about 2–3 inches per side of the window trim. This proportion prevents the box from appearing undersized or out of place.
For placement, hang the box one to two inches below the sill to provide clearance without disrupting the visual line. If you have out-swinging casement windows, use a 6–8 inch overhang to prevent the window from striking the flowers when opened.
Walpole Outdoors carries boxes from 24 to 72 inches, and they offer custom cutting for non-standard windows. Achieving proper proportions is essential for a finished appearance.
Install Backing Board for Siding or Select Anchors for Masonry
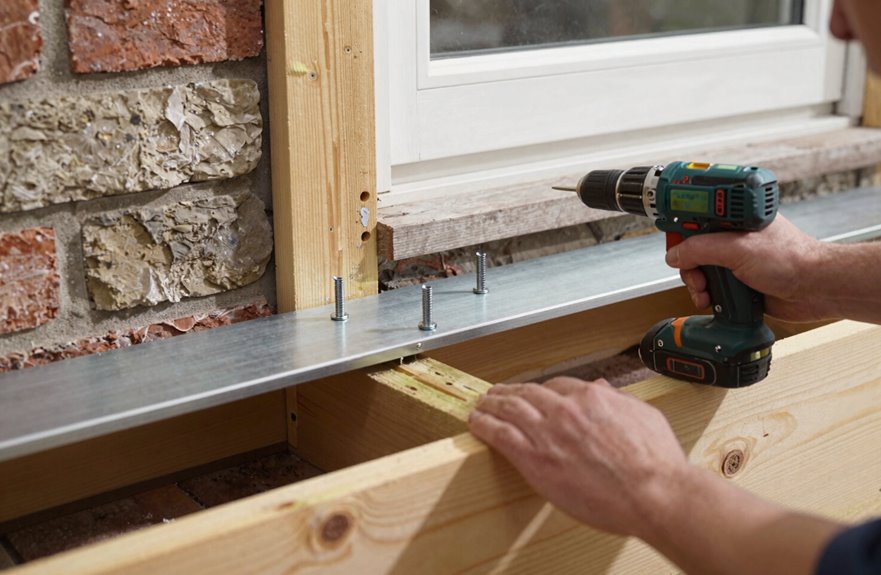
Two very different walls mean two very different approaches. Picking the right one saves you from a planter box face-plant later.
For siding, I grab a backing board, a long piece of pressure-treated lumber that spans the full window width, and paint it silver metallic so it disappears visually. I locate studs with my finder, then pre-drill pilot holes through the board and into those studs. This gives the brackets a rock-solid, straight surface instead of wavy vinyl.
Masonry is simpler. I drill pilot holes with a masonry bit, then drive Tapcon screws with silicone sealant. No backing board is needed. Either way, the brackets are anchored into something substantial: studs for siding or solid brick or block for masonry. Those brackets need real structural support.
Mark Bracket Placement Level and Centered Under the Window
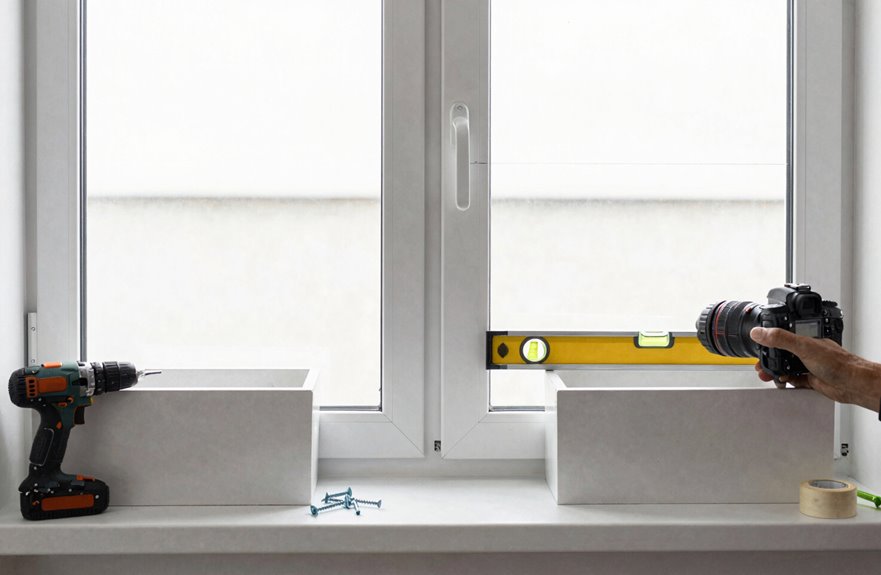
Precision is what separates a planter that looks custom from one that looks like an afterthought, so I take my time with this step. I start by finding my window’s center, then mark outward, six inches each side for smaller boxes and twelve for larger ones. My mounting board becomes my roadmap.
Here’s how I do it:
- I pre-measure my box width, translating it to twelve-inch intervals across the mounting board for bracket locations.
- I mark pilot holes at the window’s midpoint for boxes over sixty inches. The center bracket prevents sagging.
- I hold my level against every mark, ensuring brackets stay perfectly square. Crooked planters compromise the installation.
- I verify each mark hits actual wall framing, not just siding. Brackets anchored to nothing will fail.
Level, centered, ready.
Drill and Secure Brackets for Your Wall Type
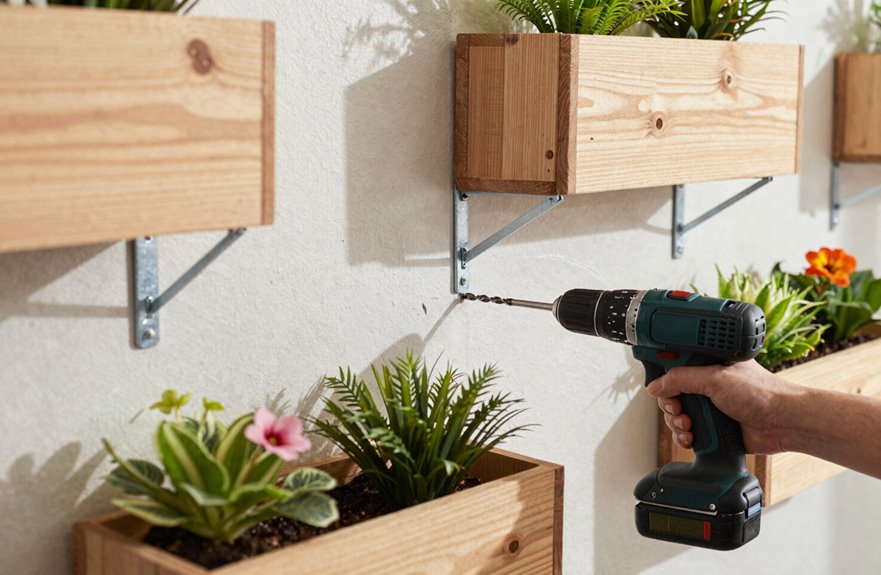
For brick or stucco, drill with a masonry bit, tap in anchors that match your bracket holes (usually ¼-inch or ⅜-inch), and seal around everything with exterior silicone to prevent water from seeping behind your work. For vinyl siding, use spacers (little plastic or metal standoffs) to keep the bracket from crushing the siding, then drive long exterior screws straight through into the solid framing underneath. Vinyl requires this approach because you cannot screw directly into thin, flexible siding material.
Masonry Wall Anchoring
Where exactly should you drill when your wall’s made of brick, stucco, or concrete?
Here’s my approach:
- Locate studs or solid backing behind your brick or stucco (a stud finder works, or look for nail patterns), then mark your bracket positions.
- Drill with masonry bit to create pilot holes through your bracket alignment points. Use the bit size specified on your masonry wall anchors package.
- Apply exterior silicone inside each hole before driving screws (use #10–#12 exterior screws), creating a watertight seal that keeps moisture out.
- Tighten firmly while checking bracket alignment stays level across all mounts. Use spacers behind brackets if your backing is hollow.
Your planters will hang secure and properly anchored.
Vinyl Siding Technique
Since vinyl siding flexes and isn’t structural on its own, you’ll need to find solid backing behind it or your planters will sag and tilt. I always locate studs first (a stud finder works, or tap and listen), then mark 12-inch intervals for even bracket placement on longer boxes.
I drill pilot holes through the vinyl siding into sheathing, hitting studs when I can. When studs aren’t directly behind my marks, I use spacers, those little ferrules, to bridge the hollow gap so my brackets sit flush and tight. Before driving #10 or #12 exterior screws (2–3 inches long), I squeeze exterior silicone into each hole. This seals everything, prevents rot, and creates a watertight installation. I finish by sealing around anchors and spacers with more silicone. Your boxes will stay put, and your siding will stay dry.
Hang the Window Box and Check for Level
How do you know when your brackets are actually ready for the real thing? Alignment matters more than speed, so let’s get this right together.
Here’s my go-to process:
- Position your window boxes six inches from each window’s edge. This creates that balanced, intentional look we’re after.
- Grab your 9-inch level (the small one fits tight spaces perfectly) and confirm brackets are square before mounting.
- Hang the window box, then perform your final level check. This catches any shift that happened during attachment.
- Verify everything’s flush, and if you’re planning layered planting (which I recommend), consider how soil weight affects long-term level stability.
The mounting moment delivers tangible results. You’ve completed this project through careful preparation and attention to detail.
Seal Fasteners, Verify Drainage, and Begin Planting
Grab your exterior silicone caulk gun (I prefer the smooth-rod type; less hand cramp) and seal every single fastener hole before they become water entry points into your wall. Trace each bracket screw with a steady bead and smooth with your finger for a professional finish. Next, flip the box and count your drainage holes. There should be at least three half-inch openings, or drill additional ones. Set the box on its brackets and check level with your 9-inch level; the bubble must be centered. Wiggle hard to confirm nothing moves. A secure installation prevents water damage during storms. Only then does planting start. Water slowly, watching for runoff, to confirm proper moisture balance.





