

I built my first vertical garden on a cramped balcony with cedar fence pickets and a borrowed drill, and I’ll walk you through exactly how I did it.
Start by picking your system: trellises work for nearly everything, arches create harvest tunnels, and obelisks suit lighter climbers. Test your wall can handle 200+ pounds of wet soil using a stud finder, and anchor into solid studs or masonry. Source cedar or HT-stamped pallets (never MB-treated) and weatherproof with two coats of raw linseed oil.
Cut two 2x8x16 side frames to 6 feet 10 inches with horizontal supports. Pre-drill holes slightly smaller than your screws and assemble on the ground. Check squareness with a carpenter’s square, mount wall blocks at 16-inch intervals with 3-inch exterior screws, stretch jute drum-tight between them, and lock your frame down with 2.5-inch deck screws.
Fill halfway with a 50/50 potting soil-compost blend, water to settle, and top off with an inch of headspace. Plant pole beans, cucumbers, or indeterminate tomatoes on the outer edges for airflow. Water deeply once or twice weekly and check moisture two inches down with your finger or a $10 meter. Tie new growth weekly while pinching suckers.
The specifics on tool alternatives, drainage troubleshooting, and my biggest rookie mistake follow.
Pick the Right Vertical Garden System for Your Space
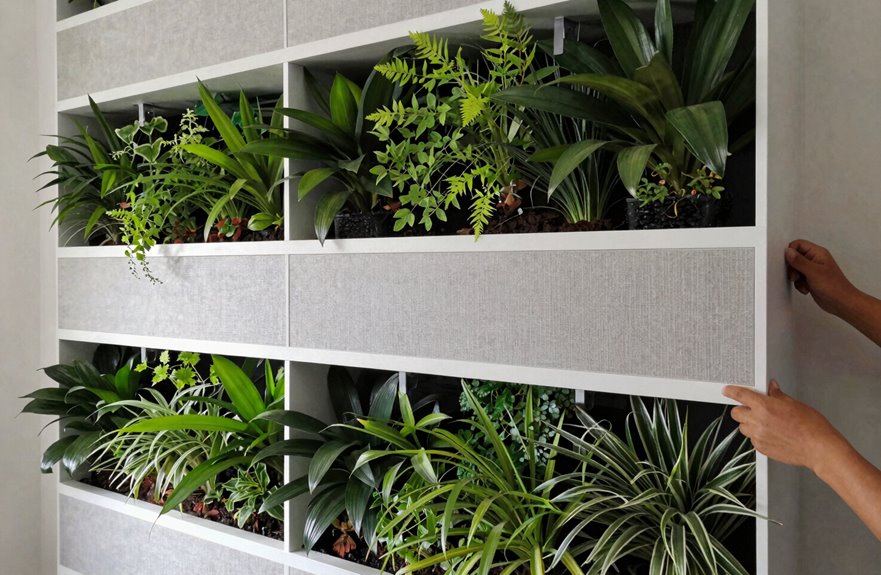
Not every gardener has the luxury of sprawling acreage, which is why vertical gardening is an efficient solution. A vertical garden lets you pack more green into tight spots—balconies, patios, that awkward strip by the garage—without sacrificing your walking space.
When picking a system, start with structure. Trellises work for nearly everything, arches create gorgeous harvest tunnels you’ll actually walk through, and obelisks suit lighter climbers like peas or sweet peas. Whatever you choose, go at least six feet tall and anchor it deep. Floppy structures result in tangled vines and failed crops.
Sun exposure directly affects plant growth and productivity. Position trellises north-south for even light, and place them where you can reach both sides without difficulty. Avoid chemically treated lumber for edible gardens.
Test Your Wall Can Handle 200+ Pounds of Wet Soil
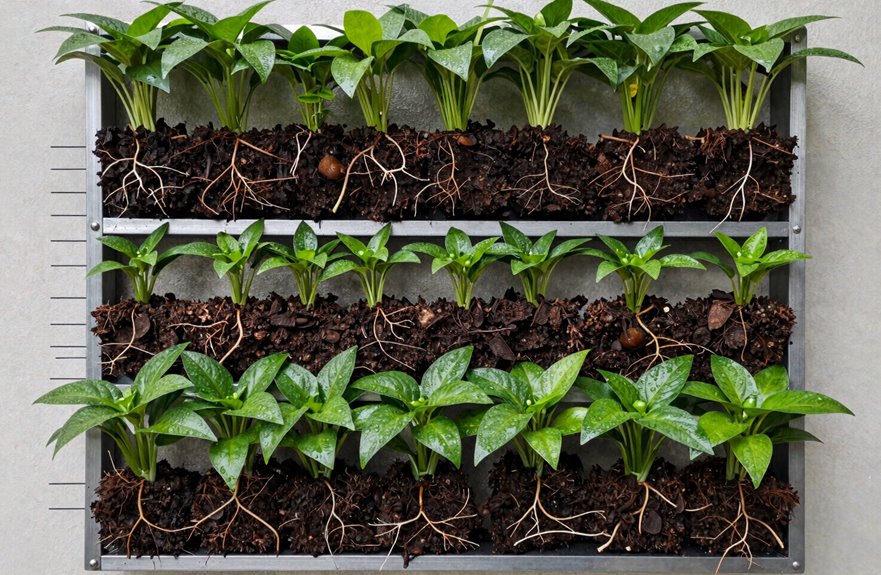
Two hundred pounds of wet soil crashing down will damage your drywall and cost you your security deposit. Wall capacity requires verification with a stud finder or by knocking for hollow spots, then anchoring into solid studs or masonry, never just drywall.
| Check Point | What You’re Looking For | Red Flag |
|---|---|---|
| Wall capacity | Solid studs 16″ apart, no water damage | Soft spots, previous repairs |
| Mounting integrity | Lag bolts gripping 1.5″ into wood | Spinning anchors, loose threads |
| Load distribution | Weight spread across 3+ attachment points | All weight on single bracket |
Cross-brace frames and keep soil evenly distributed without loading one side heavily. Check screws monthly for corrosion, and never skip drainage holes. Saturated soil weighs double dry soil, so plan for that dynamic load.
Source Affordable Wood and Weatherproof It Before Cutting
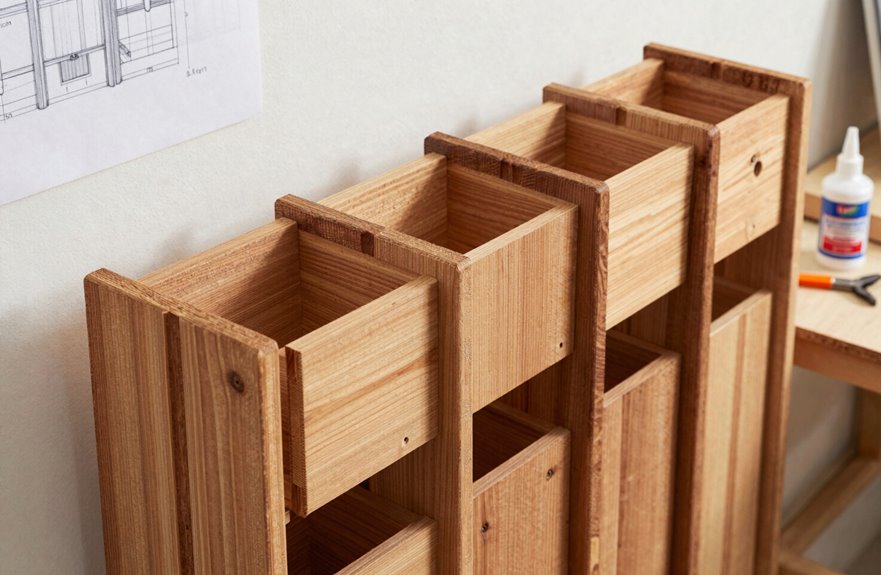
Why spend a fortune on lumber when cedar fence pickets cost under two bucks each at local home centers, or free pallets (the HT-stamped ones, never MB) are available behind hardware stores. HT means heat-treated, safe for edibles; MB is methyl bromide, toxic stuff you’ll want nowhere near your veggies. Always sniff wood, as chemicals linger and your nose can detect them. For weatherproofing, brush on two coats of raw linseed oil (not boiled, that has dryers) or outdoor-safe beeswax blend before cutting anything. This seals the grain so framing won’t warp when Oregon’s rains hit. Pre-treating beats fighting rot later. The golden cedar darkens beautifully during this process, with ten minutes between coats.
Cut Boards to Size and Pre-Drill All Screw Holes
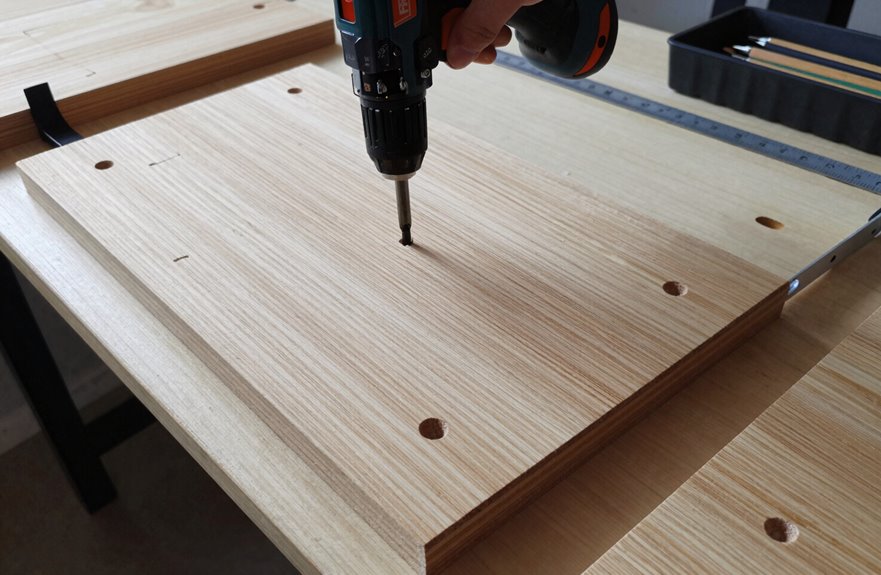
I grab my circular saw (or a handsaw if you’re feeling old-school) and start cutting those cedar pickets down to size, measuring twice because wood doesn’t grow back. I cut to size two 2x8x16 side frames at 6 feet 10 inches (yes, exact matters here), plus my horizontal supports, so everything’s ready before I touch a single screw.
Pre-drilling every single hole prevents splitting (cedar’s gorgeous but fussy) and keeps framing square later. I use a bit slightly smaller than my screws for this step. I seal all cut edges with sealant too; mildew will compromise the structure. When holes align across pieces, assembly flows smoothly and connections are clean and stable.
Build Your Frame on the Ground: Square and Solid
The frame comes together right there on the ground, where gravity works in your favor. I grab two 2x8x16 boards for my sides, plus that middle brace I cut to six feet ten inches, and I coat every cut edge with sealant before anything touches. Mildew won’t compromise the structure.
I sit those side boards inside my top and bottom pieces, then drive three screws into each end. Simple, satisfying, solid construction. I check that everything’s square using a carpenter’s square or the diagonal-measuring method, where equal diagonals confirm proper alignment. Connections should be firm and tight.
That middle support comes last, measured, cut, and drilled across the center. This extra brace provides the stability the frame needs once vertical.
Mount Wall Blocks and Stretch Jute Before the Frame Goes Up
With the frame built and waiting, you’re ready for the wall prep that makes everything else possible. Start by mounting wall blocks at 16-inch intervals (standard stud spacing, but check your wall first), using 3-inch exterior screws with washers. These blocks create anchor points that will bear significant weight once soil and plants arrive.
Next comes the jute. Stretch it taut between blocks before any frame mounting happens, threading edges through corner brackets so nothing sags later. The fabric needs to be drum-tight with no wrinkles, because adjusting jute after the frame goes up creates unnecessary difficulty. The blocks support jute edges, forming stable channels for root systems. Prep both now, and you’ll have a solid frame that lifts into place seamlessly.
Secure the Frame to Blocks and Trim Excess Plastic
Fasten the frame to those wall blocks you mounted earlier, then tidy up the plastic sheeting so everything looks sharp and stays dry. First, drill pilot holes through the frame planks where they meet the blocks, usually at 16-inch centers, but measure yours. Pop in wall plugs if you’re hitting masonry, and drive 2½-inch deck screws to lock it all down. Don’t overtighten, or you’ll strip the wood. Once the frame is solid, give it a shake to confirm it doesn’t wobble. Grab utility scissors or a sharp blade and trim the excess plastic sheeting flush to the frame edges, leaving about ½ inch tucked behind for a clean seal against moisture.
Frame Fastening Steps
How do you anchor a wooden frame to a wall without turning your balcony into a wobbly disaster? I start by drilling holes through my frame, then drive 15 cm nails through into wall blocks, securing with screws for that four-point mounting: top corners and mid-sides, always. Before I even think about soil, I check rigidity by pushing it, wiggling it, and confirming it’s square. No flex allowed.
| Step | Tool/Material | Purpose |
|---|---|---|
| Drill holes | 15 cm nails + screws | Secure four-point attachment |
| Check corners | Level + hands | Verify square shape |
| Test stability | Body weight | Confirm rigidity before loading |
| Adjust clearance | Wood blocks if needed | Prevent wall/tile contact |
I align edges for wall clearance, add bottom holes and blocks when necessary, and I always keep that protective plastic barrier underneath. Moisture kills gardens, and I’m not letting that happen to ours.
Plastic Trimming Process
Where exactly does that excess plastic go once the frame’s up? Plastic trimming isn’t just cosmetic; it’s your moisture protection lifeline. After securing your vertical garden frame to those wood blocks (remember, one corner at a time, accommodating that jute edge), you’ll notice the plastic sheet flapping. Grab sharp scissors or a utility blade and trim roughly 2 inches beyond the frame perimeter. This leaves enough barrier to catch root splash without creating bulk that traps water. Check bottom clearance too, maybe ½ inch off the wall for airflow. The plastic sheet protects your wall while staying clear of mounting points. Verify stability with a wiggle test, then you’re ready for soil.
Fill With Soil Mix, Watering Halfway to Settle It
I start by blending equal parts potting soil and compost (about two-thirds full in each planter), then I pause to water gently until the mix is damp but not soaked. Think of a wrung-out sponge, not soup. This halfway watering prevents the soil from shifting when I’m wrestling root balls into position later. I’ll top off with another inch or two of mix once things settle, since that first watering always drops the level more than expected.
Soil Preparation Steps
Once your frame’s locked in and those planters are ready to go, you’ll want to grab your soil mix: a 50/50 blend of regular potting soil and compost, where the compost serves as your fertility booster. Mix this in a wheelbarrow first, because clumps of pure compost or soil mean some plants get starved while others feast. Fill your planters about halfway, then pause to water. Apply roughly a gallon per square foot, depending on your setup. That moisture settles the soil, collapses those sneaky air pockets, and shows you where drainage might pool. Top off with remaining mix, leaving an inch of headspace. This halfway watering prevents sagging soil later.
Watering Technique Tips
How do you keep a vertical garden from turning into a top-heavy disaster? You water halfway through loading your soil mix. I blend compost with potting soil first (roughly 1:3 ratio), then fill my frame about halfway up. Pause, grab your watering can, and soak that layer thoroughly. This settles the earth, preventing the dreaded soil slump later. Once it drains (about ten minutes), top off with remaining mix and water again. This double-watering technique eliminates air pockets, ensuring even soil moisture throughout your vertical garden. Skipping this step means dry pockets at the top while the bottom turns swampy. For taller setups, check drainage carefully since gravity works against you.
Choose Plants That Thrive Growing Upward in Tight Spaces
What grows up must come down, preferably into my harvest basket, not onto my neighbor’s cat. That’s why I’m selective about my climbing crops in vertical gardening. I stick with pole beans, cucumbers, sugar snap peas, and tomatoes (indeterminate varieties, the ones that keep vining). For something different, I’ll train zucchini or butternut squash upward using sturdy six-foot trellises that won’t buckle under heavy fruit. I nestle seeds on the outer edges, which boosts airflow and makes pruning easier. Herbs join the arrangement too: contained mint, vining thyme, Malabar spinach, nasturtium. Weekly, I tie new growth and pinch suckers, redirecting energy to fruit. The space is crowded, but with good airflow and smart choices, everything thrives together.
Water Deeply and Check Fabric Moisture Weekly
I water my vertical garden deeply once or twice weekly, more frequently during hot weather. I check moisture by inserting my finger two inches into the fabric pockets; if it feels dry at that depth, it’s time to water again. The root zone should be evenly damp, never soggy. I lift a corner of the cloth to verify that water isn’t pooling at the base, which indicates overwatering, or that the soil is properly saturated.
For precision, I use a simple moisture meter (about ten dollars online) or monitor the leaves for signs: wilting indicates the plants need water, and yellowing suggests overwatering. A quick weekly check prevents guessing and ensures consistent results.
Watering Frequency Guidelines
Why do so many vertical gardens fail? I’ve watched friends give up, and it’s usually about water, specifically how they water and how often.
I use a soaker hose (those porous tubes that weep gently) because it lets me water deeply without rushing. In fabric setups, I slow down even more, letting moisture spread evenly rather than pooling at the bottom where roots drown.
My weekly rhythm is simple: I check the top inch of growing medium with my finger. If it’s dry, I water. I’m aiming for sustained moisture, not soggy soil, since wet feet rot roots fast.
I adjust based on what’s growing, the weather, and container size. Hot, windy days require more frequent watering. Smaller pockets dry faster. You’ll learn your garden’s thirst quickly.
Moisture Check Methods
How do you know if you’re actually reaching the roots or just teasing them with surface sprinkles. Water deeply at the root zone, letting moisture penetrate 2–3 inches down. This means full saturation, not a polite mist. Weekly, check fabric moisture by feeling the growing medium below the surface. Dry fabric means you’re underdoing it; soggy fabric means trouble’s brewing.
In vertical setups, monitor wicking and drainage carefully, as waterlogging kills roots fast. Stick to consistent deep watering rather than frequent light spritzes, which keeps moisture even throughout your wall. If fabric stays dry several inches down, bump up duration and double-check that drainage holes aren’t clogged. Plants need steady hydration, not a guessing game.





