
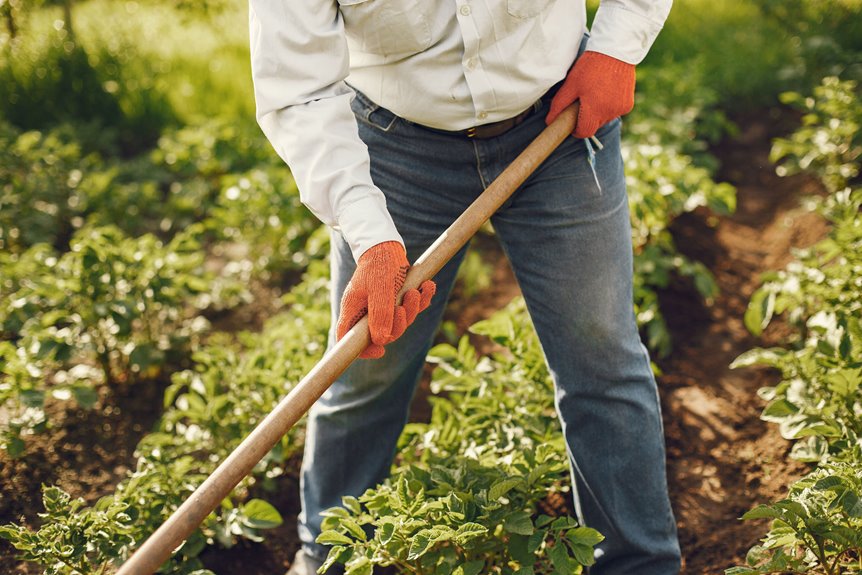
I start by finding my local frost dates using my zip code, the 32°F line between disaster and survival, then work backward six weeks to direct-sow spinach, peas, and carrots, cool-season crops that tolerate cold, or forward two weeks after the last frost for tomatoes and peppers when soil hits 65°F.
I test soil first ($10–$20 at my Extension office), amend with compost or lime, and use row covers or cold frames to extend the growing season by 2–4 weeks.
Between seasons, I clear beds, rotate my nightshade spots, and sketch next year’s layout before my neighbors even crack their seed catalogs.
Find Your Local Frost Dates First
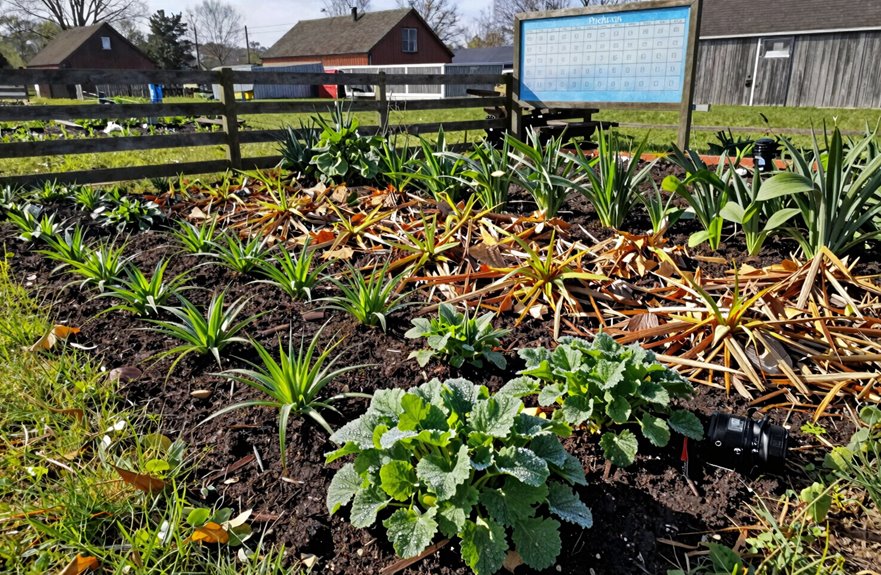
Where do you even begin when every seed packet screams “plant after frost” like that’s something we’re all born knowing? I’ve been there, standing in my driveway with a trowel and zero confidence. You need your local frost dates, period.
Use your zip code to find your average last frost date (that final morning below 32°F) and your first fall frost. These numbers become your garden’s backbone. Check forecasts ten days around your expected last frost, because Mother Nature loves surprises. Warm-season crops (tomatoes, peppers) wait until soil warms and nights stay above 50°F. Cool-season crops (spinach, peas) often go in weeks before that last frost, sometimes right after. Your frost dates aren’t suggestions. They’re essential information for successful gardening.
Choose Cool-Season and Warm-Season Crops
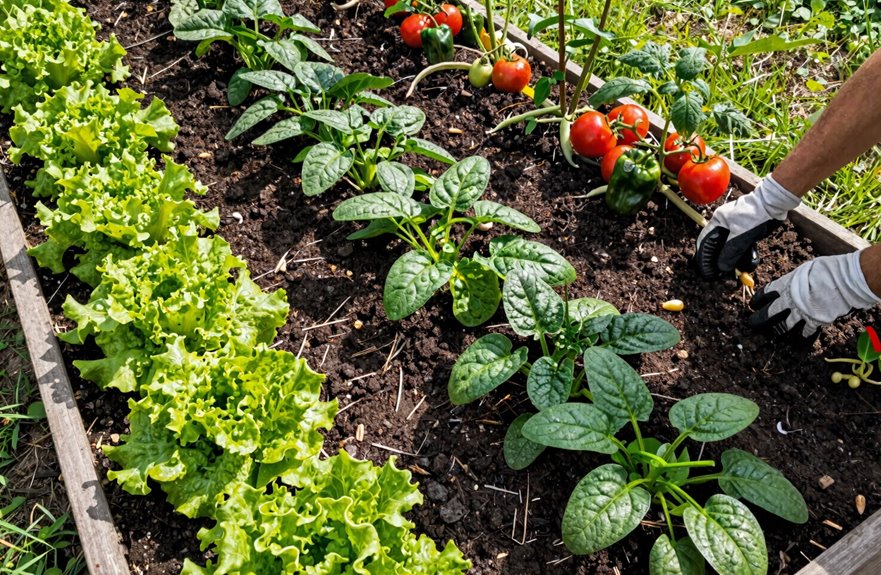
Once I’ve nailed down my frost dates, I’m ready to match crops to the right temperature window. Cool-season veggies like broccoli and spinach can start 4–6 weeks before that last frost, versus warm-season stars like tomatoes and peppers, which need soil around 65°F and should be planted two weeks post-frost. Timing is critical since planting spinach too late means it’ll bolt before you get a decent harvest, and planting peppers too early stresses them out. The following section details which crops fit which season and how to adjust if the weather throws a curveball, since Florida’s growing conditions vary significantly from other regions.
Cool-Season Crop Selection
The trick to a garden that keeps on giving is knowing which crops thrive in cool weather and which ones require summer sun. Understanding cool-season planting timing ensures you’ll have fresh salads while others are still reviewing seed catalogs.
I start my spinach six weeks before the average last frost date (the one your local extension office tracks), dropping seeds directly into cool, workable soil. Lettuce seeds go in four weeks out, or two if I’m using transplants I started indoors. Peas, carrots, onions, potatoes, and broccoli all fit within the four-to-six-week window, and you can plant right up to the frost date itself.
This approach requires flexibility rather than precision.
Warm-Season Crop Selection
Why stop at spring greens when summer’s heat opens up a whole different menu. I wait for the last frost to pass before planting warm-season crops, and these plants can’t handle cold snaps.
I check soil temperature first. Corn and beans go in when it’s 65°F or warmer (use a simple soil thermometer, about $10). Tomatoes, squash, zucchini, cucumbers, and melons require planting two weeks after that last frost date. Peppers and okra need more patience, about a month after the frost date passes.
I watch weather forecasts, ground moisture, and even weeds, which are surprisingly good indicators of soil conditions. Your local conditions matter more than any calendar. Start with what your region suggests, then adjust based on what you’ve learned from previous seasons.
Test Soil and Add Amendments Before Planting
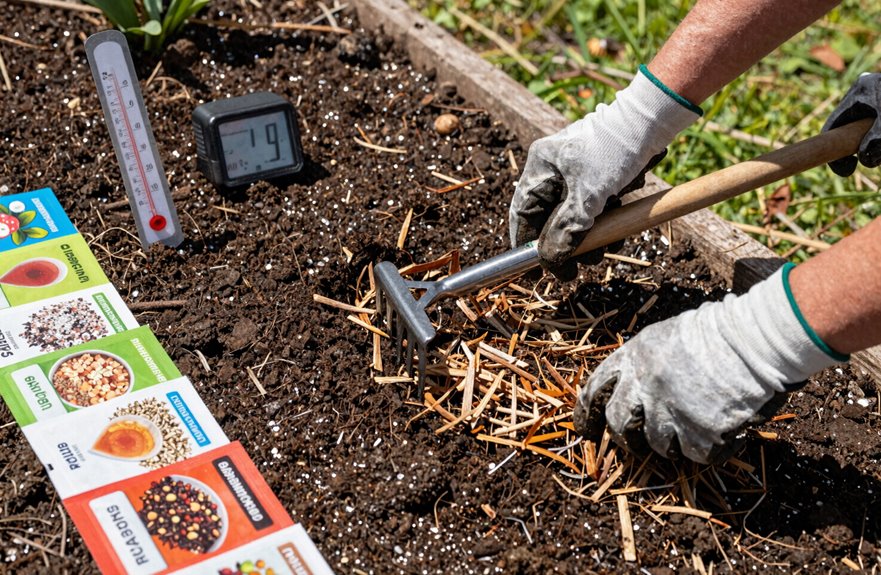
Before I grab my trowel and start dreaming about tomatoes, I need to understand what’s actually happening beneath my feet. Guessing about soil costs me time, money, and failed plantings. I always start with a soil test through my county Extension office, usually $10–$20 with results in two weeks. That report tells me exactly what amendments my dirt needs: lime to raise pH, sulfur to lower it, or specific fertilizers to fill nutrient gaps.
My pre-planting process follows this timeline:
- Send off my soil sample six weeks before planting
- Apply targeted amendments based on test results, then wait
- Re-test and till in compost or aged cow manure a few weeks before final planting
I also bookmark my Florida Gardening Calendar region (North, Central, or South) so I know the correct timing for my area.
Spring: Prepare Beds and Plant Cool-Season Crops
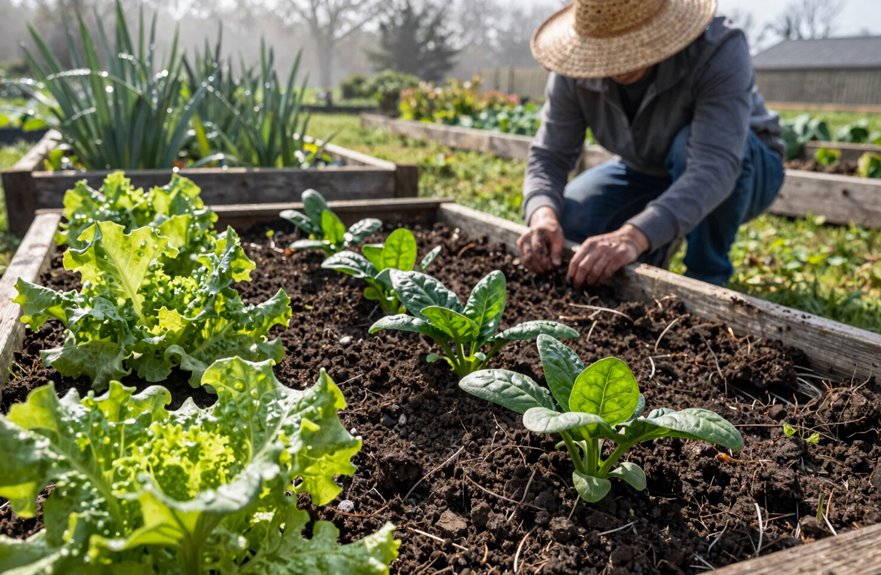
When exactly does spring gardening start? I mark my calendar by the last frost date, then get my hands dirty two weeks before. You’ll want to prep your beds first: turn that soil, add compost, and map out where everything goes. I use old seed packets as markers for organization.
Here’s my spring planting lineup for cool-season success:
| Crop | How I Plant | Days to Harvest |
|---|---|---|
| Peas | Direct-sow, 1 inch deep | 60-70 |
| Lettuce | Scatter seeds, thin later | 45-55 |
| Spinach | Rows 12 inches apart | 40-50 |
| Radishes | Direct-sow, super easy | 25-30 |
| Beets | Soak seeds first | 50-65 |
I start cabbage and broccoli indoors, then transplant when they’re sturdy. Carrots and greens go straight in the ground as soil warms. Your cool-season harvest begins with proper soil preparation and timing.
Start Warm-Season Crops When Soil Reaches 60°F
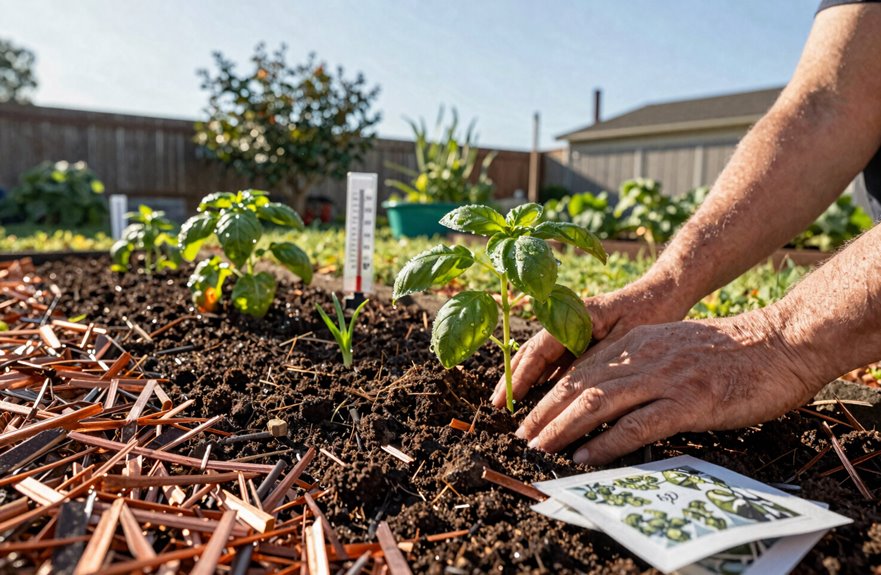
So how do I know when to swap my cool-season gear for the heat-loving stuff? I grab a soil thermometer (about $10 at any garden center), push it two inches deep, and check the reading. Warm-season crops need that soil temperature hitting 60°F, not just calendar dates.
Here’s my planting rhythm:
- Corn and beans go in first, right when frost danger passes and that thermometer reads 60°F. I sow seeds directly since they’re tough.
- Tomatoes, squash, cucumbers, melons wait two weeks longer; I use transplants (or seeds) once soil stays consistently warm.
- Peppers and okra need patience, about a month post-frost, with warm nights too, or they’ll sulk and stunt.
I watch forecasts, not just last frost dates, because soil temperature tells the real story.
Summer: Maintain Production Through Heat and Humidity
Once that soil thermometer starts climbing past 80°F and the air feels like a wet wool blanket, I’m not ripping out my spring plants and calling it quits. I’m shifting gears. Summer in the garden means embracing the heat and humidity, not fighting them. I keep my peppers and eggplant cranking, they’re reliable performers, and I tuck in sweet potatoes, southern peas, cherry tomatoes, okra, and Malabar spinach. These true summer survivors thrive in scorching afternoons.
I don’t let up on water checks, daily and sometimes twice daily, and I stay sharp with fertilizer since heavy rains leach nutrients fast. Pest patrol becomes my morning coffee ritual. For empty beds, I’m solarizing with clear plastic (six weeks, 140°F at two inches deep) or sowing legume cover crops to bank nitrogen. Production stays alive through consistent management.
Fall: Plant Your Second Cool-Season Crop Cycle
Summer’s heat eventually breaks, and I’m ready to plant again. Fall offers a second cool-season crop cycle worth pursuing.
Here’s my game plan:
- I clear every bed completely, yanking dead roots and debris since disease lingers. I retest soil pH before amending with compost or cow manure.
- I till a few weeks early, working in organic matter while ensuring my broccoli, lettuce, and carrots get full sun and steady water.
- I finish plantings by mid-September, using cold frames or low tunnels to stretch the season when frost threatens.
I’m already dreaming of kale, Swiss chard, and crisp radishes. With consistent moisture and timely harvests, my fall garden produces two cycles per year. This rhythm of renewal creates measurable results, season after season.
Decide: Direct Sow, Start Indoors, or Use Transplants
I’ll figure out whether to drop seeds straight into my garden bed (that’s direct sowing, great for peas, lettuce, and radishes), or whether I’m better off nurturing them under lights inside first. Starting indoors lets me cheat the calendar a bit, especially for tomatoes and peppers that need a head start before Florida’s steamy summer kicks in. I’m mapping out exact weeks on my calendar because timing is critical when racing between frost dates and brutal heat.
Direct Sowing Basics
The thing about deciding how to start your garden is that you’ve actually got three solid paths in front of you, and I’m going to help you figure out which one makes sense for what you’re growing.
Let’s talk direct sowing, because it’s the path of least resistance for a lot of us. You’re literally tucking seeds straight into garden soil. No trays, no grow lights, no hardening off. Direct sowing works best when:
- You’re planting cool-season vegetables (think carrots, beets, peas) that actually prefer settling in where they’ll live
- Your soil temperature hits the sweet spot. Usually 50-85°F depending on the crop. A soil thermometer costs around $10.
- You’ve checked your last frost date and you’re not rushing the season
I direct sow root crops mostly, since they hate transplanting anyway. Beans too. They pop up fast when soil’s warm enough. Direct sowing requires less work upfront, though you’ll wait longer for harvests than with transplants.
Indoor Starting Methods
Direct sowing isn’t always the right call, and I’ve learned that the hard way after watching my first tomato seedlings get demolished by a late frost I thought had passed. That’s why I’m a huge advocate for indoor growing, especially when you’re craving that head start on the season.
For seed starting, I begin cool-season vegetables and longer-blooming flowers indoors in February, using either grow lights (my preference, since windows can be finicky) or a south-facing window that gets six-plus hours of sun. By mid-to-late March, I’m starting tomatoes, peppers, and eggplants inside, about six to eight weeks before our last frost date. I use seed trays with drainage holes and sterile potting mix, not garden soil. I keep lights two inches above the seedlings, raising them as plants grow. When May arrives, I have sturdy transplants ready for the garden instead of fragile babies gambling with the weather.
Water Deeply and Mulch for Season-Long Success
When I’m setting up my garden beds for the long haul, I skip quick fixes that leave plants thirsty by mid-July.
Here’s my routine:
- I water deeply to 6–8 inches (stick a screwdriver down there, you’ll feel it) to push roots downward, not just wet the surface.
- I mulch with 2–4 inches of compost or straw, replenishing as it breaks down. This blanket keeps moisture locked in and roots cozy.
- I slow my watering for warm-season crops, letting it sink instead of running off, and I check weekly, adjusting for heat waves or unexpected rain.
Once you nail this rhythm, your soil practically runs itself.
Watch for Pests That Follow Temperature Shifts
I’ve learned the hard way that temperature swings wake up pests I thought I’d left behind, so I’ll walk you through the three zones where trouble brews. We’ll tackle the common warm-weather pests that explode after that first false spring, the cool-season insects that catch me off-guard when I’m itching to plant early, and the critical transition period vigilance that prevents pest damage to your vegetables when seasons fluctuate.
Common Warm-Weather Pests
So why do aphids, squash bugs, and Japanese beetles always seem to crash the garden party right when I’ve finally got my tomatoes settled? They follow the same temperature cues I do: warmth means it’s time to eat.
Here’s how I stay ahead of them:
- I plant after frost dates pass and soil temperature hits 65°F for corn and beans, so crops establish fast. Strong plants fight harder against pest damage.
- I wait two weeks post-frost for tomatoes, squash, and cucumbers. Rushing invites stressed, vulnerable seedlings that attract more pests.
- I check soil thermometers weekly, because guessing invites both cold-soak damage and pest buffets.
We’re all reading the thermometer, these bugs and me. The difference is that I get there first, with healthy plants that can take a nibble and keep growing.
Cool-Season Insect Watch
Warm-weather pests get most of the glory, but cool-season bugs can wreck a spring spinach bed just as thoroughly. I monitor soil temperature closely, planting spinach seeds six weeks before my last frost date, or transplants four weeks out, because that’s when certain pests wake up hungry. As soils thaw and become workable, I check they’re not too wet. Compacted dirt creates perfect hiding spots for troublemakers.
Mulching cool-season beds suppresses weeds that harbor pests and stabilizes the microclimate during those wild temperature swings. For broccoli, cabbage, and kale, I rotate crops religiously and deploy row covers when pest pressure builds. Removing diseased plant matter immediately is essential for protecting tender lettuce and radish plantings from early-season invaders.
Transition Period Vigilance
When temperatures start their seasonal dance, I pay extra attention because those in-between weeks are when pests get sneaky. Temperature shifts wake up troublemakers like aphids, whiteflies, and cutworms, so I scout my Florida garden daily during these transition periods.
My three-part routine:
- Inspect leaves at dawn, flipping them gently to catch early pest clusters before they explode. I use a 10x hand lens, which costs about $12 at garden centers.
- Adjust irrigation with less water when cool rains hit and more during heat spikes that stress plants and attract sap-suckers.
- Deploy row covers (lightweight Agribon-19, 6-10 feet wide) when nights dip near 50°F and days warm past 75°F. These block pests while trapping beneficial warmth.
Late winter-to-spring and late summer-to-fall transitions require the most vigilant monitoring.
Extend Your Season With Cold Frames and Row Covers
Why let a little chill stop me from harvesting greens in March or keeping tomatoes going into November? I’ve learned to lean on cold frames and row covers as practical season-extension tools.
Cold frames are my go-to for trapping heat around young transplants. I build mine on well-drained beds (raised is best), using clear covers to maximize sunlight. When daytime temps hit 50°F, I crack those vents. Overcooked seedlings deteriorate quickly.
Cold frames trap heat for young transplants—crack vents at 50°F or risk cooking your seedlings.
Row covers serve double duty: they buy me 2–4 weeks on either end of the season, and they keep cabbage worms from turning my kale into lace. I use 1.5–2.0 oz. spunbond fabric (agricultural fleece, available at any nursery) draped over hoops or directly on crops.
My process follows this rhythm: I start cool-season crops under row covers in late February, then transition hardier specimens into cold frames for hardening off. By April, I’m transplanting while neighbors are still browsing seed catalogs.
The result is fresh arugula when frost still bites and tomatoes that survive October’s first freeze.
Plan Next Year’s Garden Before Removing This Year’s Plants
I always start my garden post-mortem while my tomatoes are still clinging to their vines, because once I rip everything out, I’ll forget which pepper variety (the ‘Cubanelle’ or the ‘Jimmy Nardello’?) actually produced in that shady corner. I’ll grab my graph paper or a free app like Planter and sketch next year’s layout, rotating my nightshades (tomatoes, peppers, eggplants) at least one bed over to confuse any overwintering pests. Then I’ll order seeds by January, since my favorite supplier (Baker Creek) sells out of ‘Black Krim’ by February, and settling for second-best tomatoes means missing the varieties that actually thrive in your garden conditions.
Assess Current Performance
How does your garden stack up once the tomatoes start fading and the squash vines look like they’ve been through a minor apocalypse. I grab my notebook and start taking stock before I pull anything out, because this chaos holds next year’s blueprint.
Here’s what I’m tracking right now:
- Winners and losers — which varieties thrived (my ‘Sungold’ tomatoes) versus which flopped (those stunted peppers)
- Soil temperatures — I’m logging where heat lingered, since that affects what I can plant early next spring
- Crop rotation notes — I’m mapping where each family grew, so I don’t repeat the same spot (goodbye, tomato diseases)
I’m also jotting down pest patterns, watering schedules that worked, and which amendments actually mattered. This messy garden tells me exactly what we need to grow together next year.
Sketch New Layouts
Once I’ve got my notes scribbled and the damage surveyed, I pull out graph paper or fire up a free garden planner app and start mapping next year’s beds while this year’s skeletons are still standing.
I can remember exactly where my tomatoes got that weird leaf spot, or where the squash vines ran wild. By sketching garden layouts now, I avoid planting nightshades in the same spot for three years running. Crop rotations prevent pest buildup without requiring chemical sprays.
I measure beds with a 25-foot tape, noting sun patterns that shift as trees grow. My county Extension soil test, usually $10 to $15, tells me if I need lime or compost before redrawing anything. Last year’s failures become this year’s relocated triumphs.
Order Seeds Early
Why wait until the seed racks look picked-over and sad? I order seeds early, right when my tomatoes are still producing, because that’s when the planning season truly begins for me. I’m already sketching rotations, calculating frost dates (our last spring frost hits around April 15th here), and noting which varieties thrived.
Here’s my rhythm:
- I browse catalogs in September, marking favorites before they vanish
- I tally my seed-starting supplies: trays, heat mats, that wobbly grow light I should replace. I order everything together
- I schedule indoor sowing dates backward from frost, so my brassicas hit the ground running
Early seed ordering ensures you get the varieties you want and have adequate time to prepare supplies and plan your garden layout before the growing season begins.
Clear Beds and Reset Soil Between Seasonal Cycles
Where exactly do we start when one season wraps up and the next one’s knocking at the door? I clear beds first by yanking out every scrap of dead growth, diseased roots included, because leftover material invites pest and disease problems. Then I grab my soil test kit (about $12 at any garden center) and check pH and nutrients; this tells me exactly what soil amendment I need.
| Task | Timing | What You’ll Need |
|---|---|---|
| Clear beds completely | Immediately post-harvest | Garden fork, wheelbarrow, burn pile or compost bin |
| Test and amend soil | 2–3 weeks before planting | Home test kit, compost (2–3 inches), or aged cow manure |
| Till and mulch | 1 week before planting | Shovel or broadfork, fresh straw or wood chips (2-inch layer) |
I strip old mulch and weeds, then work in that organic matter (compost, manure, whatever my soil needs). If I’m replanting the same spot, I rotate crops since tomatoes should never follow tomatoes. Fresh mulch goes down last, which reduces water loss and prevents weed germination.
Follow Your Region’s Seasonal Planting Calendar
Three things I learned the hard way: Florida’s “winter” is someone else’s spring, our “spring” hits like a furnace, and planting by a generic national calendar wastes time and resources. Regional calendars are essential.
Here’s my seasonal planting rhythm:
- Find your Florida zone (North, Central, or South) and grab the matching calendar edition for month-by-month dates that work where you live.
- Track your last frost for cool-season crops, then pivot fast. Sweet corn, cucumbers, and beans go in once that danger passes. Direct seed, or start transplants 6 to 8 weeks ahead.
- Summer’s for maintenance. Keep peppers and eggplant healthy, solarize your soil, or plant cover crops to prep for fall.
Regional calendars aren’t suggestions. They’re the foundation of successful gardening in Florida’s unique climate.





